Desserts · Part 3 of 3: Tips & recipe card
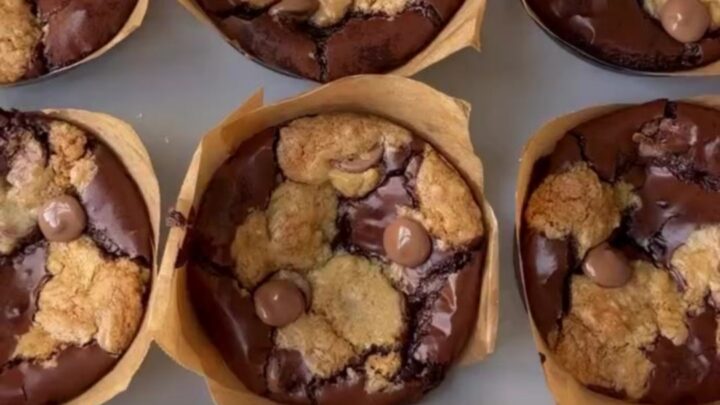
Brown Butter Brookie Cups with Fudgy Brownie Centers Tips, FAQ & printable recipe
- Prep
- Cook
- Total
- Serves
- 12
Tips for success
For the best texture, avoid overbaking – the centers should be slightly soft when you pull them out, as they will continue to set while cooling. If you prefer a more cookie-like texture, bake for an extra 2-3 minutes, but be careful not to dry them out.
To achieve a shiny, crackly top, whisk the egg into the warm butter mixture thoroughly until glossy. Let the batter rest for 5 minutes before scooping to allow the starches to hydrate, which can improve the texture.
Use a cookie scoop for even, uniform cups. If the batter sticks to the scoop, lightly spray it with cooking spray. For a more intense chocolate flavor, use dark chocolate chips or add a tablespoon of espresso powder to the dry ingredients.
To make ahead, prepare the batter and refrigerate it in an airtight container for up to 2 days; bring to room temperature before scooping and baking. These cups are best enjoyed within 2 days of baking.
Variations
- Dark Chocolate Sea Salt: Use dark chocolate chunks instead of semisweet chips and sprinkle with smoked sea salt for a deeper, more complex flavor. Add a pinch of espresso powder to the dry ingredients to intensify the chocolate.
- Nutty Brookie Cups: Fold in 1/4 cup of chopped toasted walnuts or pecans along with the chocolate chips. The nuts add a crunchy texture that complements the fudgy center.
- Peanut Butter Swirl: Drop small spoonfuls of peanut butter onto the batter before baking and swirl with a knife. Use a creamy peanut butter for the best swirl effect.
- Mint Chocolate: Add 1/2 teaspoon of peppermint extract to the batter and use mint chocolate chips instead of semisweet. Top with a sprinkle of crushed candy cane for a festive twist.
Storage and make-ahead
- Fridge
- Store in an airtight container in the refrigerator for up to 5 days. Bring to room temperature or warm slightly before serving.
- Freezer
- Freeze in a single layer in a freezer-safe bag for up to 2 months. Thaw at room temperature or reheat in a 350°F (175°C) oven.
- Reheat
- Reheat in a 350°F (175°C) oven for 5 minutes or microwave for 10-15 seconds until warm and fudgy.
Store brookie cups in an airtight container at room temperature for up to 3 days. To keep them soft, add a slice of bread to the container – it absorbs excess moisture.
If they become dry, microwave for 10 seconds to revive the fudgy center. For longer storage, freeze in a single layer in a freezer-safe bag for up to 2 months. Thaw at room temperature or reheat in a 350°F (175°C) oven for 5 minutes.
The brown butter can be prepared up to 3 days ahead and stored in the refrigerator; melt it gently before using. The batter can be made a day in advance and refrigerated in a covered bowl.
Let it sit at room temperature for 30 minutes before scooping and baking. Baked brookie cups can be stored at room temperature for up to 2 days or frozen for up to 2 months. Reheat frozen cups in a 350°F (175°C) oven for 5-7 minutes.
Serving ideas
Serve brookie cups warm for a molten, fudgy center that contrasts with the crisp edges. A scoop of vanilla ice cream or a dollop of whipped cream complements the richness. For a casual dessert, arrange them on a platter and let everyone grab their own. The flaky sea salt on top provides a delightful crunch and salty finish that balances the sweetness.
These cups are also great for lunchboxes or as a snack with coffee or milk. For a more elegant presentation, dust with powdered sugar just before serving. They can be served as is, but a drizzle of chocolate sauce or caramel would be a decadent addition. If you want to make them ahead for a party, bake them a day in advance and reheat in a low oven for a few minutes to restore the gooey texture.
Frequently asked questions
Can these brookie cups be made gluten-free?
Why did your brookie cups turn out dry?
Can the batter be made ahead and refrigerated?
What is the best way to reheat brookie cups?
Can these be frozen?
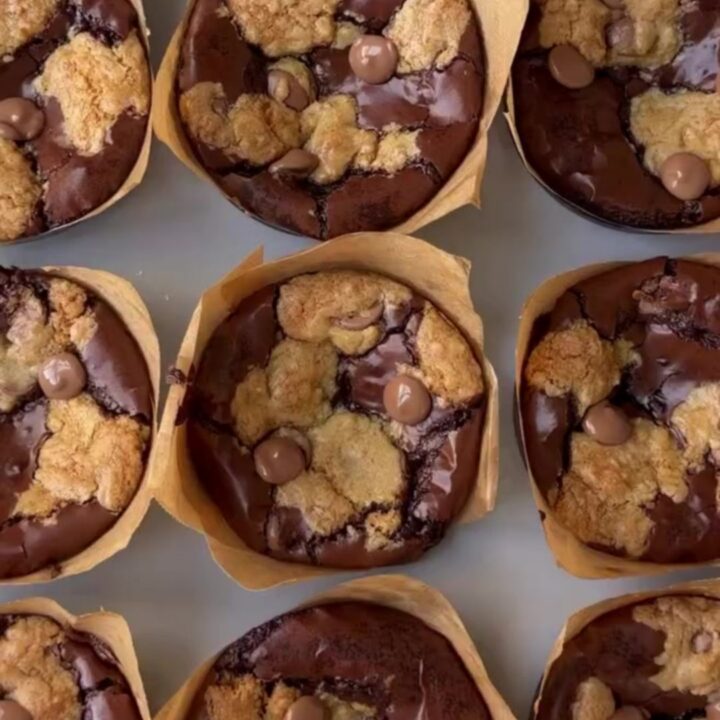
Brown Butter Brookie Cups with Fudgy Brownie Centers
Ingredients
- 1/2 cup unsalted butter
- 1/4 cup unsweetened cocoa powder
- 1/2 cup light brown sugar, packed
- 1/4 cup granulated sugar
- 1 large egg
- 1 tsp vanilla extract
- 1/2 cup all-purpose flour
- 1/2 cup semisweet chocolate chips
- 1/2 tsp flaky sea salt, for topping
Instructions
- In a small saucepan over medium heat, melt the butter. Continue cooking, swirling the pan occasionally, until the butter turns golden brown and smells nutty, about 3-4 minutes. Remove from heat immediately to prevent burning.
- Pour the browned butter into a mixing bowl. Let it cool for 2 minutes, then whisk in the cocoa powder, brown sugar, and granulated sugar until well combined. Add the egg and vanilla extract, whisking vigorously until the mixture is glossy and smooth.
- Sprinkle the flour over the wet mixture and fold it in with a rubber spatula until just combined. Fold in the chocolate chips, reserving a few for the tops if desired. The batter will be thick and fudgy.
- Scoop the batter into a lightly greased muffin tin, filling each cup about two-thirds full. Use a small cookie scoop or spoon for even portions. Smooth the tops slightly.
- Place the muffin tin in a preheated 350°F (175°C) oven. Bake for 15 minutes, or until the edges are deep golden brown and the centers look set but are still soft. The tops may crack slightly.
- Remove the muffin tin from the oven and let the brookie cups cool in the pan for 5 minutes. While still warm, sprinkle the tops with flaky sea salt. Then transfer to a wire rack to cool completely.
- Once cooled, gently lift the brookie cups out of the muffin tin. Serve warm or at room temperature. For a gooey center, enjoy them within a few hours of baking.
Estimated nutrition per serving
- Calories
- 220
- Protein
- 3 g
- Carbohydrates
- 28 g
- Fat
- 11 g
Next recipe
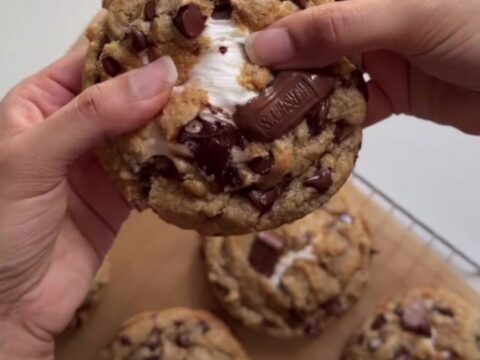
S'mores Stuffed Chocolate Chip Cookie Skillet
See the recipe → →This recipe is based on a short cooking video and is published under the pen name Clara Weller. It was checked before publication, but errors can slip through. Nutrition, when shown, is an estimate. Read more in our editorial policy and on our food safety page.
More recipes to try
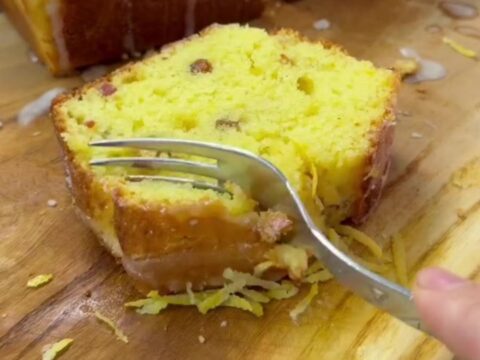
Bright Whole-Lemon Blender Cake with Lemon Glaze
Total time: 55 min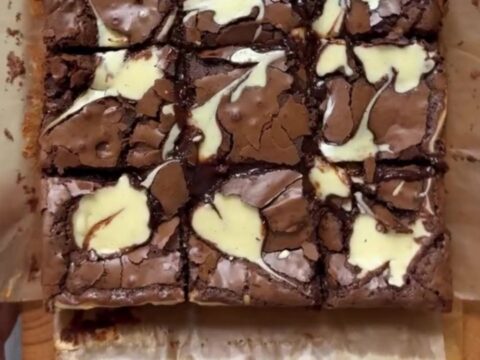
Brown Butter Cheesecake Brownies: Dangerously Fudgy
Total time: 40 min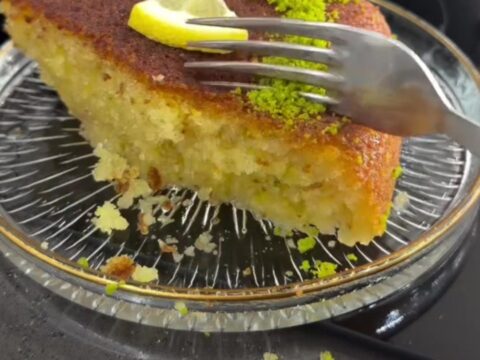
Traditional Turkish Revani Semolina Cake with Lemon Syrup
Total time: 1 h 20 min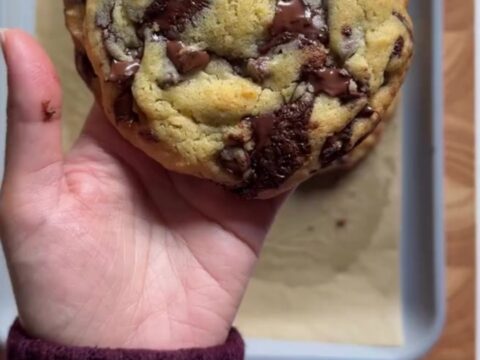
Crispy-Edged Two-Chip Bakery Cookies
Total time: 31 min
Bright Whole-Lemon Walnut Loaf Cake
Total time: 55 min