Desserts · Part 1 of 3: Ingredients
Witch’s Swamp Chocolate Bark
- Prep
- Cook
- Total
- Serves
- 8
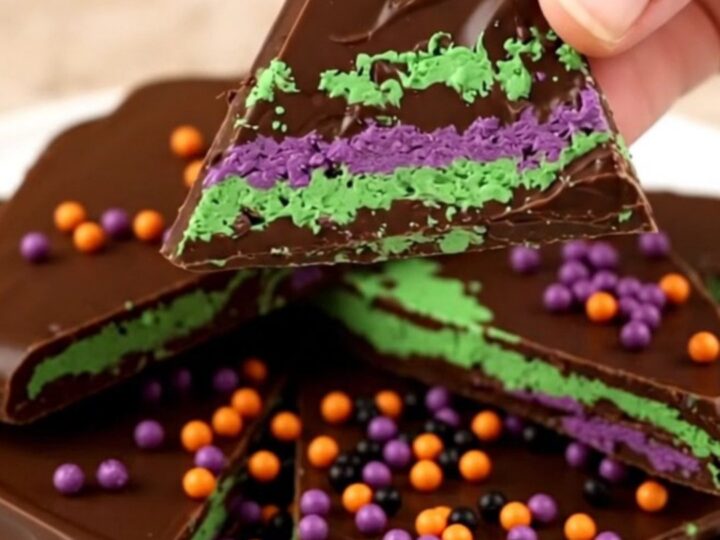
Discover the art of creating a spellbinding dessert that is as visually stunning as it is delicious. This Witch's Swamp Chocolate Bark combines the deep, intense flavor of dark chocolate with vibrant, swirling colors and a playful crunch from festive sprinkles.
It is the perfect centerpiece for themed gatherings or a simple way to add a touch of mystery to your dessert table. With minimal effort and a few basic ingredients, you can master this enchanting treat that captures the imagination of every guest.
Witch's Swamp Chocolate Bark is a simple yet impressive dessert that relies on the contrast between rich dark chocolate and colorful, melted candy accents. This recipe focuses on technique, showing you how to achieve a professional-looking marble effect without any specialized tools.
By layering melted ingredients and swirling them with intention, you create a beautiful, textured surface that is broken into individual shards. It is an ideal project for those who appreciate quick results and a high visual impact, making it a reliable choice for any seasonal celebration or casual party.
Ingredients
Bark Base
- 16 oz dark chocolate, melted
Swirls
- 1/2 cup green candy melts, melted
- 1/2 cup purple candy melts, melted
Topping
- 2 tbsp orange, purple and black sprinkles
Why this recipe works
The method of spreading dark chocolate first creates a stable, sturdy foundation that holds the decorative swirls perfectly. By applying the green and purple candy melts while the base is still warm, the colors blend seamlessly without becoming muddy. This technique allows you to control the intensity of the marbling, ensuring a beautiful pattern every time you make it.
The use of parchment paper is essential for this recipe as it allows for easy removal and clean snapping of the bark once it has set. The rapid cooling process in the refrigerator helps maintain the snap of the chocolate, preventing it from becoming too soft or dull.
This approach ensures that your final shards have a professional, glossy finish that makes the colors pop against the dark background.
Notes and substitutions
Choosing high-quality dark chocolate is recommended for the best flavor, but standard baking chocolate works perfectly well. If you prefer a sweeter bark, you can substitute milk chocolate, though the color contrast may be less dramatic. Ensure that all chocolate and candy melts are completely melted and smooth before you begin the assembly process to avoid any lumps in your final design.
The equipment required is minimal, consisting of a standard baking sheet and a spatula. If you do not have a silicone spatula, a clean metal spoon can be used to spread the chocolate.
The key to success is having all your components ready and within reach, as the chocolate sets relatively quickly once spread. You can experiment with different sprinkle shapes to change the texture and appearance of the swamp effect.
- dark chocolate: semi-sweet or milk chocolate chips
- candy melts: white chocolate tinted with gel food coloring
Equipment
- baking sheet
- parchment paper
- spatula
- microwave-safe bowls
- spoons
Up next · Part 2 of 3
3 steps · 5 min of cooking · what to look for at each stage
Step-by-step instructions (Part 2)