Dinner · Part 1 of 3: Ingredients
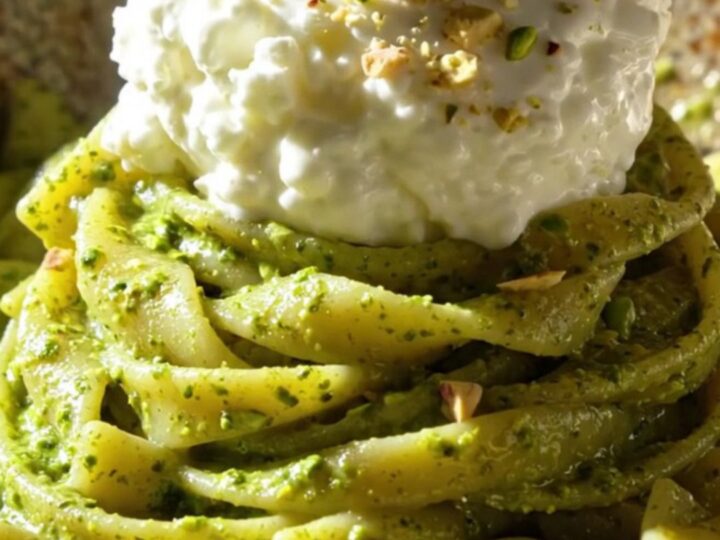
Vibrant Pistachio Pesto Trofie with Creamy Stracciatella
- Prep
- Cook
- Total
- Serves
- 4
Elevate your pasta night with a dish that captures the essence of Sicily. This pistachio pesto trofie is a masterclass in texture, combining earthy, roasted nuts with the delicate, creamy richness of fresh stracciatella cheese. It is a sophisticated yet simple meal that impresses with every bite.
Pistachio pesto is a beloved Sicilian classic, prized for its vibrant green hue and deep, nutty flavor. Unlike traditional basil pesto, this version relies on roasted pistachios to create a thick, luxurious base that clings beautifully to the ridges of trofie pasta.
The addition of cool, creamy stracciatella—a cheese made from mozzarella and cream—provides a refreshing contrast to the warm, savory pasta.
This recipe walks through the precise steps to achieve a perfectly emulsified sauce that highlights the quality of your ingredients. Whether you are hosting a dinner party or looking for an unforgettable weeknight meal, this dish delivers a restaurant-quality experience in your own kitchen.
Ingredients
Pesto
- 120 grams shelled roasted green pistachios
- 40 grams fresh sweet basil
- 60 grams Parmigiano-Reggiano
- 1 clove garlic
- 100 milliliters extra-virgin olive oil
- 2 cubes ice
Pasta
- 400 grams trofie pasta
- 80 milliliters starchy pasta water
Topping
- 150 grams chilled creamy stracciatella cheese
- crushed toasted pistachios for serving
Why this recipe works
The method of blending ingredients with ice is crucial for maintaining the pesto's bright, emerald-green color. The cold temperature prevents the basil from oxidizing, which would otherwise turn the sauce a dull brown. By keeping the blades cool during the blending process, you preserve the fresh, herbaceous notes of the basil while ensuring the pistachio oils emulsify properly with the olive oil.
Folding the pesto into the pasta off-heat is essential for texture and color retention. High heat can cause the cheese in the pesto to separate and the basil to lose its vibrancy. By using the starchy pasta water to thin the emulsion, you create a silky, cohesive sauce that binds to the trofie, ensuring every bite is flavorful and perfectly coated without becoming oily or dry.
Notes and substitutions
For the best results, use high-quality, unsalted roasted pistachios. If you only have salted nuts, adjust the amount of added salt in the pesto to ensure the balance remains correct.
The Parmigiano-Reggiano should be freshly grated to ensure it melts smoothly into the emulsion rather than remaining clumpy. If the pesto seems too thick, add a tiny bit more olive oil or pasta water until the desired consistency is achieved.
Trofie is the ideal pasta shape for this dish because its tight, twisted structure is designed to catch chunky sauces. However, if you cannot find it, any short, twisted pasta shape like fusilli or gemelli will work well.
Ensure you keep the stracciatella in the refrigerator until the very last second before serving; the temperature contrast between the hot pasta and cold cheese is one of the most defining characteristics of this beautiful dish.
- Trofie pasta: Fusilli or gemelli pasta are excellent alternatives that hold the sauce well.
- Parmigiano-Reggiano: Pecorino Romano can be used for a slightly sharper, saltier flavor profile.
Equipment
- Food processor or high-speed blender
- Large pasta pot
- Colander
- Mixing bowl
- Spatula
Up next · Part 2 of 3
3 steps · 10 min of cooking · what to look for at each stage
Step-by-step instructions (Part 2)