Desserts · Part 1 of 3: Ingredients
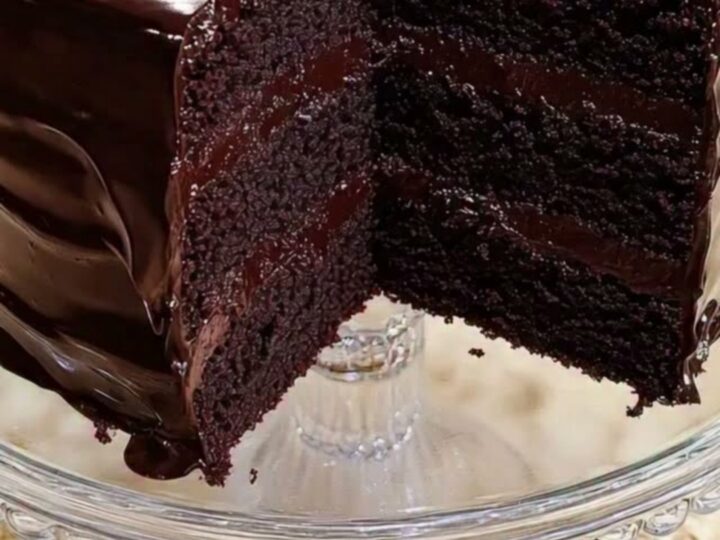
Ultra-Rich Dark Chocolate Fudge Cake
- Prep
- Cook
- Total
- Serves
- 12
Discover the secret to crafting a bakery-quality chocolate cake at home. This recipe focuses on layering moist sponge with rich ganache, creating a decadent dessert that is as beautiful as it is delicious.
Perfect for celebrations or simply satisfying a deep chocolate craving, this method ensures a professional result every time. By mastering the sequence of assembly and the technique for the ganache pour, the final presentation will impress guests and provide an unforgettable dining experience for any chocolate lover.
This dark chocolate fudge cake relies on the harmony between moist sponge layers and a velvety, warm ganache. The method emphasizes precision in assembly to ensure the structural integrity of the three-layer design. By utilizing a high-quality dark chocolate, the depth of flavor is enhanced, providing a sophisticated balance to the sweetness of the frosting.
This approach removes the guesswork from cake assembly, allowing for a refined finish that highlights the contrast between the glossy glaze and the textured frosting, resulting in a show-stopping dessert for any occasion.
Ingredients
Cake
- 3 layers chocolate sponge cake layers, store-bought or made ahead
Ganache and Frosting
- 1 cup dark chocolate ganache, prepared and kept warm
- 2 cups chocolate textured frosting
Why this recipe works
The method of stacking sponge layers with a thin barrier of frosting ensures that each piece remains moist and stable. By using a pedestal stand and a turntable, the assembly process becomes significantly more controlled, allowing for precise application of the textured frosting. This technique prevents the cake from sliding and ensures that every slice reveals clean, distinct layers.
Pouring the ganache while it is at the correct temperature is the key to achieving the signature glossy look. When the ganache is warm, it flows over the edges to create natural drips, while the textured frosting provides a rustic contrast.
This process highlights the importance of temperature management, which is essential for achieving a professional finish without the need for complex tools.
Notes and substitutions
When selecting ingredients, choose a high-quality dark chocolate with at least 60 percent cocoa solids to ensure the ganache has a deep, intense flavor. The texture of the frosting is vital; ensure it is soft enough to spread easily but firm enough to hold the decorative swirls. Using an offset spatula is non-negotiable for achieving the specific textured finish shown in the assembly process.
If the ganache appears too thin, allow it to rest for a few minutes at room temperature until it reaches a pourable, thick consistency.
Conversely, if the frosting becomes too soft during assembly, chill the cake for 15 minutes to firm up the layers before applying the final ganache glaze. These adjustments help maintain the structure and appearance of the cake throughout the decorating phase.
- dark chocolate ganache: a standard semi-sweet chocolate ganache for a slightly milder flavor profile
- textured frosting: a smooth chocolate buttercream if a less rustic finish is desired
Equipment
- offset spatula
- pedestal glass stand
- cake turntable
- serrated knife
Up next · Part 2 of 3
3 steps · 35 min of cooking · what to look for at each stage
Step-by-step instructions (Part 2)