Breakfast · Part 1 of 3: Ingredients
Two-Tone Chocolate Croissant Buns: Easy French-Style Pastry
- Prep
- Cook
- Total
- Serves
- 12
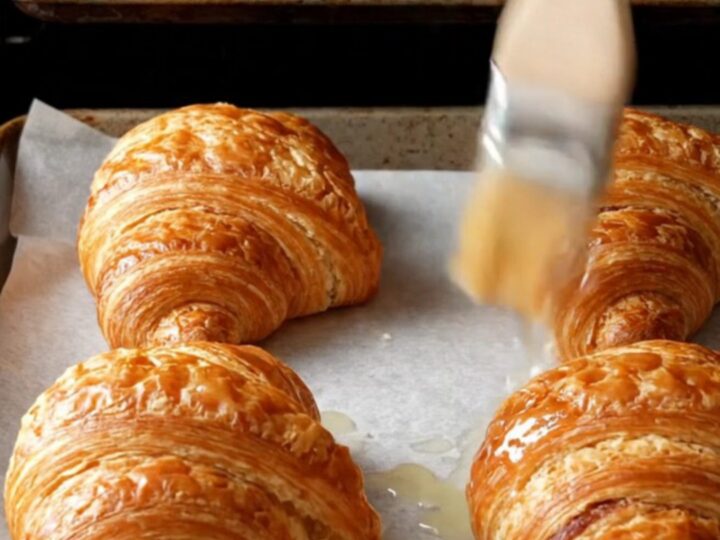
These two-tone chocolate croissant buns look like they came from a French bakery, but they are so easy to make at home! With a soft, buttery crumb and a striking zebra spiral of vanilla and dark chocolate, they’re perfect for breakfast or brunch.
The dough comes together quickly with simple ingredients, and there’s no complicated lamination – just roll, cut, and bake. The result is a batch of beautiful, flaky buns that taste as good as they look.
Imagine pulling apart a warm croissant bun to reveal intricate spiral layers of buttery pastry and melting chocolate. That’s what you get with these two-tone chocolate croissant buns.
They’re made with a soft, enriched dough that’s divided and colored with cocoa, then stacked and rolled to create those gorgeous zebra stripes. The method is surprisingly simple: no folding, no chilling, just a straightforward dough that comes together in minutes. Bake them for a weekend treat, and watch them disappear.
Ingredients
- 1 cup warm milk
- 1 cup warm water
- 1/2 cup vegetable oil
- 1 tbsp active dry yeast
- 3 tbsp granulated sugar
- 4 cups all-purpose flour
- 3 tbsp dark Dutch cocoa powder
- 2 tbsp milk
- 1/4 cup unsalted butter, melted
- 1 egg, beaten (for egg wash)
- 1/4 cup simple sugar syrup
Why this recipe works
The secret to these buns is the two-tone dough. By dividing the dough and coloring one half with cocoa, you create a visual contrast that turns an ordinary roll into something special.
When the two sheets are stacked and rolled together, the layers spiral into a beautiful pattern that looks like it took hours of effort. The dough itself is soft and pliable, thanks to the oil and milk, which keep it tender without the need for butter lamination.
Rolling the stacked dough into triangles and then rolling them up creates the classic croissant shape. The layers of white and chocolate dough are pressed together, so they bake into distinct spirals.
The egg wash gives a golden sheen, and the simple syrup adds a glossy finish that makes them look professionally baked. This method is forgiving and foolproof, perfect for home bakers who want impressive results without the fuss.
Notes and substitutions
Use warm milk and water (about 110°F/43°C) to activate the yeast properly. If the liquid is too hot, it can kill the yeast; if too cool, the dough will take longer to rise. The dough should be soft and slightly sticky but manageable. You can adjust the flour amount by a tablespoon or two if needed. Active dry yeast works well; instant yeast can be used directly without proofing.
Dutch cocoa powder gives a deep, dark color and rich flavor. If you only have regular cocoa powder, that works too – just note the color will be slightly lighter. The simple sugar syrup is easy to make by heating equal parts sugar and water until dissolved. You can also use a store-bought glaze or honey. For the egg wash, a whole beaten egg gives the shiniest result; using just yolk will make it even more golden.
- vegetable oil: canola or sunflower oil
- dark Dutch cocoa powder: regular unsweetened cocoa powder
- all-purpose flour: bread flour for a chewier texture
- simple sugar syrup: honey or maple syrup mixed with a little water
Equipment
- Large mixing bowl
- Whisk
- Rolling pin
- Pizza cutter or sharp knife
- Baking sheet
- Pastry brush
Up next · Part 2 of 3
9 steps · 22 min of cooking · what to look for at each stage
Step-by-step instructions (Part 2)