Breakfast · Part 1 of 3: Ingredients
Tropical Mango Passion Fruit Danish with Flaky Puff Pastry
- Prep
- Cook
- Total
- Serves
- 6
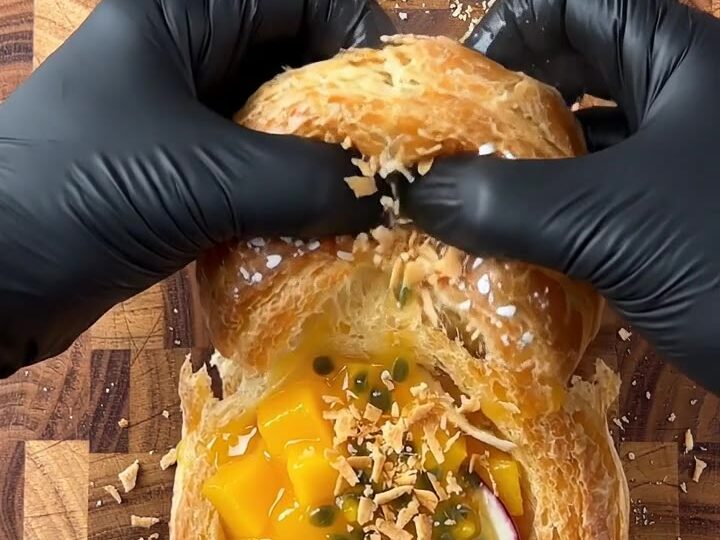
Imagine a flaky golden pastry with a cool, creamy center, sweet fanned mango and a sharp burst of passion fruit. This tropical danish comes together quickly from a few simple ingredients, and each bite brings together tangy, sweet and toasty flavors in one neat piece for breakfast or brunch.
This tropical mango danish is built on pre-baked puff pastry, which gives you the flaky layers without any dough work at home. A thin layer of grated cream cheese forms the creamy base, and ripe mango slices fan over it in overlapping rows.
Spooned passion fruit pulp and seeds add a glossy, jewel-toned top, while toasted coconut flakes finish each danish with a warm, nutty fragrance. The method is simple: prepare the fruit, grate the filling, arrange, brush, top and bake. Every step has a clear visual cue, so even a first attempt looks neat and bakery-style on the tray.
Ingredients
- 1 sheet pre-baked puff pastry, store-bought or made ahead, cut into 6 rectangles
- 4 oz cream cheese, firm and chilled
- 1 ripe mango, peeled and sliced into fan-cut segments
- 2 passion fruits, halved, seeds and pulp scooped out
- 1 large egg, beaten, for egg wash
- 2 tbsp unsweetened coconut flakes, toasted
Why this recipe works
Puff pastry rises in the oven because its cold butter releases steam between thin layers of dough, which is why the danish comes out light and flaky. Starting with a pre-baked sheet means the pastry only needs to brown and set, so the fruit and cream stay fresh rather than cooking away.
Grating the cream cheese instead of spreading it cold keeps the filling thin and even, so it melts softly into the pastry instead of pooling in the center.
The egg wash does two jobs at once. It seals the edges of the pastry so the cream stays inside the rectangle, and it gives the crust a deep golden shine as it bakes. Fanning the mango in overlapping rows places the fruit so each slice warms gently and keeps its color, and the passion fruit spooned on top at the end stays bright and glossy rather than cooking into a dull, sunken layer.
Notes and substitutions
Choose a ripe mango that gives slightly when pressed, with a fragrant smell near the stem. A firm, underripe mango will not fan neatly and tastes sharp rather than sweet.
Passion fruits are ripe when the skin is deeply wrinkled and heavy for their size. Cream cheese should be firm and chilled so it grates into fine shavings instead of smearing. Keep the block in the refrigerator until the moment you grate it.
A long chef's knife makes the cleanest fan cuts, and a box grater with fine holes gives the best shavings for the filling. You need a parchment-lined baking tray so the pastries release easily and the bottoms brown evenly.
A pastry brush spreads the egg wash without tearing the edges, and a small spoon lets you drizzle passion fruit over the mango in a controlled way. Keep a small bowl ready for the beaten egg.
- Cream cheese: Firm mascarpone or a thick, chilled ricotta drained overnight, grated the same way
- Fresh mango: Thawed frozen mango slices, patted very dry before arranging
- Unsweetened coconut flakes: Unsweetened shredded coconut, toasted in the same way
Equipment
- Long chef's knife
- Cutting board
- Box grater
- Parchment-lined baking tray
- Pastry brush
- Small spoon
- Small bowl for the egg wash
Up next · Part 2 of 3
6 steps · 10 min of cooking · what to look for at each stage
Step-by-step instructions (Part 2)