Desserts · Part 3 of 3: Tips & recipe card
Sweet and Salty Oven Caramel Corn with Roasted Peanuts Tips, FAQ & printable recipe
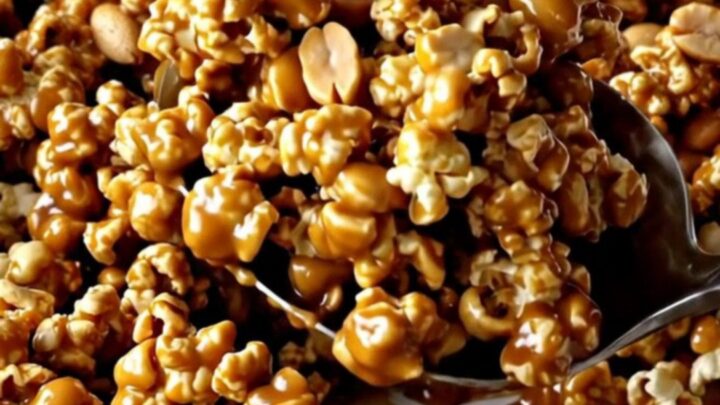
- Prep
- Cook
- Total
- Serves
- 8
Tips for success
To achieve the most consistent flavor, toss the popcorn halfway through the baking time. This redistributes the caramel and ensures that the kernels on the bottom of the dish receive as much coating and heat as those on the top.
Be very gentle when tossing to avoid breaking the delicate popcorn kernels, using a wide spoon to lift and turn the mixture rather than stirring vigorously.
If the caramel corn tends to stick together too much after cooling, simply break the larger clusters apart with your hands or the back of a spoon.
If you prefer a saltier profile, a light sprinkle of flaky sea salt immediately after removing the dish from the oven can enhance the flavor profile. Store the finished popcorn in an airtight container to maintain its crispness and prevent it from absorbing moisture from the air.
Variations
- Spiced Caramel Corn: Add a teaspoon of ground cinnamon or a pinch of cayenne pepper to the caramel before drizzling. This adds a warm or spicy kick that complements the deep sweetness of the brown sugar.
- Chocolate Drizzle: Once the caramel corn has cooled completely, drizzle it with melted dark or white chocolate. Allow the chocolate to set before serving for an extra layer of decadence and visual appeal.
Storage and make-ahead
- Fridge
- Refrigeration is not recommended as it can introduce moisture, which will soften the caramel and make the popcorn chewy.
- Freezer
- Freezing is not recommended as the texture of the popcorn will be compromised upon thawing.
- Reheat
- If the popcorn loses its crispness, spread it on a sheet and heat in a 250°F oven for 5 minutes, then cool completely to regain the crunch.
Store the caramel corn in an airtight container at room temperature to maintain its crisp texture. It should be kept in a cool, dry place away from direct sunlight or heat sources. Properly stored, it will remain fresh and crunchy for up to one week, though it is best enjoyed within the first few days for maximum flavor and texture.
This recipe is excellent for making ahead as it stores well for several days. Prepare the caramel corn as directed, allow it to cool completely to room temperature, and then seal it in an airtight container or a heavy-duty resealable plastic bag. It maintains its quality perfectly, making it a convenient option for events or as a homemade gift.
Serving ideas
Serve the caramel corn in a large, wide bowl to allow guests to easily pick out their desired portion. Because the clusters can be quite large, providing small serving cups or bags can make it easier for guests to enjoy without getting sticky hands.
It pairs beautifully with a variety of beverages, from cold milk to warm cider, making it a versatile snack for both casual gatherings and more formal entertaining.
For a more elegant presentation, serve the popcorn in individual glass jars or parchment-lined cones. This not only looks appealing but also helps with portion control and keeps the caramel corn fresh for longer during an event.
If serving as a dessert, consider pairing it with a side of fresh fruit or a simple vanilla bean ice cream to balance the intensity of the sweet and salty caramel.
Frequently asked questions
Can this be made without a baking dish?
Why is the popcorn chewy instead of crunchy?
How can the popcorn be kept fresh for longer?
Sweet and Salty Oven Caramel Corn with Roasted Peanuts
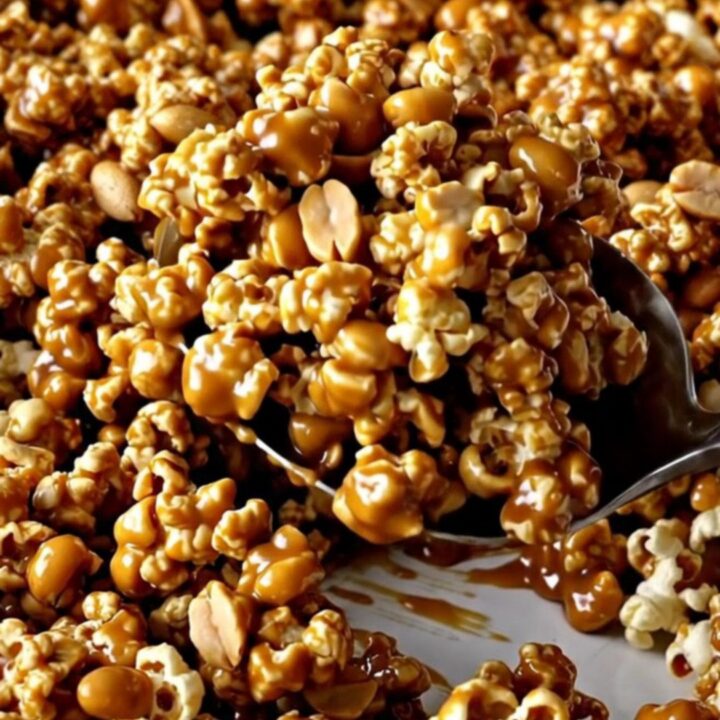
Ingredients
- 8 cups popped popcorn
- 1 cup brown sugar caramel sauce
- 1/2 cup roasted peanuts
Instructions
- Preheat the oven to 300°F (150°C). Spread the fluffy popped popcorn evenly across the bottom of a large rectangular ceramic baking dish to ensure it is ready for the coating.
- Slowly drizzle the thick amber brown sugar caramel over the popcorn in a steady ribbon to coat as much surface area as possible. Immediately sprinkle the roasted peanuts evenly over the top of the caramel-coated popcorn.
- Place the baking dish into the preheated oven and bake for 45 minutes, stirring gently halfway through to ensure even coating. Remove from the oven and let it cool completely before serving.
Estimated nutrition per serving
- Calories
- 280
- Protein
- 3.5 g
- Carbohydrates
- 42 g
- Fat
- 11 g
- Fiber
- 3 g
- Sugar
- 25 g
- Sodium
- 150 mg
Next recipe

Easy Chocolate Covered Peanut Butter Cracker Sandwiches
See the recipe → →This recipe is based on a short cooking video and is published under the pen name Clara Weller. It was checked before publication, but errors can slip through. Nutrition, when shown, is an estimate. Read more in our editorial policy and on our food safety page.
More recipes to try

Easy Pumpkin Pretzel Bites for Autumn Parties
Total time: 20 min
Classic Pumpkin Gooey Butter Bars
Total time: 1 h 30 min
Black Poison Candy Apples with Purple Sugar
Total time: 1 h 5 min
Quick Halloween Caramel Apples with Sprinkles
Total time: 30 min
No-Bake Apple Pie Graham Bites for a Quick Fall Treat
Total time: 10 min