Desserts · Part 1 of 3: Ingredients
Easy Candy Corn Pretzel Rods for Festive Snacking
- Prep
- Cook
- Total
- Serves
- 12
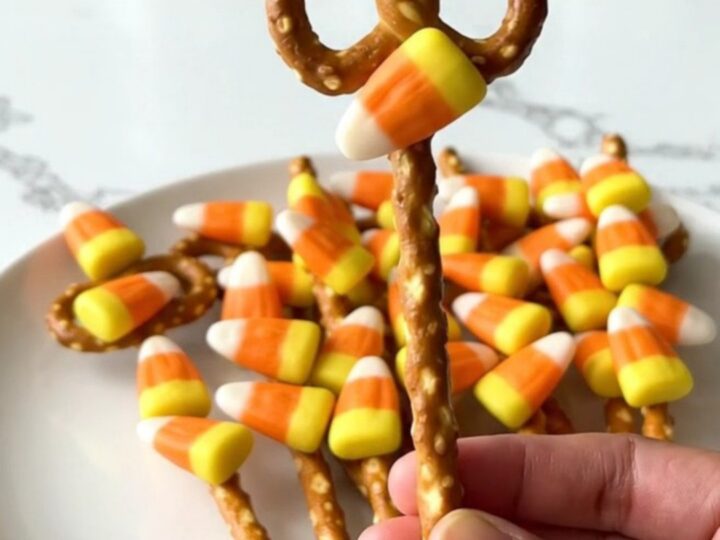
Discover the effortless way to elevate your snack table with these vibrant candy corn pretzel rods. Combining the satisfying crunch of a salted pretzel with the sweet, creamy finish of orange-colored candy, these treats are a visual delight that perfectly captures the spirit of the season.
With just three simple ingredients and a straightforward assembly process, this recipe is designed for maximum impact with minimal effort, making it a reliable go-to for any gathering or festive occasion throughout the autumn months.
These candy corn pretzel rods are the ultimate quick-fix treat for those who appreciate the classic combination of sweet and salty flavors. By using high-quality candy melts and fresh, crisp pretzel rods, you can create a professional-looking snack that stands out on any dessert platter.
The process is simple enough for beginners to master in just a few minutes, yet the final result is polished and inviting. Whether you are hosting a festive party or simply looking for a fun kitchen project, these pretzels deliver consistent results every single time you make them.
Ingredients
- 12 count pretzel rods
- 1 cup orange candy melts
- 1/2 cup candy corn
Why this recipe works
The method of dipping and immediately pressing the candy corn works because the cooling candy acts as a natural adhesive. By keeping the rods on parchment paper, you ensure that the coating remains uniform and that the pretzels do not stick to the tray as they transition from liquid to solid. This technique allows for a controlled application of the candy, resulting in an even layer that holds the decorations firmly in place without sliding off.
Using a microwave-safe bowl for melting ensures that the candy reaches the ideal consistency for dipping without the risk of burning or seizing. The choice of parchment paper is crucial as it creates a non-stick environment that makes the cleanup process efficient.
This streamlined approach minimizes the need for complex tools, focusing instead on the quality of the ingredients and the precision of the dipping action to achieve a professional finish that is both aesthetically pleasing and delicious.
Notes and substitutions
When selecting ingredients, opt for high-quality candy melts that melt smoothly rather than standard chocolate chips, which can be temperamental when melted. The orange color is essential for the theme, but you can always adjust the hue if needed.
Ensure the pretzel rods are fresh and crisp; stale pretzels will compromise the final texture of the treat. If you find the candy is setting too fast, keep the bowl near the workspace, but avoid direct heat sources that might cause the candy to separate or clump.
The equipment required is minimal: a baking sheet, parchment paper, and a microwave-safe bowl are all you need. If you are making a larger batch, consider using a deeper container for the candy melts, which makes the dipping process easier by allowing you to submerge the rod more deeply in a single motion. Always keep extra candy corn on hand, as some pieces may be broken or have less-than-perfect shapes, and having a surplus allows you to select the best pieces for your final presentation.
- Orange candy melts: White chocolate dyed with orange food coloring or melted butterscotch chips.
- Candy corn: Fall-themed sprinkles or chopped peanuts for a different texture and flavor profile.
Equipment
- Baking sheet
- Parchment paper
- Small white bowl
- Microwave-safe container