Dinner · Part 1 of 3: Ingredients
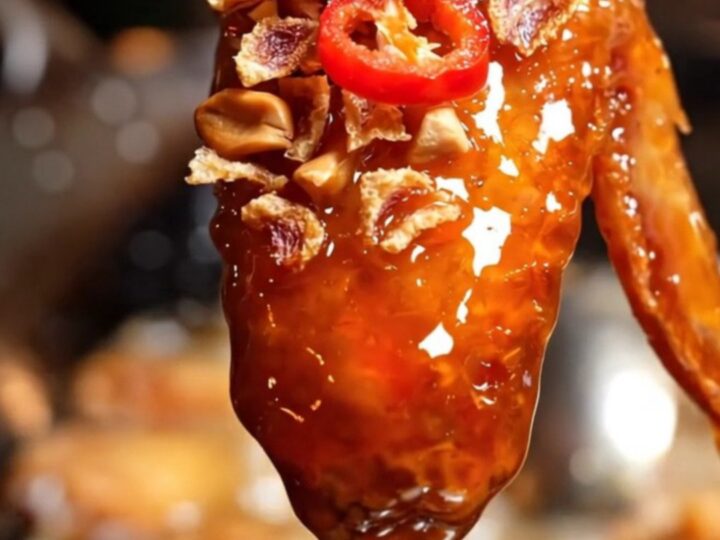
Sticky Thai Sweet Chili Wings for a Bold Dinner
- Prep
- Cook
- Total
- Serves
- 4
Elevate your dinner routine with these Thai-inspired wings that deliver a perfect crunch and a complex, sticky-sweet glaze. This recipe captures the essence of a vibrant night-market snack in your own kitchen, using simple techniques to achieve professional results.
Once you experience the combination of tangy fish sauce, aromatic lime, and the fiery kick of bird's eye chili, these wings will become a permanent fixture in your rotation for any gathering or casual weeknight meal.
These wings are designed for those who crave bold flavors and satisfying textures. By marinating the chicken in a blend of savory fish sauce and bright lime juice, the meat becomes flavorful from the inside out. The rice flour coating provides a unique, light, and shatteringly crisp shell that holds the sticky glaze perfectly.
Finished with a mountain of crunchy toppings, these wings offer a multi-sensory experience that is both sophisticated and incredibly fun to eat. Follow these steps to bring the energetic spirit of a Bangkok night market directly to your dining table.
Ingredients
Chicken
- 2 lb chicken wings
Marinade
- 2 tbsp fish sauce
- 1 tbsp lime juice
- 1 tsp white pepper
Coating
- 1 cup rice flour
Glaze
- 1/2 cup sweet chili garlic sauce
- 2 tbsp palm sugar
Garnish
- 1/4 cup fried shallots, for garnish
- 2 tbsp crushed roasted peanuts, for garnish
- 1 tbsp red bird's eye chili rings, for garnish
- 2 tbsp fresh Thai basil, chopped
Why this recipe works
The method of marinating in fish sauce and lime juice creates an acidic environment that tenderizes the chicken while infusing it with deep savory notes. This base is essential for balancing the sweetness of the chili glaze, preventing the final dish from feeling one-dimensional. The white pepper adds a subtle, earthy heat that lingers on the palate, perfectly complementing the freshness of the Thai basil garnish.
Using rice flour for dredging is the secret to achieving a crust that stays crispy for longer than traditional wheat flour. Rice flour has a lower protein content, which limits gluten development and results in a lighter, more delicate crunch.
When fried at a high, consistent temperature, the flour creates a porous surface that effectively traps the sticky sweet chili and palm sugar glaze, ensuring every bite is fully coated and flavorful.
Notes and substitutions
The choice of chicken wings is crucial for this recipe; ensure they are dried thoroughly before dredging to help the coating adhere properly. A carbon-steel wok is recommended as it distributes heat rapidly and efficiently, which is necessary for the quick frying and glazing steps. If using a standard deep fryer, monitor the temperature closely to ensure the oil remains at 370°F (188°C) throughout the cooking process.
For the best results, use fresh bird's eye chilies and high-quality palm sugar. Palm sugar has a distinct, caramel-like depth that granulated sugar cannot replicate. If you prefer less spice, remove the seeds from the chilies before slicing them into rings.
The garnishes are not just for presentation; the crunch of the fried shallots and the earthiness of the crushed peanuts are vital to the overall texture profile of this dish.
- Rice flour: Cornstarch can be used as a substitute for a similar crispy texture.
- Palm sugar: Light brown sugar works well if palm sugar is unavailable.
Equipment
- Carbon-steel wok
- Mixing bowl
- Tongs
- Deep-fry thermometer
- Paper towels
Up next · Part 2 of 3
3 steps · 10 min of cooking · what to look for at each stage
Step-by-step instructions (Part 2)