Dinner · Part 1 of 3: Ingredients
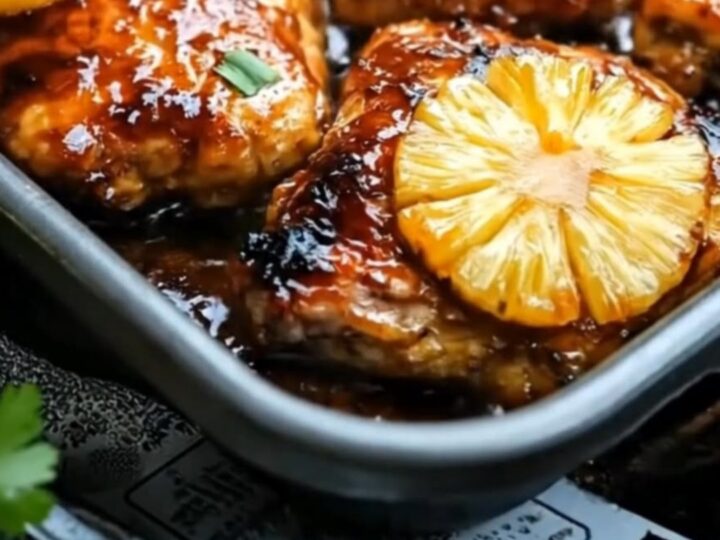
Sticky Pineapple Chicken with Caramelized Glaze
- Prep
- Cook
- Total
- Serves
- 4
This sticky pineapple chicken is the ultimate weeknight dinner solution for anyone seeking bold, sweet, and savory flavors without spending hours in the kitchen. With its glossy amber glaze and caramelized fruit topping, it looks like a restaurant-quality meal that is surprisingly easy to prepare at home.
The combination of tender chicken and the tropical sweetness of pineapple makes it an instant favorite for family dinners or casual gatherings, and you only need a few pantry staples to pull it all together.
The magic of this dish lies in the caramelization process that happens right in the skillet. By using a pre-made glaze, you create a reduction that clings perfectly to the seared chicken thighs, creating a rich, sticky texture that is both satisfying and delicious.
The pineapple rings are added during the final stages of cooking, allowing them to absorb the savory notes of the glaze while maintaining their natural sweetness. It is a straightforward, reliable recipe that transforms basic ingredients into something truly special.
Ingredients
Main
- 2 lb boneless skinless chicken thighs
- 1 can pineapple rings, drained
Glaze
- 1 cup prepared sticky amber glaze, store-bought or made ahead
Garnish
- 2 tbsp chopped scallions
Why this recipe works
The method of searing the chicken first ensures a deep, savory foundation before the glaze is added. This step locks in the natural juices of the meat, which is essential for maintaining tenderness throughout the cooking process. As the glaze bubbles, the sugars in the fruit and the sauce caramelize, creating a complex flavor profile that balances the saltiness of the dish perfectly.
Using a single skillet for the entire process simplifies cleanup and keeps all the flavors concentrated in one place. As the sauce reduces, it coats every piece of chicken evenly, ensuring that every bite is packed with the sweet and savory glaze.
This technique is highly efficient for busy home cooks who want to achieve professional results without the need for multiple pots or complex cooking methods.
Notes and substitutions
Boneless, skinless chicken thighs are the ideal choice here because they are naturally more forgiving and stay moist during the glazing process. If you prefer using chicken breasts, be careful not to overcook them, as they can quickly become dry. If you find the glaze is thickening too quickly, you can add a small splash of water or pineapple juice from the can to adjust the consistency to your liking.
When it comes to equipment, a heavy-bottomed skillet is your best friend. It provides even heat distribution, which is crucial for preventing the glaze from burning.
If you do not have a basting brush, a simple spoon works perfectly well for drizzling the sauce over the chicken repeatedly. Ensure your scallions are sliced thinly to provide a light, fresh contrast to the rich, sticky sauce that defines the final dish.
- chicken thighs: chicken breasts, although thighs remain juicier during the glazing process
Equipment
- Large skillet
- Basting brush
- Chef knife
- Cutting board
- Tongs
Up next · Part 2 of 3
3 steps · 25 min of cooking · what to look for at each stage
Step-by-step instructions (Part 2)