Dinner · Part 2 of 3: Instructions
Sticky Glazed BBQ Ribs for Tender Results Step-by-step instructions
- Prep
- Cook
- Total
- Serves
- 4
Before you start
Before you begin, ensure your workspace is clean and you have enough aluminum foil to wrap the entire rack of ribs completely.
It is important to bring the ribs out of the refrigerator about 20 minutes before cooking so they do not go into the oven ice-cold, which helps ensure more even cooking.
Have your baking sheet ready and preheat the oven to the correct temperature. Double-check that you have enough barbecue sauce to coat the ribs thoroughly, as this is the key to the final glaze.
Ingredients at a glance (2)
- 3 lb pork baby back ribs, membrane removed
- 1 cup barbecue sauce
Instructions
Preparation and Wrapping
- Prepare the RibsPreheat your oven to 275°F (135°C). Line a baking sheet with aluminum foil and a layer of butcher paper. Place the rack of ribs on the prepared tray and wrap them tightly in the foil to ensure they stay moist while cooking.Look for The ribs are securely wrapped in foil.Tip Removing the membrane from the back of the ribs helps them become much more tender.
The ribs should be securely sealed in the foil wrap to prevent any moisture loss during the long roasting process. The butcher paper should be positioned correctly to prevent sticking to the foil. Ensure the oven is steady at the lower temperature before placing the tray inside.
Slow Roasting
- Slow Roast the RibsPlace the tray in the oven and roast for approximately 2.5 to 3 hours. Roast until the meat is tender and has reached an internal temperature of 145°F (63°C). Once reached, carefully remove the foil and brush the ribs generously with the barbecue sauce. Let the meat rest for at least 3 minutes.Look for The meat is tender and pulling back from the bone.Safe temperature 145°F (63°C) internal temperature (steaks, chops and roasts)Tip Check the internal temperature in the thickest part of the meat.
The meat will smell savory and slightly earthy as it roasts slowly. Check for a change in color, as the meat begins to shrink slightly away from the bone. The texture should feel soft when touched through the foil, indicating the collagen is breaking down properly.
Caramelizing and Finishing
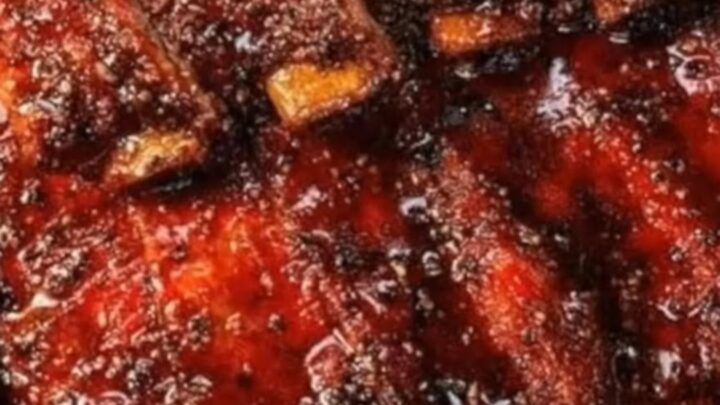
- Caramelize and ServeIncrease the oven temperature to 400°F (200°C) and return the ribs to the oven uncovered for 10 to 15 minutes. This step caramelizes the glaze, creating a sticky, glistening finish. Remove from the oven, let the meat rest for 10 minutes, then slice and serve immediately.Look for The sauce is bubbly and deeply caramelized.Safe temperature 145°F (63°C) internal temperature (steaks, chops and roasts)Tip Do not skip the resting time, as it allows the juices to redistribute.
The final phase turns the sauce into a dark, sticky, and glistening coating. The ribs should look deeply browned and charred in spots. The smell will be intensely sweet and savory. Ensure the meat is rested before serving to lock in the moisture and flavor.
Common mistakes
A common mistake is rushing the cooking process by using a heat that is too high, which results in tough, chewy meat rather than the desired fall-off-the-bone texture.
Another error is failing to seal the foil tightly, which allows steam to escape and dries out the ribs. Avoid applying the barbecue sauce too early in the cooking process, as the high sugar content in the sauce can burn and turn bitter before the meat is fully tender.
How to tell it’s done
The ribs are done when the meat is visibly pulling away from the ends of the bones and the rack bends easily when lifted with tongs. Using a digital meat thermometer, ensure the internal temperature has reached at least 145°F (63°C).
The meat should be tender enough to pull away from the bone with minimal resistance. Always allow the ribs to rest for at least 10 minutes before slicing to keep the meat juicy and flavorful.
- Steaks, chops and roasts: 145°F (63°C) in the thickest part, then a 3-minute rest
Up next · Part 3 of 3
2 variations · storage & make-ahead · 3 answers · printable card
Tips, FAQ & printable recipe (Part 3)← Back to the ingredients (Part 1)