Dinner · Part 1 of 3: Ingredients
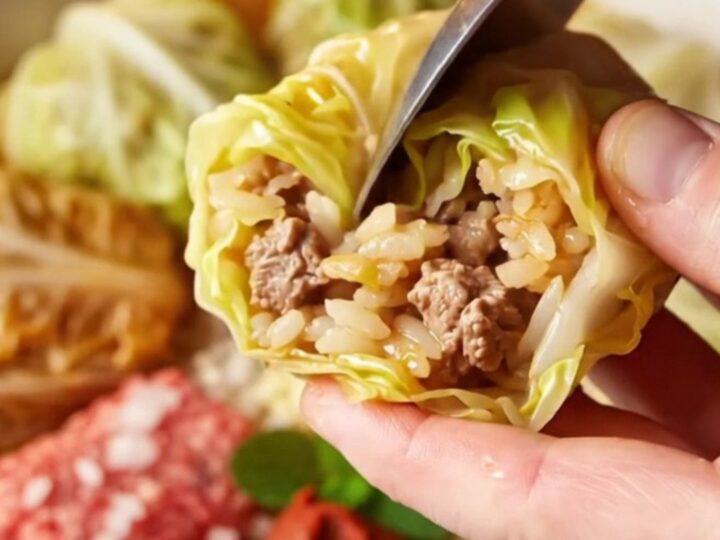
Steaming Hot Stuffed Cabbage Cups with Beef and Rice
- Prep
- Cook
- Total
- Serves
- 4
These stuffed cabbage cups turn a classic comfort food into an elegant, one-dish dinner. Tender cabbage leaves hug a savory filling of ground beef and rice, all baked in a rich tomato broth until golden and bubbling.
The individual portions are easy to serve and even easier to love. Perfect for a cozy weeknight meal or a special Sunday supper, this recipe delivers deep flavor with minimal fuss. The cabbage becomes silky and sweet as it bakes, while the filling stays juicy and aromatic.
Stuffed cabbage is a beloved dish across many cuisines, and this version simplifies the process without losing any of the soul. Instead of rolling tight cylinders, the cabbage leaves are molded into neat cups using a small bowl, making them sturdy and beautiful.
The filling is seasoned with mint, cumin, and pepper paste for a fragrant, slightly spicy kick. A simple tomato broth keeps everything moist and adds a bright, tangy contrast. The result is a comforting meal that feels both familiar and fresh. Serve these steaming hot, straight from the oven, and watch them disappear.
Ingredients
- 1 large head white cabbage (about 3 lb)
Filling
- 300 g ground beef (about 10 1/2 oz)
- 1 1/2 cups rinsed white rice
- 1 diced onion
- 1 tbsp tomato paste
- 1 tbsp pepper paste
- 2 cloves garlic, minced
- 1 tbsp olive oil
- 1 tsp dried mint
- 1 tsp ground cumin
- 1 tsp salt
- 1/2 tsp black pepper
Broth
- 1 1/2 cups hot water
- 1 tbsp tomato paste
- 1 tbsp olive oil
Why this recipe works
The method of blanching the cabbage leaves before assembling ensures they are pliable enough to fold without tearing. This brief cooking also softens the leaves' fibrous texture, allowing them to meld with the filling during baking. The result is a tender, melt-in-your-mouth wrapper that complements the hearty filling.
Molding the parcels in a small glass bowl creates a uniform, cup-like shape that holds together beautifully. Inverting them into the baking dish seals the edges and traps the juices inside.
Baking in a tomato broth adds moisture and flavor, while the covered dish steams the parcels gently, ensuring the rice cooks perfectly and the meat stays succulent.
Notes and substitutions
Choose a large head of cabbage with loose, flexible outer leaves. Savoy cabbage also works well and has a slightly sweeter flavor. If the leaves are very thick, blanch them for an extra minute or two. The filling can be adjusted to taste, but the mint and cumin are essential for the characteristic aroma.
Pepper paste is a common ingredient in Middle Eastern and Balkan cooking; it adds a rich, roasted pepper flavor. If unavailable, substitute with additional tomato paste and a pinch of red pepper flakes.
The dish is traditionally baked in a round Borcam dish, but any oven-safe baking dish will work. Serve with yogurt or sour cream on the side, if desired.
- ground beef: ground lamb, pork, or a mix of ground meats for a different flavor
- pepper paste: additional tomato paste mixed with a pinch of red pepper flakes for heat
- dried mint: fresh mint, finely chopped, using 1 tablespoon
- white rice: brown rice, but increase the cooking time and add extra broth
Equipment
- Large pot for blanching
- Colander
- Mixing bowl
- Small glass dessert bowl (about 1/2-cup capacity)
- Round baking dish (Borcam or similar)
- Whisk
- Measuring cups and spoons
- Chef's knife and cutting board
Up next · Part 2 of 3
6 steps · 48 min of cooking · what to look for at each stage
Step-by-step instructions (Part 2)