Desserts · Part 2 of 3: Instructions
Easy Slow Cooker Pumpkin White Chocolate Dump Cake Step-by-step instructions
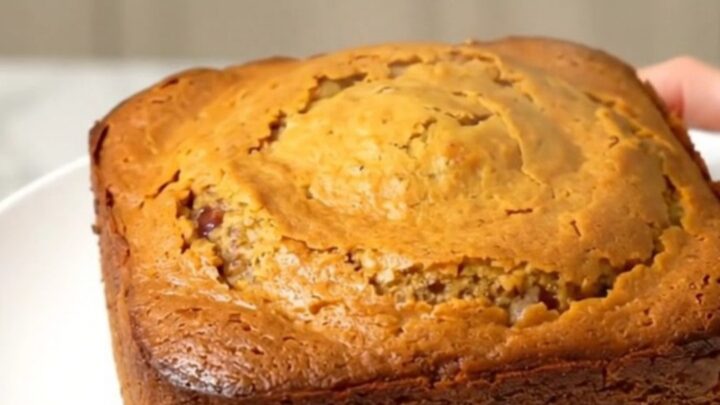
- Prep
- Cook
- Total
- Serves
- 8
Before you start
Before beginning, ensure the slow cooker is placed on a stable, heat-resistant surface near a power outlet. Gather all ingredients and have them ready for quick assembly. Since there is no mixing required, the preparation is minimal.
Simply slice the butter into thin, even pats to ensure it melts uniformly across the surface of the cake mix. Ensure the slow cooker insert is clean and dry before adding the pumpkin puree to the base to prevent any sticking during the slow cooking process.
Ingredients at a glance (4)
- 30 oz spiced pumpkin puree
- 1 box yellow cake mix
- 1 cup white chocolate chips
- 1/2 cup unsalted butter, sliced into pats
Instructions
Layering
- Layering the ingredientsPour the spiced pumpkin puree into the bottom of the slow cooker, spreading it into an even layer. Evenly sprinkle the dry yellow cake mix over the pumpkin, followed by the white chocolate chips. Finally, arrange the pats of butter across the top of the cake mix.Look for ensure the pumpkin is evenly spreadTip do not stir the ingredients after layering
At the end of this phase, the pumpkin puree should be evenly spread at the bottom, topped with a uniform layer of cake mix, white chocolate chips, and butter.
Ensure the butter is distributed across the entire surface to allow for even melting during the cooking process. Before proceeding, verify that the slow cooker is covered securely with the lid to begin the steam-cooking cycle.
Slow Cooking
- Slow cooking the cakeCover the slow cooker with the lid. Cook on high heat for three hours. Monitor the edges to ensure the cake sets properly without burning. The cake is ready when the edges are bubbling and the center is set.Look for the edges should look golden brownTip avoid opening the lid during cooking to keep the heat consistent
The cake is finishing when the edges show a deep golden color and the butter has completely melted into the cake mix. The kitchen should smell fragrant with the scent of pumpkin and spices. Check that the center is no longer raw and that the cake has pulled slightly away from the edges of the slow cooker insert before turning off the heat.
Resting and Serving
- Serving the dessertTurn off the slow cooker and remove the lid. Let the cake rest for ten minutes to allow the flavors to meld and the texture to firm up slightly. Serve warm directly from the slow cooker.Look for the steam should dissipate slightlyTip serve with a spoon to maintain the cobbler-like consistency
After resting, the cake should have a cohesive, warm, and soft texture. The white chocolate will be incorporated into the cake, creating a creamy finish. Before serving, ensure the temperature has dropped slightly to a comfortable eating level. The dish is ready to be scooped directly onto plates while still warm, maintaining its characteristic moist and comforting consistency.
Common mistakes
A common mistake is stirring the ingredients after they have been layered. It is crucial to leave the layers intact so the cake mix can absorb the moisture from the pumpkin and the fat from the butter to create the desired texture.
Another error is using a slow cooker that is too small, which can lead to uneven cooking or overflow. Finally, avoid lifting the lid frequently during the cooking process, as this releases heat and steam, which are essential for properly cooking the cake mix through.
How to tell it’s done
The cake is done when the edges are golden brown and bubbling, and the center is set with a soft, spoonable texture. Because this is a dump cake, it will not have the structure of a traditional sponge cake; it should resemble a warm cobbler or pudding-like dessert.
If the center appears too liquid, continue cooking for an additional fifteen minutes. Ensure the cake is served warm for the best experience, as the texture is most enjoyable when the white chocolate is slightly melted.
Up next · Part 3 of 3
2 variations · storage & make-ahead · 3 answers · printable card
Tips, FAQ & printable recipe (Part 3)← Back to the ingredients (Part 1)