Desserts · Part 1 of 3: Ingredients
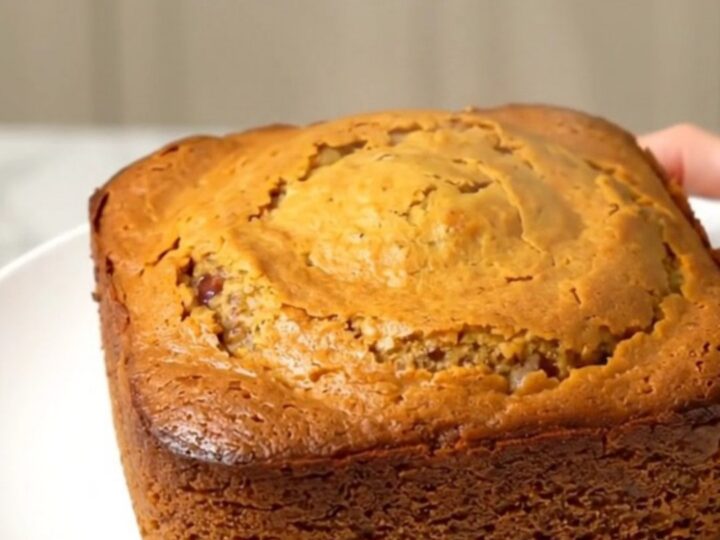
Easy Slow Cooker Pumpkin White Chocolate Dump Cake
- Prep
- Cook
- Total
- Serves
- 8
Discover the effortless magic of a slow cooker dump cake, where minimal preparation results in a warm, decadent dessert. By layering simple pantry staples, one can create a comforting treat that fills the kitchen with seasonal aromas, making it an ideal choice for busy evenings or casual gatherings where a warm, sweet finish is desired.
This pumpkin white chocolate dump cake is the definition of convenience, relying on the steady heat of a slow cooker to transform basic ingredients into a moist, flavorful dessert. The spiced pumpkin creates a luscious base that pairs perfectly with the sweet, creamy notes of white chocolate.
Because the slow cooker does all the work, this recipe is perfect for those who want to spend less time in the kitchen while still providing a homemade treat that everyone will enjoy. It is a reliable method for achieving a soft, cake-like texture with a beautiful golden top every single time.
Ingredients
- 30 oz spiced pumpkin puree
- 1 box yellow cake mix
- 1 cup white chocolate chips
- 1/2 cup unsalted butter, sliced into pats
Why this recipe works
The slow cooker method is highly effective because it creates a gentle, consistent heat that allows the pumpkin puree to steam the cake mix from underneath. As the butter melts and combines with the dry mix, it creates a rich, cobbler-like texture that is impossible to replicate in a standard oven without careful monitoring.
This process ensures the pumpkin remains moist while the cake mix absorbs the spiced flavors, resulting in a perfectly balanced dessert that is both comforting and incredibly simple to assemble.
Another reason this method works so well is the lack of mixing required. By layering the ingredients exactly as specified, one prevents the cake mix from becoming overworked or gummy. The slow release of moisture from the pumpkin keeps the cake from drying out, even during the extended cooking time. This approach also allows the white chocolate chips to melt into the cake, creating small pockets of sweetness throughout the dish, which provides a delightful contrast to the spiced pumpkin base.
Notes and substitutions
When choosing ingredients, ensure the pumpkin puree is plain spiced pumpkin puree rather than pumpkin pie filling, as the latter already contains added sugars and spices that might alter the final balance of the dessert.
For the cake mix, a standard yellow variety provides a neutral, buttery base that lets the pumpkin and white chocolate shine. If a more intense flavor profile is desired, a spice cake mix can be used as a direct replacement without changing the overall cooking time or the layering process.
Regarding equipment, a standard six-quart oval slow cooker is ideal for this recipe. If using a smaller slow cooker, ensure the ingredients do not fill the vessel more than two-thirds of the way to prevent overflow.
While the recipe calls for sliced butter, using high-quality unsalted butter will yield the best flavor. If only salted butter is available, reduce any additional salt in the recipe, though none is strictly required here, as the cake mix already contains sufficient sodium for the dish.
- yellow cake mix: spice cake mix for an extra boost of fall flavor
- white chocolate chips: butterscotch or cinnamon chips for a different profile
Equipment
- 6-quart slow cooker
- knife
- cutting board
Up next · Part 2 of 3
3 steps · 3 h of cooking · what to look for at each stage
Step-by-step instructions (Part 2)