Dinner · Part 1 of 3: Ingredients
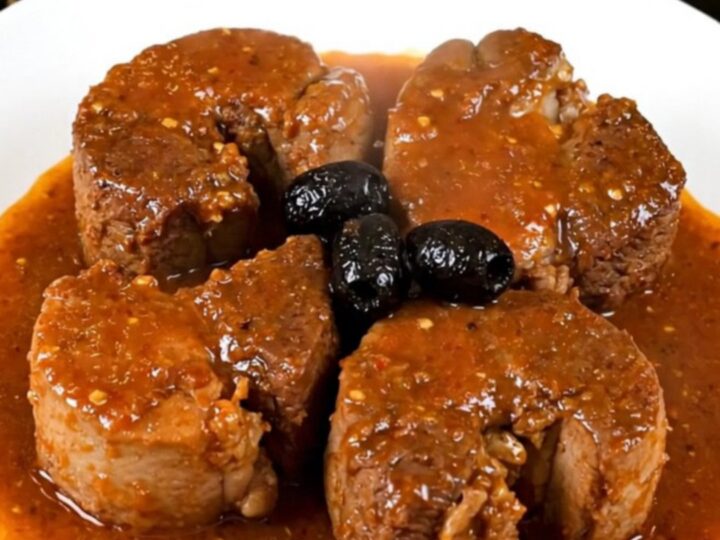
Slow Cooker Provencal Pork Cheeks for a Tender Dinner
- Prep
- Cook
- Total
- Serves
- 4
Elevate your dinner game with these succulent slow cooker Provencal pork cheeks. By utilizing the slow cooking method, you transform an inexpensive cut of meat into a sophisticated, tender, and flavor-packed dish that feels like it came straight from a French bistro kitchen. This recipe is remarkably simple to prepare, making it an ideal choice for busy weeknights when you want something comforting, hearty, and impressive without spending hours standing over a hot stove.
Pork cheeks are a hidden gem in the culinary world, prized for their intense flavor and incredible tenderness when cooked slowly. In this version, combine them with classic Provencal aromatics like dried herbs and earthy black olives, all simmered in a rich tomato base.
The slow cooker does all the heavy lifting, gently breaking down the connective tissue to create a dish that practically melts in the mouth. Whether hosting a dinner party or simply seeking a cozy meal for the family, this recipe delivers consistent, restaurant-quality results every single time.
Ingredients
Main
- 2 lb pork cheeks
- 2 large yellow onions, sliced
- 1 tbsp herbes de Provence
- 2 cups crushed tomatoes
- 1/2 cup black olives, pitted
Why this recipe works
The slow cooking process is essential for pork cheeks because it gently renders the intramuscular fat and breaks down tough connective tissues. By cooking at a low, consistent temperature over several hours, the meat becomes exceptionally tender and succulent, achieving a texture that is difficult to replicate with high-heat methods.
This slow braising environment also allows the deep, savory flavors of the crushed tomatoes and dried herbs to penetrate the meat thoroughly, resulting in a cohesive and deeply satisfying dish.
Additionally, the simple layering technique used in this recipe ensures that the ingredients interact harmoniously without requiring constant supervision. Placing the onions at the base provides an aromatic foundation that perfumes the meat as it releases its own juices.
Adding the olives toward the end of the cooking cycle preserves their texture and distinct saltiness, providing a bright contrast to the rich, slow-cooked pork. This methodical approach minimizes effort while maximizing the depth and complexity of the final sauce.
Notes and substitutions
When selecting pork cheeks, look for pieces that are well-trimmed of excess silver skin, though some fat is desirable for moisture. If you cannot find pork cheeks at your local butcher, pork shoulder or pork butt cut into uniform 2-inch chunks serves as an excellent substitute, as it shares similar characteristics when braised.
Ensure the crushed tomatoes are of high quality, as they form the bulk of the braising liquid and will significantly impact the flavor profile of the final dish.
The equipment required is minimal: a standard slow cooker is the only essential tool. If you prefer to use a Dutch oven, you can achieve similar results by braising the pork in a 300°F (150°C) oven for approximately 3 to 4 hours. Keep in mind that slow cookers vary in heating intensity, so it is always wise to monitor the meat during the final hour of cooking to ensure it reaches the desired level of tenderness without drying out.
- pork cheeks: pork shoulder cut into 2-inch cubes
- herbes de Provence: dried thyme and rosemary mix
Equipment
- Slow cooker
- Cutting board
- Chef knife
- Measuring cups
- Measuring spoons
Up next · Part 2 of 3
3 steps · 8 h of cooking · what to look for at each stage
Step-by-step instructions (Part 2)