Dinner · Part 2 of 3: Instructions
Slow Cooker Pork Chops with Cabbage and Onions Step-by-step instructions
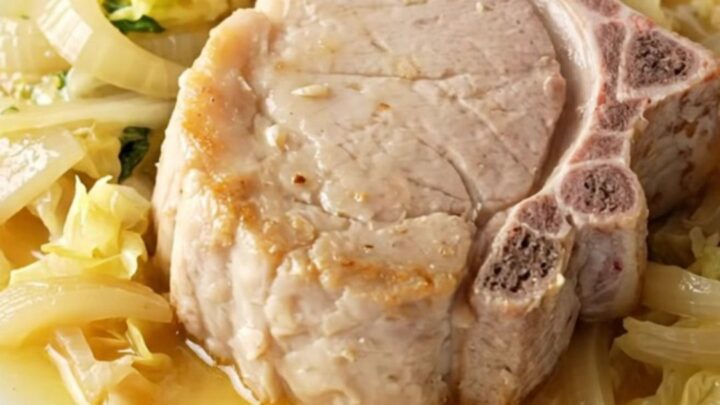
- Prep
- Cook
- Total
- Serves
- 4
Before you start
Before starting, ensure all vegetables are cleaned and chopped appropriately. The cabbage should be cut into uniform wedges to allow for even cooking, and the onions should be sliced into thick rounds to maintain their texture during the long braising process.
Have your measuring tools ready to ensure the broth-to-pork ratio remains consistent throughout the cooking cycle.
Ingredients at a glance (6)
- 4 boneless pork chops
- 1/2 head cabbage, cut into wedges
- 1 large yellow onion, sliced
- 1 tsp garlic powder
- 1/2 tsp black pepper
- 1 cup buttery broth
Instructions
Preparation and Arrangement
- Assemble the IngredientsPlace the boneless pork chops into the bottom of a clean slow cooker, fanning them out to ensure even cooking. Arrange the cabbage wedges and sliced onions around the meat to fill the gaps.Look for Ensure the pork chops are evenly distributed at the base of the cooker.Tip Do not overcrowd the slow cooker too much to allow the heat to circulate properly.
At this stage, the slow cooker should be filled with the pork chops, cabbage wedges, and onions. The ingredients should be arranged neatly in the stoneware basin, creating an even layer that will allow for uniform heat distribution. Ensure the slow cooker is clean and placed on a flat, heat-resistant surface before moving to the next step.
Seasoning and Liquid Addition
- Season and Add LiquidSprinkle the garlic powder and black pepper evenly over the pork chops, cabbage, and onions. Carefully pour the buttery broth over the entire mixture to provide moisture for the braising process.Look for Ensure the spices cover the meat and vegetables thoroughly before adding the liquid.Tip Pouring the broth slowly helps keep the seasonings in place.
The pork and vegetables should be lightly coated with the garlic powder and black pepper, with the buttery broth poured carefully over the top.
The liquid should settle at the bottom of the crock, beginning the process of infusing the ingredients with flavor. Verify that the seasonings are distributed evenly across all components to ensure a balanced final taste.
Slow Cooking and Resting
- Slow Cook and ServeCover the slow cooker and set to low heat for four hours. Once the time is up, check that the pork chops have reached an internal temperature of 145°F (63°C). Remove the pork chops and let them rest for at least 3 minutes before serving alongside the tender cabbage and onions.Look for The pork should be tender and easily pierced with a fork.Safe temperature 145°F (63°C) internal temperature (steaks, chops and roasts)Tip Letting the meat rest ensures the juices redistribute for a better texture.
The final phase involves the slow braising process, resulting in a tender, aromatic meal. The pork chops should be cooked through, and the cabbage should be soft and translucent. Before serving, verify the internal temperature of the pork and allow the meat to rest, ensuring the final dish is perfectly prepared for consumption.
Common mistakes
Avoid lifting the lid of the slow cooker frequently, as this releases heat and moisture, significantly increasing the total cooking time.
Another common mistake is cutting the vegetables too small, which can lead to them becoming mushy or disintegrating during the long braise. Ensure the pork is arranged in a single layer for the most consistent cooking results.
How to tell it’s done
The pork chops are fully cooked when they reach an internal temperature of 145°F (63°C) as measured by a meat thermometer inserted into the thickest part.
The meat should be tender and opaque throughout. Once the desired temperature is reached, it is crucial to let the pork rest for at least 3 minutes to allow the juices to settle before serving.
- Steaks, chops and roasts: 145°F (63°C) in the thickest part, then a 3-minute rest
Up next · Part 3 of 3
2 variations · storage & make-ahead · 3 answers · printable card
Tips, FAQ & printable recipe (Part 3)← Back to the ingredients (Part 1)