Dinner · Part 2 of 3: Instructions
Slow-Cooker Maple Chipotle Beef Brisket Step-by-step instructions
- Prep
- Cook
- Total
- Serves
- 8
Before you start
Before beginning, ensure your slow cooker is clean and positioned on a stable, heat-resistant surface. Prepare your garlic by peeling and mincing it finely.
If you are using a brisket that has a very thick fat cap, you may choose to trim it slightly, though leaving some fat on is recommended for flavor and moisture. Have your ingredients measured out and ready to go so that the assembly process is smooth and efficient.
Ingredients at a glance (5)
- 3.5 lb beef brisket flat
- 120 ml dark Vermont maple syrup
- 80 g pureed chipotle peppers in adobo
- 6 cloves garlic, minced
- 1 tbsp smoked sea salt
Instructions
Preparation and Layering
- Assemble the IngredientsPlace the beef brisket flat into the base of the slow cooker. Pour the dark Vermont maple syrup and the pureed chipotle peppers in adobo over the meat. Add the minced garlic and the smoked sea salt to the basin.Look for The beef should be well-coated by the liquid ingredients.Tip Ensure the brisket fits flat at the bottom for even cooking.
The brisket should be positioned at the base of the slow cooker, with the maple syrup, chipotle puree, and aromatics layered evenly over the top. Check that the brisket is lying flat and that the liquid ingredients cover the bottom of the basin properly to prevent burning.
Slow-Cooking Transformation
- Slow Cook the BrisketCover the slow cooker with its lid and set it to the LOW setting. Allow the brisket to cook undisturbed for exactly eight and a half hours until it reaches an internal temperature of 145°F (63°C). Once cooked, remove the brisket from the heat and let it rest for at least 3 minutes before shredding.Look for The sauce will thicken and bubble, and the beef will become fork-tender.Safe temperature 145°F (63°C) internal temperature (steaks, chops and roasts)Tip Keep the lid closed throughout the process to maintain consistent heat.
After eight and a half hours, the sauce should have thickened into a deep, amber-red glaze that clings to the surface of the beef. The kitchen should smell fragrant and smoky. Verify that the liquid is bubbling gently and that the brisket is soft to the touch.
Shredding and Final Presentation
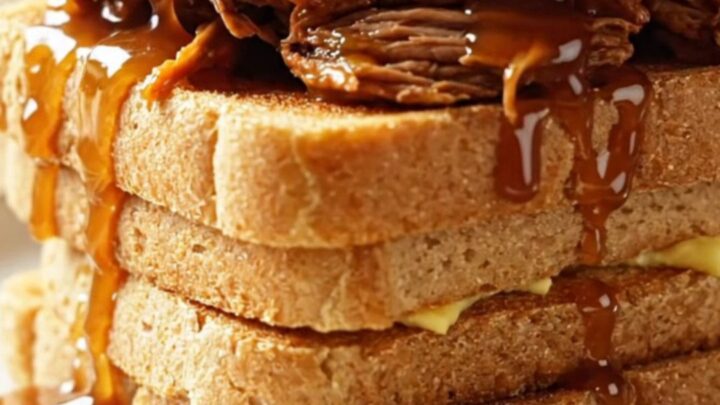
- Shred and ServeOnce the resting time is complete, transfer the brisket to a cutting board. Use two forks to shred the tender meat thoroughly. Return the shredded meat to the pot to coat it in the remaining glaze before serving on toasted bread.Look for The meat should pull apart easily with minimal effort from the forks.Tip Let the meat rest for 15 minutes before shredding to retain moisture.
The meat is ready when it pulls apart effortlessly into distinct, juicy strands.
The final result should be a beautiful mixture of shredded beef thoroughly coated in the caramelized maple-chipotle glaze. Ensure the brisket has rested before the final shredding to lock in the juices.
Common mistakes
Avoid lifting the lid frequently during the cooking process, as this releases steam and drops the internal temperature, which can significantly extend the required cooking time.
Another common mistake is using too much salt; because the sauce reduces, the flavors concentrate, so stick to the recommended amount of smoked sea salt. Finally, ensure the meat is not crowded in the pot, allowing the heat to circulate effectively for even cooking.
How to tell it’s done
The brisket is done when it reaches an internal temperature of at least 145°F (63°C) and is fork-tender. The meat should offer no resistance when pulled apart with two forks.
If the meat still feels firm or tough, continue cooking for an additional 30 minutes, as the breakdown of connective tissue is the primary indicator of readiness. Once fully cooked, allow the meat to rest for 15 minutes before shredding.
- Steaks, chops and roasts: 145°F (63°C) in the thickest part, then a 3-minute rest
Up next · Part 3 of 3
2 variations · storage & make-ahead · 3 answers · printable card
Tips, FAQ & printable recipe (Part 3)← Back to the ingredients (Part 1)