Dinner · Part 2 of 3: Instructions
Slow Cooker Hot Honey Spiral Ham Step-by-step instructions
- Prep
- Cook
- Total
- Serves
- 8
Before you start
Before beginning, ensure your slow cooker is clean and ready for use. Take the ham out of the refrigerator about 30 minutes before you intend to start the cooking process to take the chill off.
Have your brown sugar, red pepper flakes, and hot honey measured and ready to go. If your ham came with a glaze packet, you may set that aside or discard it, as the homemade hot honey glaze provides superior flavor and texture compared to pre-packaged alternatives.
Ingredients at a glance (4)
- 1 whole spiral-cut ham
- 1 cup brown sugar
- 1 tbsp red pepper flakes
- 1/2 cup hot honey
Instructions
Preparation phase
- Prepare the hamPlace the spiral-cut ham cut-side down into the base of the slow cooker. Ensure it fits snugly against the bottom to allow for even heating throughout the cooking process.Look for ham is stable in the cookerTip Make sure the ham is fully thawed before placing it into the slow cooker for consistent results.
The ham is securely positioned in the slow cooker with the cut side facing down. It should feel stable and centered, ensuring even distribution of heat and glaze. Check that the slow cooker lid can close completely to create the necessary seal for the cooking process.
Glazing phase
- Season and glazePat the brown sugar evenly over the exterior of the ham. Sprinkle the red pepper flakes over the surface, then drizzle the hot honey generously between the slices to ensure the flavor permeates the meat.Look for sugar is patted down and honey is distributedTip Drizzling between slices helps the glaze penetrate deep into the ham.
The ham is evenly coated with brown sugar and red pepper flakes, with the hot honey drizzled thoroughly between the slices. The surface should look well-seasoned, and the aroma of the honey and spices should be apparent as you prepare to start the slow cooking process.
Cooking phase
- Cook and serveCover the slow cooker and cook on low for 4 hours until the ham is heated through to an internal temperature of 145°F (63°C). Once cooked, let the ham rest for at least 10 minutes before slicing and serving with the pooled glaze.Look for ham is warm and glaze is syrupySafe temperature 145°F (63°C) internal temperature (steaks, chops and roasts)Tip Use a meat thermometer to ensure the center reaches the safe temperature.
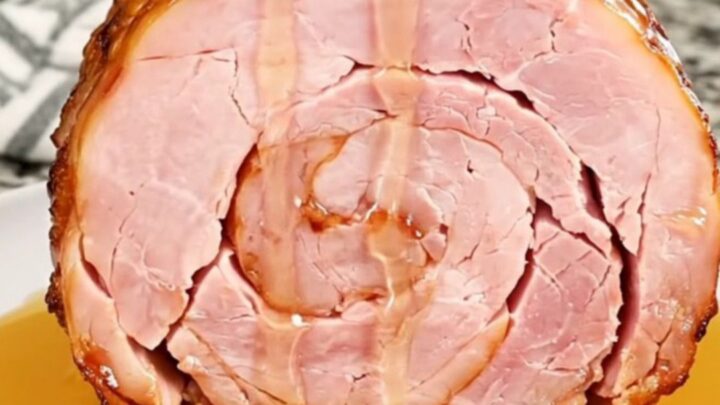
The ham has reached an internal temperature of 145°F (63°C) and has been allowed to rest for 10 minutes. The glaze should be a rich, syrupy consistency, and the meat should look tender and slightly pink, ready to be fanned out on a serving platter for presentation.
Common mistakes
A common mistake is cooking the ham for too long, which can cause the meat to dry out despite the glaze. Since it is already cooked, it only needs to be warmed through.
Another error is neglecting to get the glaze between the slices; take a moment during the seasoning phase to ensure the honey and sugar reach deep into the ham.
Finally, avoid lifting the lid frequently, as each time you do, you lose heat and moisture, which can extend the cooking time.
How to tell it’s done
The ham is ready when it is heated thoroughly to an internal temperature of 145°F (63°C). Because the meat is pre-cooked, you are essentially warming it to a serving temperature.
You can check this by inserting a meat thermometer into the thickest part of the meat, avoiding the bone. The slices should be tender and easy to pull away from the bone, and the glaze should be thick, glossy, and pourable, indicating that the sugars have melted into the honey.
- Steaks, chops and roasts: 145°F (63°C) in the thickest part, then a 3-minute rest
Up next · Part 3 of 3
2 variations · storage & make-ahead · 3 answers · printable card
Tips, FAQ & printable recipe (Part 3)← Back to the ingredients (Part 1)