Desserts · Part 1 of 3: Ingredients
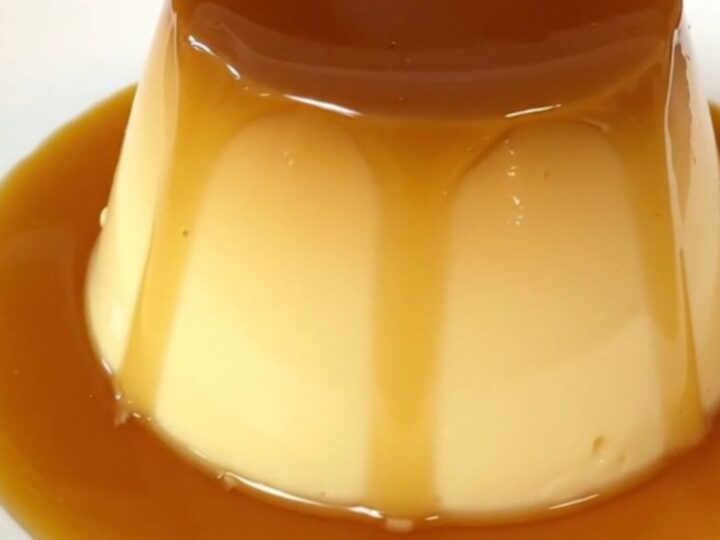
Slow Cooker Crème Caramel
- Prep
- Cook
- Total
- Serves
- 6
Master the art of the classic custard with this simplified slow cooker method. By utilizing gentle, consistent heat, you can achieve a professional-grade crème caramel that features a perfectly silky texture and a deep, golden caramel sauce without the need for a complex water bath or stovetop monitoring.
Crème caramel is a timeless dessert that balances the rich depth of caramelized sugar with the delicate, creamy nature of a vanilla-scented custard. While traditional recipes often require precise oven temperatures and water baths to prevent overcooking, the slow cooker provides a stable environment that is ideal for gentle coagulation.
This recipe streamlines the process, making it accessible for any home cook looking to impress with an elegant finish to a meal. With just four ingredients, the focus remains entirely on the quality of the custard and the harmony of flavors.
Ingredients
Custard Base
- 1/2 cup liquid caramel
- 4 large eggs, beaten
- 1 packet vanilla sugar
- 2 cups whole milk
Why this recipe works
The slow cooker acts as a natural bain-marie, or water bath, providing even, low-temperature heat that prevents the custard from curdling. By cooking slowly, the proteins in the eggs have the time to set into a smooth, uniform gel without forming the large, grainy bubbles often associated with high-heat baking methods.
This method ensures that the delicate balance between the liquid caramel layer and the custard remains intact throughout the cooking process.
Furthermore, the sealed environment of the slow cooker insert traps moisture, which is crucial for maintaining the glossy, tender texture of the custard. Because the heat source is indirect and consistent, the risk of scorching the delicate milk and egg base is significantly reduced.
This approach delivers a consistently smooth result every time, allowing the caramel to infuse the custard with a subtle, earthy sweetness while preserving the integrity of the vanilla aroma.
Notes and substitutions
For the best results, use full-fat whole milk to ensure the custard has a rich mouthfeel. The choice of caramel is also essential; a high-quality liquid caramel will provide the best color and flavor profile. If the vanilla sugar is unavailable, a simple combination of fine granulated sugar and a dash of pure vanilla extract will work perfectly well. Ensure the eggs are at room temperature before you begin to help them incorporate smoothly into the milk.
The slow cooker used should have a clean, non-stick ceramic insert to prevent the custard from adhering to the sides. If you find that your specific model runs hot, consider checking the custard about thirty minutes early.
Always use a clean, dry knife when checking for doneness to ensure the integrity of the custard surface. If you prefer a firmer texture, allow for an additional hour of chilling in the refrigerator before attempting to invert the dessert onto a serving platter.
- vanilla sugar: 1 tablespoon granulated sugar mixed with 1/2 teaspoon pure vanilla extract
- whole milk: a blend of equal parts whole milk and heavy cream for a richer texture
Equipment
- Slow cooker
- Mixing bowl
- Whisk
- Measuring cups
- Serving plate
Up next · Part 2 of 3
3 steps · 2 h of cooking · what to look for at each stage
Step-by-step instructions (Part 2)