Dinner · Part 1 of 3: Ingredients
Slow Cooker Cowboy Caviar Chicken
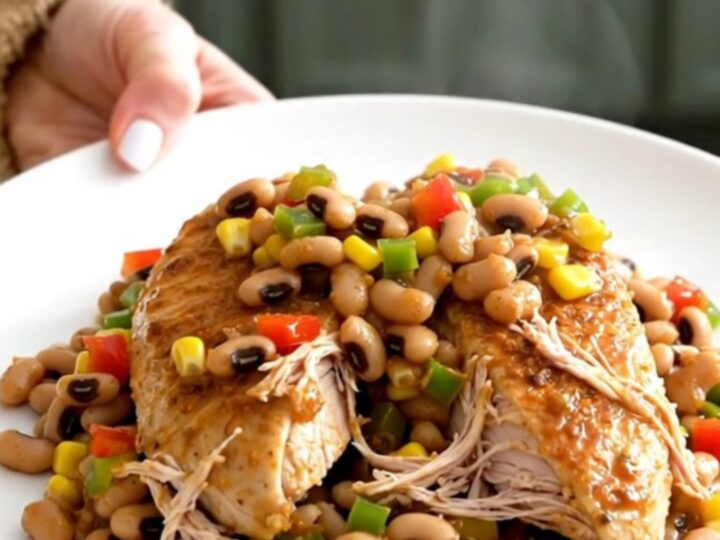
- Prep
- Cook
- Total
- Serves
- 4
Create a restaurant-quality meal with minimal effort by combining protein and pantry staples in your slow cooker. This Cowboy Caviar Chicken recipe brings together bright, savory flavors in a simple, one-pot format that takes the stress out of mealtime.
Whether for a quick weeknight dinner or a relaxed weekend meal, this dish offers a perfect balance of tender poultry and hearty vegetables, making it a reliable favorite for any cook looking to maximize flavor while minimizing time spent in the kitchen.
This recipe utilizes the slow cooker to achieve perfectly tender chicken breasts infused with the zesty, bright flavors of Italian dressing and earthy spices. By layering the ingredients and allowing them to braise slowly, the chicken absorbs the savory notes of the black-eyed peas, corn, and peppers.
The result is a cohesive, comforting dish that requires very little active preparation, allowing the slow cooker to do the heavy lifting while you focus on other tasks. It is an ideal method for busy schedules.
Ingredients
- 4 boneless skinless chicken breasts
- 1 cup black-eyed peas
- 1 cup corn
- 1/2 cup diced peppers
- 1 tsp chili powder
- 1 tsp cumin
- 1/2 cup Italian dressing
Why this recipe works
The slow cooker method is ideal here because it provides a gentle, consistent heat that prevents the lean chicken breasts from drying out. By braising the meat in a mixture of Italian dressing and vegetable juices, the chicken remains succulent while absorbing the complex flavors of the cumin and chili powder. This process creates a self-basting environment where the vegetables soften and contribute their own natural sweetness to the surrounding sauce.
Layering the ingredients in this specific order ensures that the chicken is in direct contact with the heat source while the vegetables provide a protective layer on top. As the ingredients cook, the dressing and spices distribute evenly throughout the pot, creating a flavorful base. This technique minimizes the need for excess oil or heavy thickeners, resulting in a clean, vibrant dish that highlights the natural quality of the ingredients used in the preparation.
Notes and substitutions
For the best results, use fresh, boneless, skinless chicken breasts of a similar size to ensure they finish cooking at the same time. If using frozen chicken, it is recommended to thaw it completely in the refrigerator before adding it to the slow cooker to ensure food safety and even cooking.
The quality of the Italian dressing will impact the final flavor, so choose a version that contains high-quality herbs and vinegar to provide the best seasoning profile for the dish.
When it comes to equipment, any standard slow cooker will work well for this recipe. Ensure the vessel is clean and the lid fits securely to maintain the internal temperature.
While this recipe calls for specific amounts, feel free to adjust the ratio of vegetables based on personal preference, provided the total volume does not exceed the capacity of your slow cooker. Always verify the internal temperature of the chicken with a reliable digital meat thermometer to ensure it reaches the safe threshold.
- Italian dressing: Use a mixture of olive oil, white wine vinegar, dried oregano, garlic powder, and a pinch of salt to achieve a similar profile.
Equipment
- slow cooker
- measuring cups
- measuring spoons
Up next · Part 2 of 3
3 steps · 4 h of cooking · what to look for at each stage
Step-by-step instructions (Part 2)