Dinner · Part 1 of 3: Ingredients
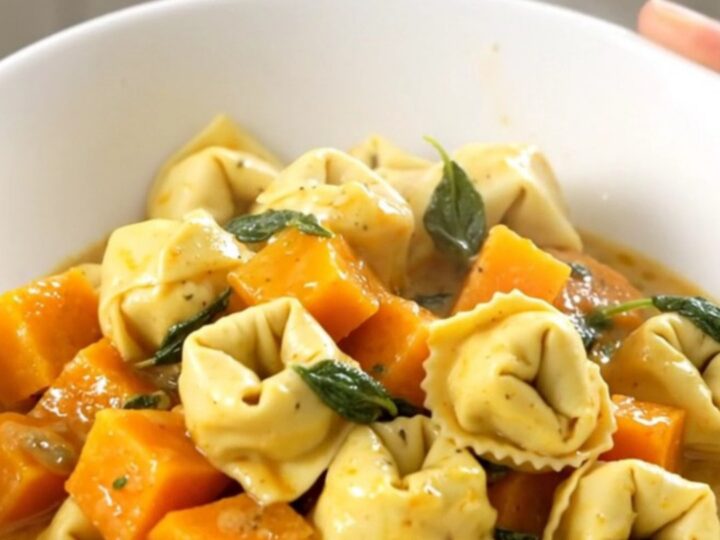
Slow Cooker Butternut Squash and Sage Tortellini
- Prep
- Cook
- Total
- Serves
- 4
Elevate your weeknight dinner routine with this incredibly simple slow cooker recipe. By combining fresh butternut squash, aromatic sage, and tender cheese tortellini, you create a sophisticated yet comforting meal that requires minimal effort.
This dish is designed for those who appreciate the convenience of hands-off cooking without compromising on flavor or texture. It is a perfect solution for busy evenings when you want a warm, satisfying meal waiting for you at the end of the day.
The beauty of this slow cooker tortellini dish lies in its simplicity and the way the ingredients meld together during the long, slow cooking process. As the butternut squash softens, it releases natural sweetness that pairs perfectly with the earthy notes of sage and the savory cheese filling in the tortellini.
The broth transforms into a light, flavorful sauce that coats every piece of pasta. This recipe relies on the natural starches in the tortellini to thicken the liquid, resulting in a cohesive and satisfying meal that feels like it took hours to prepare.
Ingredients
Main
- 1 lb cheese tortellini
- 2 cups cubed butternut squash
Seasoning
- 1 tsp dried sage
Liquid
- 2 cups vegetable broth
Why this recipe works
The slow cooker method is ideal for this dish because it allows the butternut squash to become perfectly tender without losing its shape. The gentle, consistent heat ensures the tortellini cooks evenly in the broth, absorbing the flavors of the sage and vegetables throughout the process. This controlled environment prevents the pasta from turning mushy, which can happen easily on a stovetop, while also allowing the flavors to deepen significantly over the three-hour cooking duration.
Another reason this method is effective is the efficiency of the one-pot approach. By layering the ingredients and letting them cook together, you minimize cleanup and reduce the number of steps required to get dinner on the table.
The starch released from the tortellini during the cooking process naturally emulsifies with the vegetable broth, creating a velvety sauce that binds everything together. This creates a restaurant-quality texture that is difficult to achieve with traditional boiling methods.
Notes and substitutions
When selecting ingredients for this recipe, choose high-quality refrigerated cheese tortellini for the best texture. If you are using frozen tortellini, you may need to add an extra 30 minutes to the cooking time.
For the butternut squash, pre-cubed varieties available in the produce section are excellent for saving time, but ensure the cubes are approximately one-inch in size for consistent results. If you prefer a stronger sage flavor, you can add an extra half-teaspoon of dried sage before cooking.
Regarding equipment, any standard oval or round slow cooker with a capacity of at least four quarts will work perfectly for this recipe. Ensure your slow cooker lid fits snugly to maintain the necessary moisture levels during the cooking cycle. If you find your slow cooker runs particularly hot, check the pasta after two and a half hours to ensure it does not overcook. This recipe is highly adaptable, and you can easily double the ingredients if you are feeding a larger group.
- cheese tortellini: ravioli or your favorite stuffed pasta
- vegetable broth: chicken broth for a richer flavor profile
Equipment
- slow cooker
- measuring cup
- knife
- cutting board
Up next · Part 2 of 3
3 steps · 3 h of cooking · what to look for at each stage
Step-by-step instructions (Part 2)