Dinner · Part 1 of 3: Ingredients
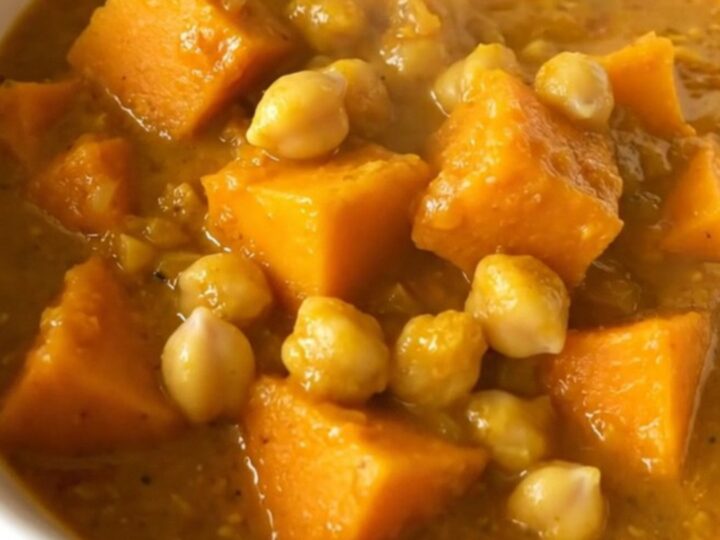
Slow Cooker Butternut Squash and Chickpea Curry
- Prep
- Cook
- Total
- Serves
- 4
Master the art of hands-off cooking with this vibrant butternut squash and chickpea curry. By utilizing the gentle, consistent heat of a slow cooker, you can achieve a perfectly tender texture and deep, concentrated flavors that are typically reserved for long-simmered stove-top recipes.
This approach is ideal for busy weeknights when you want a comforting meal waiting for you, requiring nothing more than a quick preparation step before letting the machine do all the heavy lifting.
This recipe relies on the simplicity of the slow cooker to transform basic ingredients into a sophisticated meal. Butternut squash provides a natural sweetness that balances the earthy profile of chickpeas, while yellow curry powder infuses the dish with warm, aromatic notes.
The vegetable broth acts as a base that reduces slightly during cooking, resulting in a glossy, flavorful sauce that coats every bite. It is a reliable method that delivers consistent results, making it an excellent staple for anyone seeking a flavorful plant-based dinner option that fits perfectly into a hectic schedule.
Ingredients
- 2 lbs butternut squash, peeled and cubed
- 2 cans (15 oz each) chickpeas, drained and rinsed
- 2 tbsp yellow curry powder
- 2 cups vegetable broth
Why this recipe works
The slow cooker method works by maintaining a steady, low temperature that allows the butternut squash to soften without disintegrating. This gentle cooking environment ensures that the squash absorbs the aromatic curry spices throughout its dense flesh, creating a depth of flavor that is difficult to replicate with rapid high-heat cooking.
The chickpeas also benefit from this slow process, becoming tender while retaining their structural integrity, which adds a pleasant contrast to the soft, velvety squash.
Using a slow cooker also facilitates a natural reduction of the vegetable broth. As the liquid evaporates and combines with the starches from the squash, it creates a naturally thickened sauce that clings to the ingredients.
This eliminates the need for heavy thickeners or flour, keeping the dish light and focused on the quality of the vegetables. The result is a cohesive, harmonious curry where the ingredients meld together perfectly, providing a satisfying and balanced experience in every serving.
Notes and substitutions
For the best results, use a fresh butternut squash that feels heavy for its size, which indicates a high water content and better flavor. Peel the squash carefully to remove the tough outer skin and ensure that all seeds are completely scooped out before dicing. If you prefer a more rustic texture, you can leave the squash cubes slightly larger, but keep in mind that larger pieces will require a longer cooking time to reach the desired level of tenderness.
The choice of curry powder significantly influences the final profile of the dish. A mild yellow curry powder is recommended to keep the focus on the sweetness of the squash, but you can opt for a hot variety if you prefer a spicier kick. If you find the sauce is too thin after the cooking time is complete, you can remove the lid and switch the slow cooker to a high setting for an additional twenty minutes to encourage further reduction.
- butternut squash: sweet potatoes or pumpkin cubes
- yellow curry powder: garam masala or a red curry paste blend
Equipment
- slow cooker
- peeler
- chef's knife
- measuring cups
- measuring spoons
Up next · Part 2 of 3
3 steps · 4 h of cooking · what to look for at each stage
Step-by-step instructions (Part 2)