Dinner · Part 2 of 3: Instructions
Slow Cooker Braised Celeriac for a Tender Side Dish Step-by-step instructions
- Prep
- Cook
- Total
- Serves
- 4
Before you start
Before beginning, ensure that you have a sharp chef knife and a sturdy cutting board, as celeriac can be quite dense and requires careful handling. Prepare your workspace by clearing any clutter, and have all your ingredients measured and ready.
If you prefer a cleaner presentation, you can trim the top and bottom of the celeriac before peeling it to create a stable base, which makes the subsequent dicing process much safer and more efficient.
Ingredients at a glance (4)
- 1 large celeriac, peeled and diced
- 3 shallots, thinly sliced
- 4 sprigs fresh thyme
- 1 cup vegetable broth
Instructions
Preparation and layering
- Prepare and combinePeel the celeriac thoroughly to remove the tough, gnarled outer skin, then dice the flesh into uniform one-inch cubes. Place the diced celeriac into the bottom of the slow cooker basin. Scatter the thinly sliced shallots evenly over the top of the celeriac pieces. Add the fresh thyme sprigs on top of the shallots to infuse the dish with herbal notes.Look for ensure the celeriac cubes are roughly equal in size for even cooking throughout the processTip use a sharp vegetable peeler or a heavy knife to remove the thick outer skin of the celeriac safely
At this stage, the celeriac should be diced into uniform cubes and layered neatly with the shallots and thyme. Ensure everything is distributed evenly so the flavors can permeate the dish during the slow cooking process. Once you have added the broth, you are ready to start the slow cooker and begin the braising phase, knowing that the ingredients are positioned for optimal results.
Slow braising
- Add liquid and cookPour the vegetable broth over the vegetables and thyme in the slow cooker. Cover the slow cooker with its lid. Set the device to the low setting and cook for four hours. The slow cooker will gently braise the celeriac in the broth until it becomes tender enough to pierce easily with a fork.Look for the liquid should partially submerge the vegetables to facilitate even steaming and braisingTip do not lift the lid during the first three hours to maintain a consistent internal temperature
During this phase, the slow cooker will work to soften the celeriac and meld the flavors. You should smell a pleasant, earthy aroma as the thyme and shallots begin to infuse the broth.
The vegetables will gradually absorb the liquid and become tender. Avoid the temptation to lift the lid, as this releases the trapped steam and heat, which are crucial for the proper braising of the root vegetable.
Final check and serving
- ServeOnce the cooking time is complete, carefully remove the lid and check the tenderness of the celeriac with a fork. If it is soft, transfer the braised celeriac and some of the flavorful cooking liquid to a serving plate. Serve warm as a comforting side dish alongside your main course.Look for the celeriac should be fork-tender and slightly translucent when perfectly cookedTip discard the woody thyme stems before serving for a smoother texture
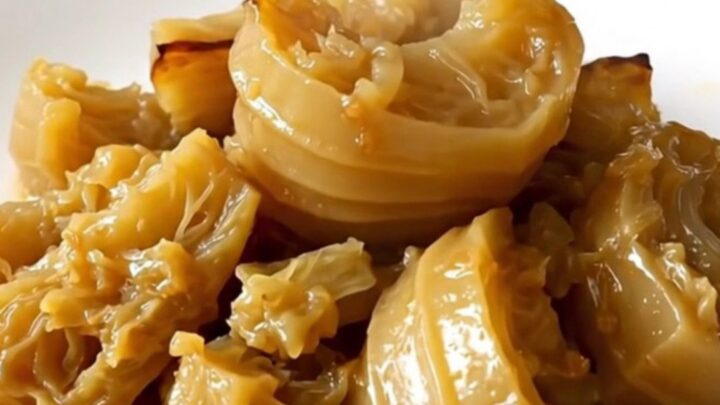
At the end of the cycle, the celeriac should look tender and glossy. The broth will have taken on the flavor of the herbs and shallots, creating a light, aromatic sauce.
Check the texture with a fork to ensure it is perfectly soft throughout. Once you have confirmed the tenderness, the dish is ready to be transferred to a serving platter and enjoyed immediately while it is still warm and fragrant.
Common mistakes
Avoid cutting the celeriac into uneven pieces, as smaller chunks will turn to mush while larger ones remain tough and undercooked.
Another common mistake is using too much liquid; you only need enough broth to reach about one-third to one-half of the way up the vegetables, as the celeriac will release some of its own moisture during the cooking process. Over-crowding the slow cooker can also lead to uneven cooking, so ensure the pieces are arranged in a relatively even layer.
How to tell it’s done
The celeriac is finished when it is completely tender throughout. Test it by inserting a small paring knife or a fork into the largest piece; it should slide in with no resistance, similar to how a well-cooked potato feels. The color should be slightly translucent, and the liquid in the slow cooker will have reduced slightly, becoming a light, flavorful sauce that coats the vegetables.
Up next · Part 3 of 3
2 variations · storage & make-ahead · 3 answers · printable card
Tips, FAQ & printable recipe (Part 3)← Back to the ingredients (Part 1)