Dinner · Part 3 of 3: Tips & recipe card
Slow Cooker Bacon Cheeseburger Chili for Easy Weeknight Dinners Tips, FAQ & printable recipe

- Prep
- Cook
- Total
- Serves
- 6
Tips for success
For an extra layer of flavor, consider browning the ground beef in a skillet before adding it to the slow cooker. While this adds a few minutes to your prep time, it creates a deeper, more caramelized taste that enhances the overall profile of the chili. Ensure you drain any excess grease before transferring the meat into the slow cooker to keep the dish from becoming too heavy.
If you prefer a thicker chili, you can stir in a small amount of cornstarch mixed with cold water during the final 30 minutes of cooking. This will help bind the liquid and create a heartier consistency. Remember that the chili will naturally thicken slightly as it cools, so be careful not to add too much thickener, as it can easily become too dense if left for too long.
Variations
- Spicy Bacon Chili: Add a tablespoon of diced jalapeños or a teaspoon of crushed red pepper flakes to the slow cooker during the assembly phase for a spicy kick that complements the savory bacon.
- Vegetable-Packed Chili: Incorporate diced bell peppers, celery, and onions during the assembly phase to add extra texture and a subtle sweetness that balances the saltiness of the bacon and onion soup mix.
Storage and make-ahead
- Fridge
- Keep in an airtight container for up to 3 days in the refrigerator.
- Freezer
- Freeze in a freezer-safe container for up to 2 months. Thaw overnight in the refrigerator before reheating.
- Reheat
- Reheat in a saucepan over medium heat until steaming hot, or microwave in 1-minute intervals, stirring in between, until heated through.
Store any leftover chili in an airtight container to maintain its freshness and flavor. It is important to let the chili cool down to room temperature for no more than two hours before placing it in the refrigerator.
Properly stored, the chili will remain high-quality for up to three days. When reheating, ensure it is heated until it is steaming hot throughout to maintain both food safety and the best possible texture.
This chili is an excellent candidate for making ahead, as the flavors often improve after sitting for a day. You can prepare the entire recipe in advance, let it cool completely, and then store it in the refrigerator.
When you are ready to serve, simply reheat the portion you need on the stove over medium heat or in the microwave, adding a splash of broth if it has thickened too much in the fridge.
Serving ideas
When serving, present the chili in warm bowls to help maintain its temperature for longer. The contrast between the hot, savory chili and the cool, creamy cheese is part of what makes this dish so enjoyable.
You might also consider serving the chili alongside crusty bread, cornbread, or even over a baked potato for a more substantial meal that highlights the versatility of this classic, comforting recipe.
To elevate the presentation, garnish each bowl with fresh chives, a dollop of sour cream, or even some diced jalapeños for those who enjoy a bit of extra heat.
These simple additions not only look beautiful but also add a fresh, crisp texture that balances the richness of the bacon and beef. Ensure that the cheese is added just before serving so it stays fresh and visually appealing for your guests.
Frequently asked questions
Can this chili be made in a pressure cooker instead?
Why does the chili look oily after cooking?
Can frozen ground beef be used in the slow cooker?
Slow Cooker Bacon Cheeseburger Chili for Easy Weeknight Dinners

Ingredients
- 2 lb ground beef
- 6 slices bacon, cooked and crumbled
- 1 packet onion soup mix
- 2 cups beef broth
- 1 cup cheddar cheese, shredded
Instructions
- Place the raw ground beef into the bottom of the slow cooker basin. Scatter the crumbled cooked bacon evenly over the beef. Sprinkle the contents of the onion soup mix packet over the mixture, and pour the beef broth over everything to ensure the flavors begin to meld.
- Cover the slow cooker with its lid and set to cook on high for 4 hours. Ensure the ground beef reaches a safe internal temperature of 160°F (71°C) to guarantee it is fully cooked and safe for consumption throughout.
- Once the cooking time is complete, stir the chili well to break up any remaining clumps of ground beef. Ladle the hot chili into individual serving bowls and top each portion with a generous sprinkle of shredded cheddar cheese before serving immediately.
Estimated nutrition per serving
- Calories
- 480
- Protein
- 32 g
- Carbohydrates
- 12 g
- Fat
- 34 g
- Fiber
- 1.5 g
- Sugar
- 3 g
- Sodium
- 950 mg
Next recipe
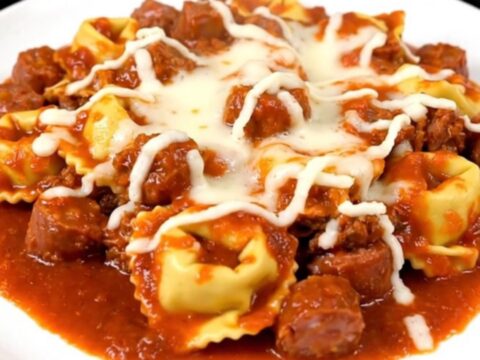
Slow Cooker Cheesy Italian Sausage Tortellini Bake
See the recipe → →This recipe is based on a short cooking video and is published under the pen name Clara Weller. It was checked before publication, but errors can slip through. Nutrition, when shown, is an estimate. Read more in our editorial policy and on our food safety page.
More recipes to try

Easy Slow Cooker Pork Birria Tacos
Total time: 8 h 20 min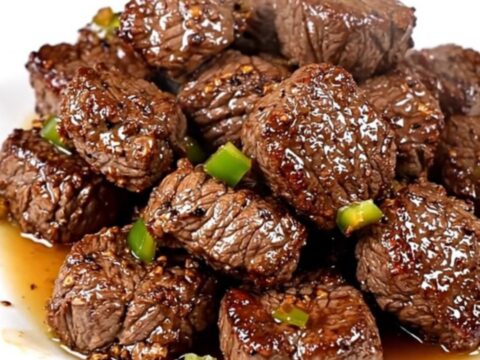
Slow Cooker Cajun Butter Steak Bites
Total time: 4 h 13 min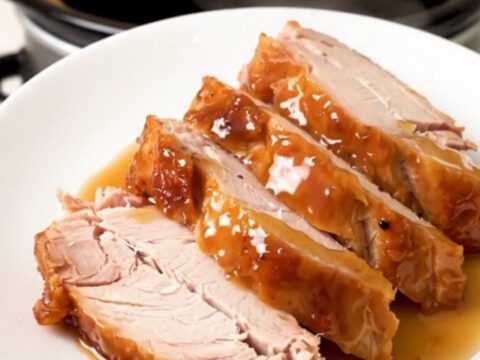
Easy Crockpot Honey Soy Turkey Breast
Total time: 4 h 15 min
Crockpot Mexican Albondigas Soup for Easy Weeknight Dinners
Total time: 4 h 15 min
Creamy Pesto Spinach Gnocchi: A Simple Slow Cooker Dinner
Total time: 2 h 5 min