Dinner · Part 1 of 3: Ingredients
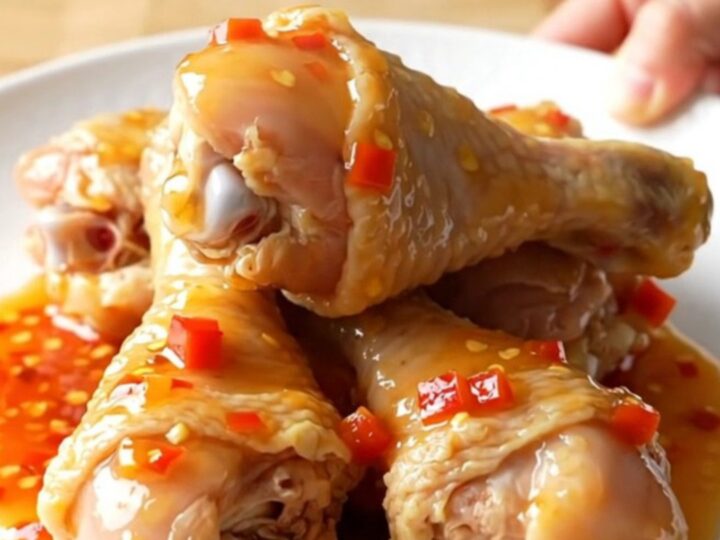
Slow Cooker Apricot Habanero Chicken Drumsticks
- Prep
- Cook
- Total
- Serves
- 4
Discover the effortless way to achieve a perfect balance of sweet and spicy flavors with these slow-cooked apricot habanero chicken drumsticks. This recipe relies on your slow cooker to turn simple ingredients into a tender, sticky, and vibrant meal that is ideal for any day of the week, requiring minimal effort while delivering impressive results.
When searching for a dinner that balances convenience with bold, punchy flavors, this slow cooker recipe is a top choice. By combining the natural sweetness of apricot preserves with the sharp, fruity heat of habanero sauce, the chicken develops a complex glaze as it braises.
The slow cooking process ensures the drumsticks become incredibly tender, practically falling off the bone, while the red bell peppers soften into the sauce, adding a subtle sweetness and texture. It is a foolproof method that produces restaurant-quality results with just a few minutes of active preparation.
Ingredients
Main
- 8 chicken drumsticks, skinless and bone-in
Vegetables
- 1 cup red bell pepper, diced
Seasoning
- 1 tsp garlic powder
Sauce
- 1 cup apricot preserves
- 2 tbsp habanero hot sauce
Why this recipe works
The slow cooker method is ideal for bone-in poultry because it allows the meat to braise gently in its own juices and the added sauce. This consistent, low-temperature environment breaks down the connective tissues in the drumsticks, resulting in meat that is succulent and tender.
By keeping the lid closed, you create a self-basting environment where the flavors of the apricot and habanero are infused deep into the chicken, creating a deep, sticky glaze that is difficult to achieve with quick high-heat cooking methods.
Additionally, this technique allows for a hands-off cooking experience that is perfect for maintaining a stress-free kitchen. Because the ingredients are layered and left to cook, the flavors have time to meld together perfectly.
The red bell peppers act as a subtle base, absorbing the spicy-sweet sauce, while the garlic powder provides a savory backbone that rounds out the profile. This approach ensures that the meal is consistent every time, providing a reliable dinner option that requires almost no monitoring while it works its magic.
Notes and substitutions
When selecting apricot preserves, look for high-quality options that feature real fruit pieces to add texture to the final sauce. The habanero hot sauce can be adjusted based on personal heat tolerance; however, keep in mind that the sweetness of the apricots will help temper the intensity of the peppers.
If you prefer a milder sauce, start with a smaller amount of hot sauce and taste the mixture before pouring it over the chicken, adding more only if desired.
For the best results, use a standard slow cooker with a white ceramic insert. Ensure that the chicken is arranged in a single layer so that the heat distributes evenly and the sauce can coat each piece properly. If you are using larger chicken pieces, you may need to adjust the cooking time slightly, but for standard drumsticks, 4 hours on low is typically the sweet spot for achieving that desired tender texture without overcooking the meat.
- apricot preserves: peach or orange marmalade preserves
- habanero hot sauce: any high-heat chili sauce or cayenne-based hot sauce
Equipment
- Slow cooker
- Small mixing bowl
- Spoon
- Knife
- Cutting board
Up next · Part 2 of 3
4 steps · 4 h of cooking · what to look for at each stage
Step-by-step instructions (Part 2)