Dinner · Part 1 of 3: Ingredients
Slow-Braised Lamb Shanks with Tender Potatoes and Carrots
- Prep
- Cook
- Total
- Serves
- 4
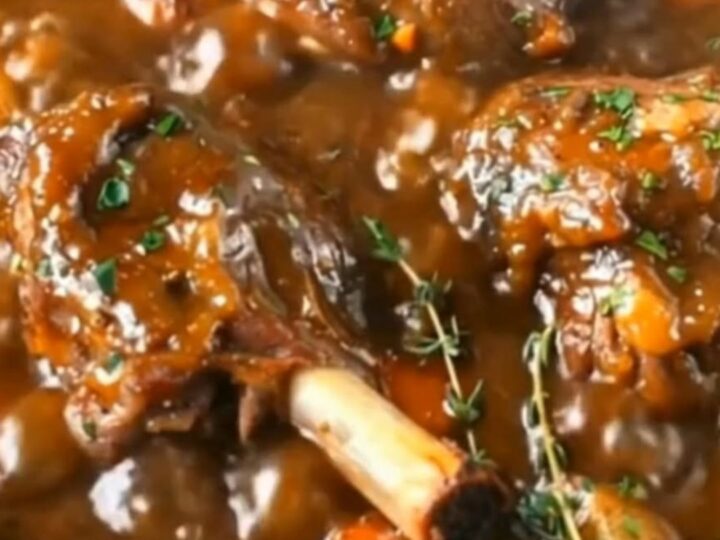
Prepare to indulge in the ultimate comfort food with these slow-braised lamb shanks. This recipe delivers incredibly succulent, fall-off-the-bone meat enveloped in a rich, glistening gravy. By simmering the shanks slowly with baby potatoes and carrots, you create a complete, satisfying dinner that fills your kitchen with a warm, inviting aroma. It is the perfect elegant meal for cozy weekends or special occasions.
Braising is a classic culinary technique that transforms tough cuts of meat into meltingly tender masterpieces. Lamb shanks, with their rich connective tissue, are the perfect candidate for this low-and-slow cooking method. As they simmer gently in a savory gravy, the collagen breaks down into gelatin, creating a thick, luxurious sauce that coats the carrots and potatoes beautifully.
This recipe requires minimal active preparation, letting the stove do all the heavy lifting. The result is a deeply flavorful, rustic dish that tastes like it came from a high-end bistro but is incredibly simple to make at home.
Ingredients
- 4 lamb shanks
- 2 tbsp cooking oil
- 3 cups dark savory gravy (store-bought or made ahead)
- 1 lb whole baby potatoes
- 3 carrots, chopped
- 4 fresh thyme sprigs
Why this recipe works
Searing the lamb shanks first is a crucial step that builds the foundation of flavor. When the meat hits the hot oil, it undergoes the Maillard reaction, creating a deeply caramelized crust.
This process not only locks in the juices but also leaves behind browned bits, known as fond, on the bottom of the pot. Deglazing the pan with the dark savory gravy dissolves these savory bits, incorporating them directly into the braising liquid for an intensely rich sauce.
The low and slow cooking temperature is what makes the meat incredibly tender. Cooking the lamb shanks covered on low heat allows the heat to penetrate gently, breaking down the tough fibers without drying out the meat.
Nestling the baby potatoes and carrots directly into the bubbling braising liquid allows them to absorb all the savory lamb juices and herbal notes from the fresh thyme, resulting in perfectly tender, flavorful vegetables that complement the rich meat beautifully.
Notes and substitutions
For the best results, choose high-quality, bone-in lamb shanks of similar size to ensure they cook evenly. The bone is essential as it adds body and richness to the gravy during the long simmer.
Fresh thyme is highly recommended over dried herbs, as its bright, earthy flavor cuts through the richness of the lamb. If you prefer, you can use a homemade rich stock or a mix of broth and red wine to create your own gravy from scratch.
A heavy-bottomed Dutch oven with a tight-fitting lid is the ideal vessel for this recipe. It distributes heat evenly and prevents moisture from escaping, which is vital for a successful braise. If your lid is not completely tight, you can place a sheet of foil over the pot before putting the lid on to create a tighter seal and keep the braising environment perfectly moist throughout the long cooking process.
- Cooking oil: Canola oil, olive oil, or ghee can be used to sear the lamb shanks.
- Dark savory gravy: A rich stock or a mixture of broth and red wine can be used as a base if prepared gravy is not available.
Equipment
- Dutch oven
- wooden spoon
- tongs
- meat thermometer
Up next · Part 2 of 3
4 steps · 2 h 30 min of cooking · what to look for at each stage
Step-by-step instructions (Part 2)