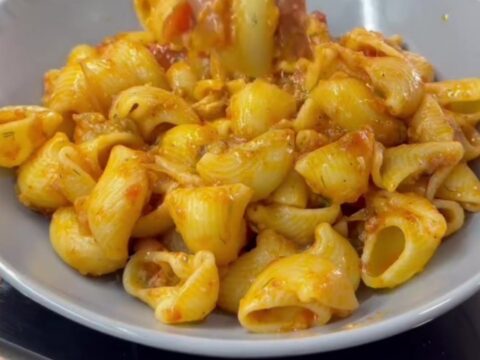
Dinner · Part 3 of 3: Tips & recipe card
Saucy Cheesy Tomato Pepper Pasta Skillet Tips, FAQ & printable recipe
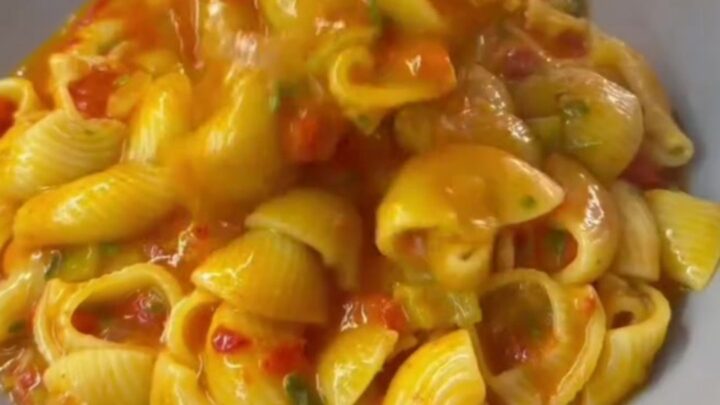
- Prep
- Cook
- Total
- Serves
- 4
Tips for success
For the best texture, cook the pasta until it's just shy of al dente—about 1 minute less than the package directions—because it will continue to cook when added to the sauce. This ensures the pasta doesn't become mushy.
Also, reserve a cup of pasta cooking water before draining; if the sauce seems too thick when you add the cheese, a splash of that starchy water will help loosen it without diluting flavor.
When blistering the vegetables, resist the urge to stir too often. Let them sit undisturbed for a few minutes to develop a good char. The lid traps steam, so you don't need to add any liquid.
If you prefer a smoother sauce, you can transfer the cooked vegetables to a blender and puree them, but the chunky version is more rustic and visually appealing. Serve with extra cheese on the side for those who want more.
Variations
- Spicy Arrabbiata Style: Add 1/2 teaspoon red pepper flakes or a chopped fresh chili along with the garlic for a spicy kick. This adds heat that complements the sweet peppers and tomatoes, giving the sauce a fiery edge that's perfect for those who like a little burn.
- Herb Garden Twist: Replace the parsley with a mix of fresh basil and oregano, adding them at the end just like the parsley. The basil adds a sweet, aromatic note, while oregano brings an earthy depth. This variation works well with a sprinkle of dried oregano in the sauce as well.
- Creamy Vodka Sauce: After crushing the vegetables, stir in 1/4 cup heavy cream and 2 tablespoons vodka (optional) before adding the pasta. The cream enriches the sauce, making it even more indulgent, while the vodka adds a subtle complexity. Cook for an extra minute to let the alcohol evaporate.
- Roasted Vegetable Medley: Add 1 cup of chopped zucchini or eggplant along with the peppers and tomatoes before covering. This increases the vegetable content and adds a different texture. The extra vegetables will soften and meld into the sauce, making it heartier and more nutritious.
Storage and make-ahead
- Fridge
- Store in an airtight container in the fridge for up to 3 days. Add a splash of water when reheating to bring back the sauce's creaminess.
- Freezer
- Not recommended; the cheese sauce can separate and become grainy when frozen and thawed.
- Reheat
- Reheat gently in a skillet over medium-low heat with a splash of water or milk, stirring until hot and creamy.
Store leftovers in an airtight container in the refrigerator for up to 3 days. The pasta will absorb some of the sauce as it sits, so when reheating, add a splash of water or milk to restore the creamy texture.
Reheat gently in a skillet over medium-low heat, stirring often, or in the microwave in 30-second intervals. The cheese may separate slightly upon reheating, but stirring will bring it back together.
You can prepare the sauce base (blistered vegetables) up to 2 days in advance. After blistering and crushing the vegetables, let the sauce cool completely, then store it in an airtight container in the refrigerator. When ready to serve, reheat the sauce in a skillet, add the cooked pasta and cheese, and proceed with the recipe. This makes the dish even quicker on busy nights.
Serving ideas
Serve this pasta hot, straight from the skillet, with an extra sprinkle of chopped parsley and a grind of black pepper if desired. It's a complete meal on its own, but it pairs well with a simple green salad dressed with lemon vinaigrette to balance the richness. For a heartier spread, add crusty bread for dipping into the sauce.
This dish is best enjoyed immediately, as the cheese will stiffen as it cools. If you're serving a crowd, keep the skillet warm over low heat and stir occasionally.
For individual portions, use deep bowls to show off the saucy pasta and stretchy cheese. A glass of medium-bodied red wine, such as a Chianti or Sangiovese, complements the tomato and pepper flavors beautifully.
Frequently asked questions
Can this recipe be made ahead of time?
What can be used instead of kaşar cheese?
Why does the sauce sometimes look watery?
Can this dish be made gluten-free?
How to prevent the cheese from clumping?
Saucy Cheesy Tomato Pepper Pasta Skillet
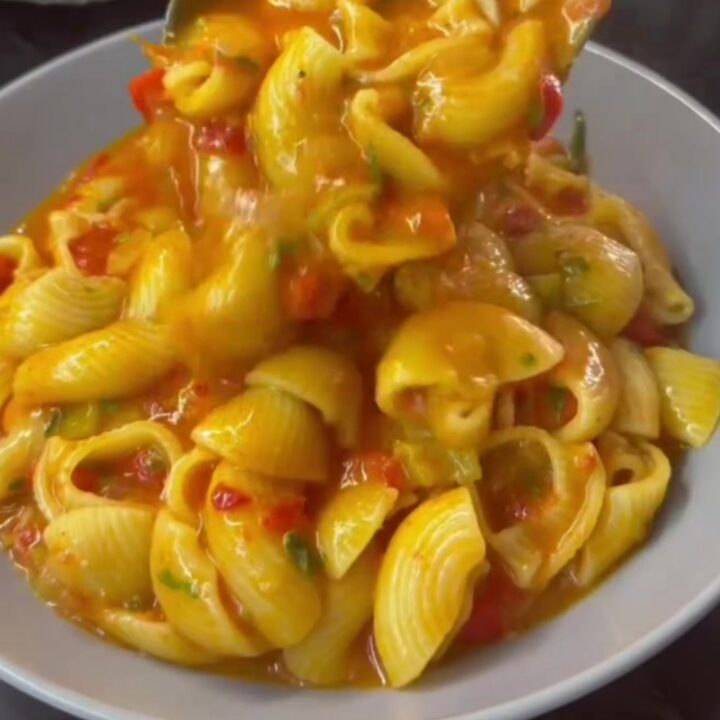
Ingredients
- 1/4 cup olive oil
- 4 whole ripe tomatoes
- 2 sweet red peppers
- 1 onion, quartered
- 5 cloves garlic
- 300 g pipe rigate pasta, boiled al dente
- 1 1/2 cups shredded kaşar cheese
- 1/4 cup fresh chopped parsley
Instructions
- Heat the olive oil in a wide skillet over medium-high heat. Add the whole tomatoes, sweet red peppers, quartered onion, and garlic cloves. Cover with a glass lid and let them steam and blister for 10 minutes, turning once halfway through, until the tomato skins are charred and the peppers are softened.
- After 10 minutes, remove the lid. Using a wooden spoon, gently crush the tomatoes and peppers in the pan to release their juices. Continue cooking for 2-3 minutes until the mixture thickens slightly and becomes a chunky sauce. The onion and garlic should be soft and fragrant.
- Add the boiled al dente pipe rigate pasta directly into the skillet with the sauce. Toss well with tongs or a wooden spoon to coat every shell with the tomato-pepper mixture. Ensure the pasta is evenly distributed and heated through.
- Sprinkle the shredded kaşar cheese over the pasta and sauce. Stir continuously for 2-3 minutes until the cheese melts and creates a creamy, stretchy sauce that clings to the pasta. The cheese should be fully melted and glossy.
- Remove the skillet from the heat. Stir in the fresh chopped parsley until just wilted. The parsley adds a fresh, herbal note that balances the richness of the cheese and tomatoes. Serve immediately while hot and creamy.
Estimated nutrition per serving
- Calories
- 620
- Protein
- 22 g
- Carbohydrates
- 68 g
- Fat
- 29 g
Next recipe
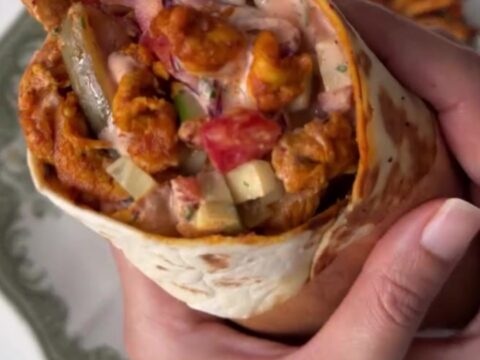
Crispy Chicken Shawarma Wrap with Garlic Sauce
See the recipe → →This recipe is based on a short cooking video and is published under the pen name Clara Weller. It was checked before publication, but errors can slip through. Nutrition, when shown, is an estimate. Read more in our editorial policy and on our food safety page.
More recipes to try

Crispy Cheesy Beef Cones
Total time: 48 min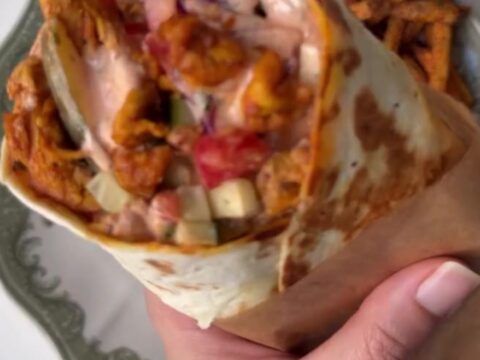
Crispy Chicken Shawarma Wrap with Seasoned Fries
Total time: 1 h 45 min
Crispy Spiced Chicken Wrap with Spicy Yogurt Sauce
Total time: 30 min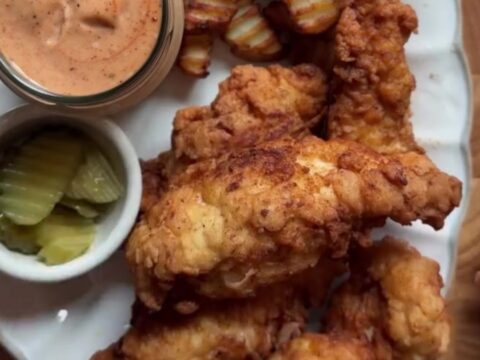
Crispy Copycat Cane's Chicken Fingers with Buttermilk Marinade
Total time: 2 h 23 min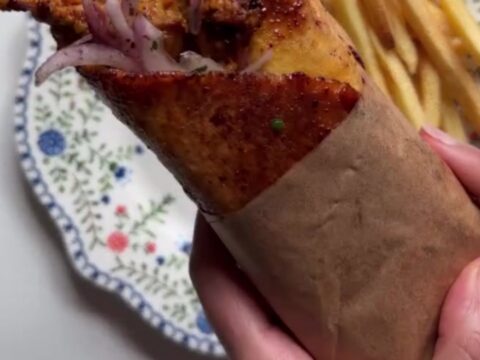
Crispy Chicken Shawarma Wrap with Garlic Toum
Total time: 2 h 45 min