Desserts · Part 3 of 3: Tips & recipe card
Rich Chocolate Wacky Cake Tips, FAQ & printable recipe
- Prep
- Cook
- Total
- Serves
- 9
Tips for success
To produce bakery-sharp slices, dip your chef's knife into a tall vessel of warm water, wipe it completely dry with a clean kitchen towel, and make a single downward slice through the cake.
Repeat this cleaning and warming process between every individual cut to eliminate frosting buildup and ensure the crumb face remains pristine.
If you prefer a firmer frosting with pronounced texture, place the frosted cake dish in the refrigerator for fifteen minutes before cutting.
This briefly sets the cocoa butter and oils in the frosting, allowing your knife to slice through cleanly without compressing the tender cake underneath.
Variations
- Fudge Ganache Finish: Swap the traditional frosting for a glossy warm ganache poured directly over the cake surface, allowing it to set into a mirror-like chocolate shell before slicing.
- Espresso Chocolate Swirl: Stir a half-teaspoon of dissolved instant espresso powder into the chocolate frosting before spreading to deepen the dark cocoa notes across the entire dessert.
Storage and make-ahead
- Fridge
- Store covered tightly in the refrigerator for up to 5 days; bring to room temperature before serving for the best texture.
- Freezer
- Wrap individual unfrosted or frosted slices tightly in plastic wrap and foil; freeze for up to 2 months.
- Reheat
- Serve at room temperature, or warm a single unfrosted slice in the microwave for 10 seconds if a soft crumb is desired.
Keep the frosted cake directly in its glass dish, covered tightly with plastic wrap or a fitted dish lid, at room temperature for up to three days.
Keep it in a cool, dry area away from direct sunlight or oven heat. For longer storage, refrigerate the covered dish for up to five days to preserve its peak moisture and freshness.
This cake is exceptionally well suited for advance preparation. You can bake and cool the cake in its dish the day prior, cover it securely, and store it at room temperature overnight.
Apply the velvety frosting a few hours before your event to ensure the topping retains its fresh gloss and smooth consistency.
Serving ideas
Serve each square of chocolate wacky cake slightly cool or at room temperature on individual dessert plates. The rich crumb pairs wonderfully with a tall glass of cold oat milk, brewed dark roast coffee, or a scoop of dairy-free vanilla bean ice cream to contrast the deep cocoa flavor.
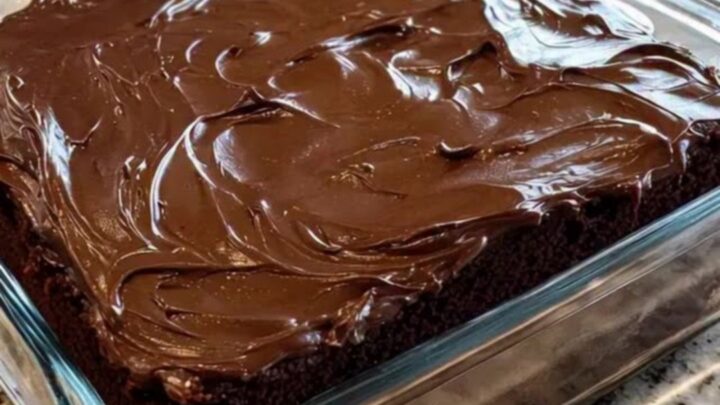
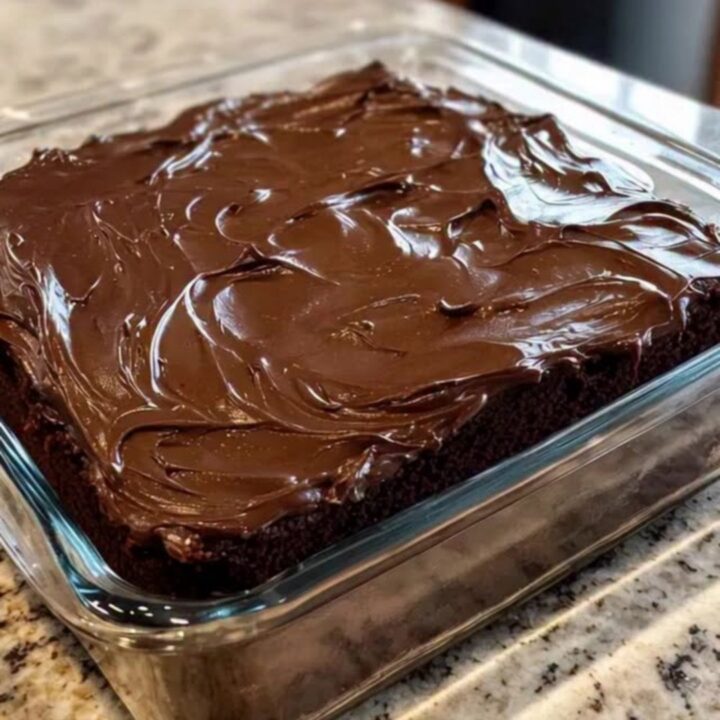
For a casual gathering, present the cake directly in its clear glass dish on the dining table alongside a dessert server, allowing guests to admire the swirled chocolate top and tender layers before helping themselves to a decadent square.
Frequently asked questions
How can one prevent the cake from drying out after slicing?
Can this cake be frozen after frosting?
Why does the frosting tear the top of the cake when spreading?
Rich Chocolate Wacky Cake
Ingredients
- 1 chocolate wacky cake, baked in an 8-inch square dish (store-bought or made ahead)
- 1 cup chocolate frosting, store-bought or made ahead
Instructions
- Place the baked chocolate wacky cake in its square glass baking dish onto a clean countertop or steady work surface. Ensure the cake has cooled completely to room temperature before adding any toppings, which prevents the frosting from melting or sliding across the surface.
- Spoon the chocolate frosting directly onto the center of the cake. Using an offset spatula, glide the frosting outward toward the perimeter in smooth, continuous motions. Work the spatula in gentle back-and-forth arcs to create velvety decorative swirls across the entire top surface.
- Using a sharp chef's knife, slice the cake into nine even squares by cutting two vertical lines and two horizontal lines across the dish. Wipe the blade with a warm, damp cloth between each cut to keep the edges sharp and clean, then lift each portion gently with a dessert fork.
Estimated nutrition per serving
- Calories
- 310
- Protein
- 3 g
- Carbohydrates
- 48 g
- Fat
- 12 g
- Fiber
- 2 g
- Sugar
- 34 g
- Sodium
- 210 mg
Next recipe
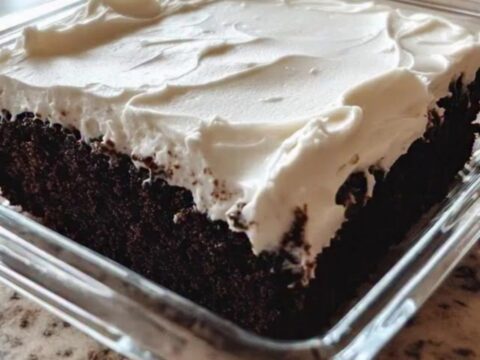
Ultra-Fudgy Wacky Cake with Creamy Vanilla Frosting
See the recipe → →This recipe is based on a short cooking video and is published under the pen name Clara Weller. It was checked before publication, but errors can slip through. Nutrition, when shown, is an estimate. Read more in our editorial policy and on our food safety page.
More recipes to try
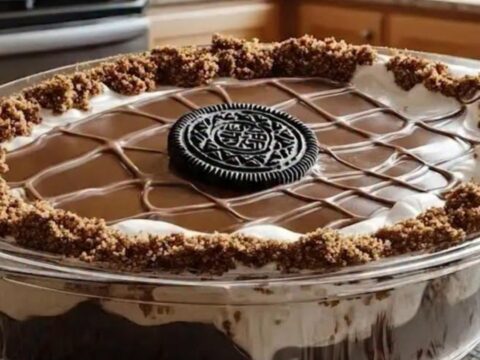
Chilled Oreo and Chocolate Ganache Layer Cake
Total time: 2 h 30 min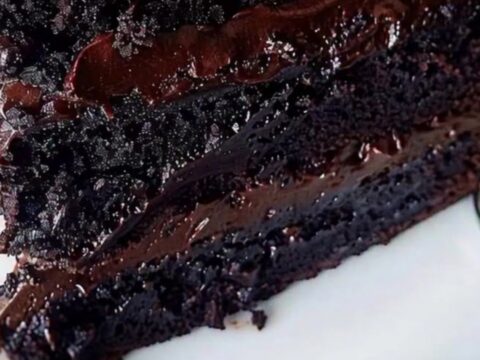
Decadent Triple-Layer Fudge Heaven Cake
Total time: 1 h 25 min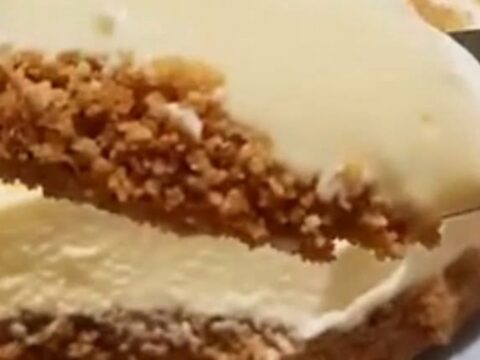
Creamy Condensed Milk Cheesecake with Golden Biscuit Base
Total time: 5 h 5 min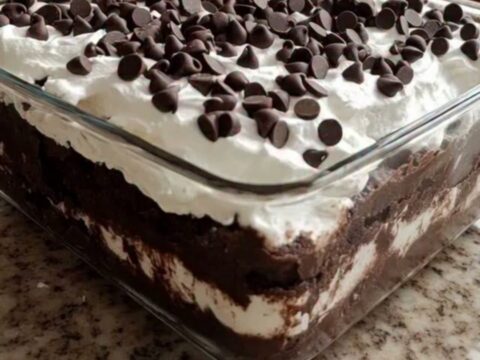
Easy Layered Oreo Dream Dessert
Total time: 2 h 15 min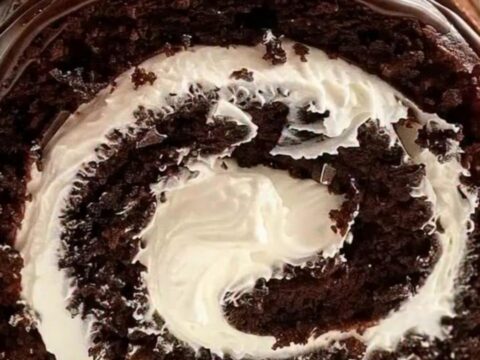
Classic Decadent Chocolate Cake Roll with Cream Filling
Total time: 1 h 45 min