Desserts · Part 1 of 3: Ingredients
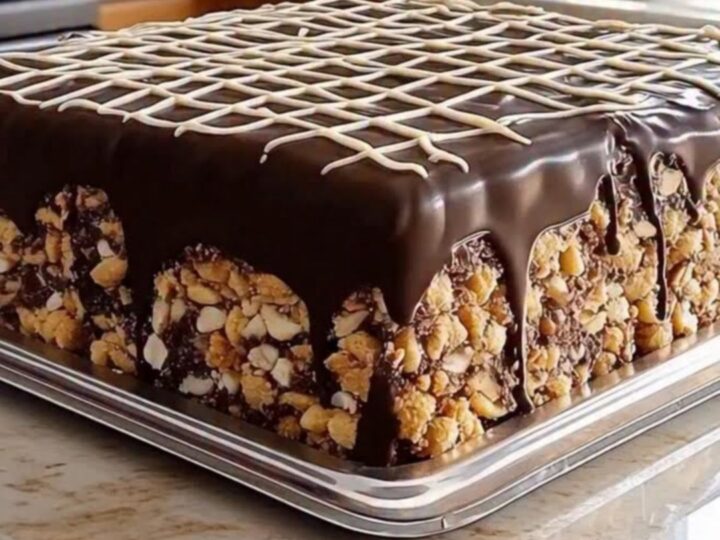
Rich Chocolate Biscuit Cake with Crunchy Texture
- Prep
- Cook
- Total
- Serves
- 8
Indulge in the ultimate no-bake dessert that combines the deep, luxurious flavor of dark chocolate with the satisfying, crisp crunch of tea biscuits. This classic treat is remarkably simple to assemble yet presents beautifully, making it an ideal choice for any occasion where a crowd-pleasing, decadent dessert is required.
With minimal effort and just a few pantry staples, this recipe delivers a sophisticated finish that feels truly special, proving that the best sweets often rely on the perfect balance of texture and quality ingredients.
This chocolate biscuit cake is the quintessential no-bake dessert. It relies on the contrast between a rich, silky ganache and the firm, crunchy texture of tea biscuits to create a mouthful that is both substantial and delightful.
Because it requires no oven time, it is an accessible recipe for cooks of all levels. The process focuses on creating a high-quality ganache and allowing the cake to set properly, resulting in a dense, fudge-like square that slices cleanly and holds its structure beautifully on a serving tray.
Ingredients
Base
- 8 oz tea biscuits, broken into chunks
Ganache
- 10 oz dark chocolate, chopped
- 1 cup liquid ganache base
Decoration
- 1/4 cup white icing for piping
Why this recipe works
The method of pouring warm liquid over chopped chocolate creates a stable emulsion known as ganache. This process ensures the chocolate melts evenly without the risk of burning, resulting in a silky, glossy texture that coats the biscuit pieces perfectly.
By letting the mixture sit undisturbed for a few minutes, the heat penetrates the center of the chocolate chunks, allowing for a smooth, lump-free consistency that is essential for a professional-looking dessert.
Using broken tea biscuits rather than crumbs provides the necessary structural integrity for the cake. The gaps between the biscuit pieces allow the ganache to flow through, creating a marbled effect that looks appealing when sliced. As the cake chills in the refrigerator, the ganache firms up, binding the ingredients together into a solid block that can be easily cut into precise, clean squares for serving, while maintaining the crunch of the biscuits within.
Notes and substitutions
The quality of the dark chocolate is paramount, as it is the primary flavor component. Choose a bar with at least 60 percent cocoa solids to ensure a deep, balanced flavor that is not overly sweet.
Avoid using chocolate chips if possible, as they often contain stabilizers that prevent them from melting into the smooth, glossy consistency required for a perfect ganache. Chopping a high-quality chocolate bar manually will provide a superior result in both flavor and texture.
For the best results, use a heavy-duty square cake pan that allows for even cooling. If the pan is too large, the cake will be thin and lack the desired density; if too small, the ganache may not cover the biscuits sufficiently. Lining the pan with parchment paper is essential for easy removal. Ensure the paper has enough overhang on the sides to act as handles, which will allow for lifting the entire cake out of the pan once it has fully set.
- dark chocolate: semi-sweet chocolate for a milder flavor
- tea biscuits: graham crackers or digestive biscuits
Equipment
- 8-inch square cake pan
- Parchment paper
- Mixing bowl
- Small saucepan
- Piping bag
- Sharp knife
Up next · Part 2 of 3
3 steps · 10 min of cooking · what to look for at each stage
Step-by-step instructions (Part 2)