Desserts · Part 1 of 3: Ingredients
Refreshing Mango Pomelo Sago in 20 Minutes
- Prep
- Cook
- Total
- Serves
- 4
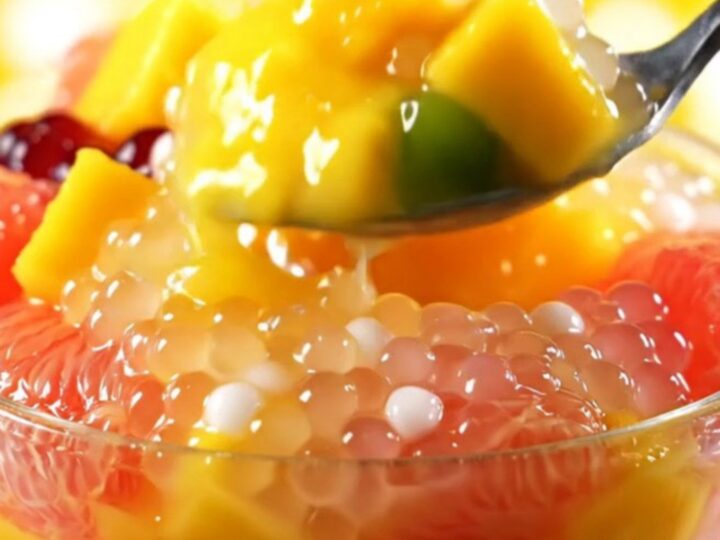
Mango pomelo sago is a beloved Hong Kong dessert that combines sweet mango, creamy coconut, chewy tapioca pearls, and the bright burst of pomelo. This version comes together in just 20 minutes, using a blender and a quick boil of sago.
The result is a cool, silky, and refreshing treat that tastes like a tropical escape. Whether served as a casual snack or an elegant ending to a meal, this no-bake dessert is simple to make and always satisfying.
This mango pomelo sago recipe delivers the classic Hong Kong dessert with minimal effort. Ripe mangoes are blended with coconut milk and evaporated milk to create a velvety base, while small sago pearls are boiled until translucent and chewy.
Fresh mango dice and pomelo pulp add texture and a tangy contrast. The dessert is chilled before serving, making it a perfect make-ahead treat for warm days or festive gatherings. With just a handful of ingredients and straightforward steps, this recipe is approachable for home cooks of any skill level.
Ingredients
- 400 g ripe Carabao mango flesh (about 2 large mangoes)
- 150 ml coconut milk
- 80 ml evaporated milk
- 100 g small sago tapioca pearls
- 6 cups water
- 1 cup fresh mango dice (from 1 mango)
- 1/2 cup pomelo pulp (peeled and separated into sacs)
Why this recipe works
The method relies on blending ripe mangoes with coconut milk and evaporated milk to create a rich, smooth puree that needs no cooking. The natural sweetness and acidity of the mango carry the flavor, while the coconut and evaporated milk add creaminess and body. Blending rather than heating preserves the fresh, bright mango taste.
Boiling the sago pearls in plenty of water and then letting them rest off the heat ensures they cook through evenly without becoming mushy.
Rinsing them under cold water stops the cooking and removes excess starch, so the pearls stay separate and chewy. This two-step cooking method is foolproof and yields the perfect texture every time.
Notes and substitutions
Use ripe, sweet mangoes for the best flavor. Carabao mangoes are ideal, but Ataulfo or Kent also work well. If fresh mango is not in season, frozen mango chunks can be thawed and used for the puree, though the texture may be slightly softer. For the topping, choose a firm but ripe mango that holds its shape when diced.
Small sago pearls, sometimes labeled as tapioca pearls, are essential for this dessert. They cook faster and have a delicate chew compared to larger boba pearls.
Coconut milk should be full-fat for a creamy texture; light coconut milk will result in a thinner base. Evaporated milk adds richness without being overly heavy. Pomelo is traditional, but grapefruit segments can be substituted if pomelo is unavailable.
- Carabao mango: Any ripe sweet mango, such as Ataulfo or Kent, works well.
- Coconut milk: Use full-fat coconut milk for the creamiest texture; light coconut milk will yield a thinner base.
- Evaporated milk: Replace with an equal amount of whole milk or a dairy-free alternative like oat milk, though the flavor will be less rich.
- Pomelo: If pomelo is unavailable, use grapefruit segments, removing all white pith and membranes.
Equipment
- Blender
- Medium saucepan
- Fine-mesh strainer
- Mixing bowl
- Measuring cups and spoons
- Serving bowls or glasses
Up next · Part 2 of 3
5 steps · 12 min of cooking · what to look for at each stage
Step-by-step instructions (Part 2)