Desserts · Part 1 of 3: Ingredients
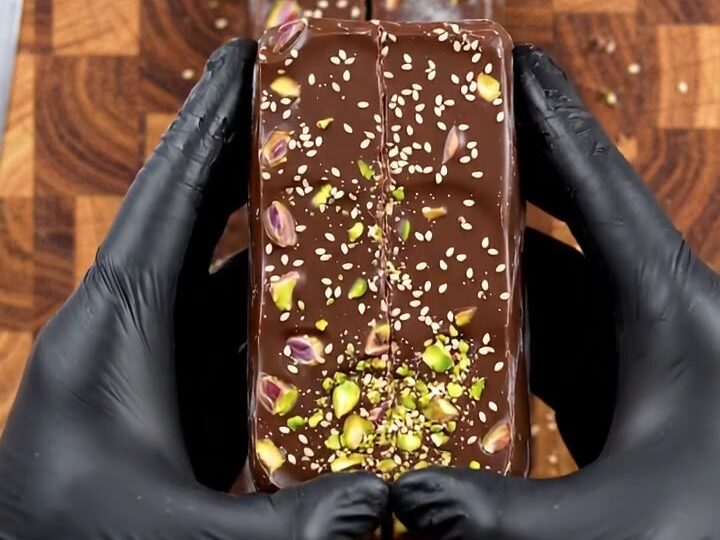
Pistachio Tahini Halva Dark Chocolate Bars
- Prep
- Cook
- Total
- Serves
- 12
These pistachio tahini halva dark chocolate bars are a study in texture and flavor: a crisp, deep-chocolate base, a golden tahini honey swirl, and a crunchy topping of pistachios and sesame halva. They come together in about 20 minutes with no baking, and the result looks like something from a high-end patisserie.
The contrast of bitter chocolate, nutty tahini, and sweet halva is irresistible—each bite offers a satisfying snap and a crumble of topping. Perfect for a dinner party, a gift, or a weekend treat.
Inspired by the classic Middle Eastern pairing of halva and chocolate, these bars layer rich dark chocolate with a tahini honey swirl and a generous crunch of roasted pistachios and sesame halva. The recipe is straightforward: grate the chocolate, melt it, swirl in the tahini mixture, top with the crumble, and chill until set.
No oven required, and the bars keep well in the fridge for up to a week. The video shows the process in real time, and this page translates it into a precise, reliable recipe you can follow at home.
Ingredients
- 12 oz 70% dark chocolate, finely grated
- 1/2 cup tahini
- 1/4 cup honey
- 1 cup roasted pistachios, chopped
- 8 oz sesame tahini halva, crumbled
Why this recipe works
The method of grating the chocolate before melting ensures it melts evenly and quickly, reducing the risk of scorching. Grating also creates fine curls that give the base a slightly textured, fudgy bite once set.
The tahini honey mixture is swirled in while the chocolate is still liquid, so it forms distinct ribbons that remain visible after chilling—this not only looks beautiful but also provides pockets of nutty sweetness in every bite.
The topping is pressed into the chocolate while it's still soft, so the halva and pistachios become embedded in the surface rather than falling off when you slice. Chilling the slab thoroughly before cutting ensures clean, sharp edges and a satisfying snap. The combination of textures—smooth chocolate, creamy tahini, crunchy nuts, and crumbly halva—makes each bar a multi-sensory experience.
Notes and substitutions
Use high-quality 70% dark chocolate for the best flavor and snap. The video specifies 70% dark Belgian couverture, but any good dark chocolate with at least 70% cocoa solids works. Tahini should be well-stirred before measuring; if it's very thick, warm it slightly to make it pourable.
Sesame tahini halva is available in Middle Eastern grocery stores or online; if you can't find it, you can substitute with a mixture of tahini and sesame seeds, though the texture will differ.
The tray should be lined with parchment paper so the slab releases easily. A metal tray conducts cold well, helping the chocolate set quickly and evenly. For clean slicing, use a sharp chef's knife and cut in one firm motion. If the chocolate cracks, let it warm slightly at room temperature for a few minutes before cutting. Store the bars in an airtight container in the refrigerator to maintain their crisp texture.
- 70% dark chocolate: Use bittersweet or semisweet chocolate (60-70%) for a slightly sweeter bar.
- honey: Maple syrup or agave nectar can replace honey for a different sweetness.
- roasted pistachios: Almonds or hazelnuts work in place of pistachios, but note they change the flavor and allergen profile.
Equipment
- Box grater
- Chef's knife
- Cutting board
- Parchment-lined metal tray
- Small saucepan
- Rubber spatula