Drinks · Part 2 of 3: Instructions
Pink Dragon Fruit Mango Coconut Smoothie Step-by-step instructions
- Prep
- Cook
- Total
- Serves
- 2
Before you start
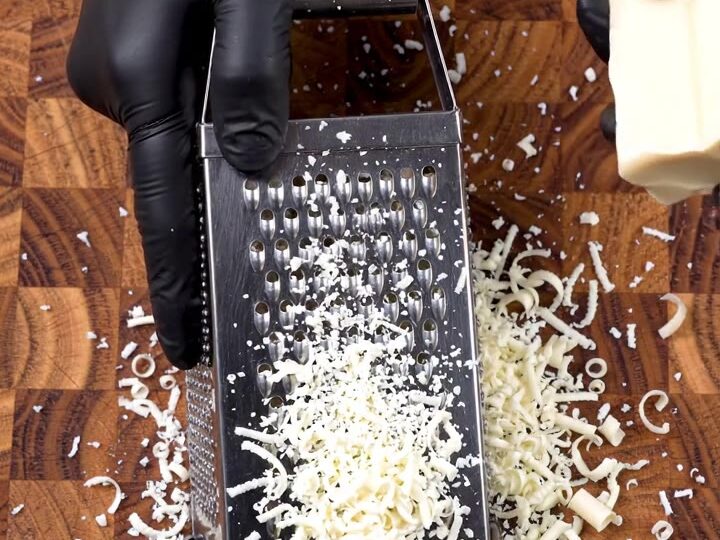
Before starting, chill the coconut milk and fruit if they aren't already cold. Peel and dice the dragon fruit and mango, keeping the cubes small for even blending. Grate the coconut white chocolate and set it aside in a small bowl.
Have your glasses ready — this smoothie is best poured right after blending. If you want an extra-cold drink, pop the glasses in the freezer for 10 minutes before serving.
Ingredients at a glance (5)
- 1 magenta dragon fruit, peeled and diced
- 1 golden mango, peeled and diced
- 1 cup ice cubes
- 1 cup thick coconut milk
- 2 oz coconut white chocolate, grated
Instructions
Prep the fruit and chocolate
- Prep the fruit and chocolateSlice the magenta dragon fruit in half and scoop out the flesh. Dice it into small cubes. Peel the golden mango, remove the pit, and dice the flesh into small cubes. Grate the coconut white chocolate on a box grater into a pile of snowy shreds.Look for The fruit cubes are uniform and the chocolate is finely grated.Tip Chill the fruit beforehand for a colder smoothie.
You'll have a pile of magenta dragon fruit cubes, golden mango cubes, and a bowl of finely grated coconut white chocolate.
The fruit should be bright and juicy, the chocolate snowy and dry. This is the foundation for the smoothie, so take your time to dice evenly.
Blend the smoothie
- Blend the smoothieAdd the diced dragon fruit, mango cubes, ice cubes, and thick coconut milk to a blender pitcher. Blend on high until smooth and thick, stopping to scrape down the sides if needed.Look for The mixture is uniformly pink and creamy, with no visible chunks.Tip If the blender stalls, add a splash more coconut milk, but keep it thick.
The blender is full of vibrant pink liquid, thick and creamy, with a smooth, even color. It should look like a thick milkshake, not a juice. Give it a quick taste — it should be sweet from the mango and dragon fruit, with a rich coconut undertone.
Serve with chocolate swirl
- Serve with chocolate swirlPour the smoothie from the blender into a crystal glass. Finish with a swirl of the grated coconut white chocolate on top. Serve immediately.Look for The smoothie is thick and vibrant pink, topped with snowy chocolate.Tip Serve right away to enjoy the contrast of cold smoothie and melting chocolate.
The smoothie is poured into the glass, with a dramatic swirl of white chocolate on top. The contrast of neon pink and snowy white is striking. The drink is thick enough to hold the chocolate on the surface, and the aroma is tropical and sweet.
Common mistakes
A common mistake is using light coconut milk, which makes the smoothie thin and watery. Another is over-blending, which can warm the drink and melt the ice, resulting in a thinner consistency.
Also, be sure to dice the fruit small enough — large chunks can leave unblended pieces. Finally, don't skip the grating step: pre-shredded chocolate or chips won't create the same airy, snowy topping.
How to tell it’s done
The smoothie is done when it is thick, smooth, and uniformly pink, with no visible fruit chunks. It should pour slowly from the blender, not run like juice.
The grated chocolate should be snowy and light, not clumped. Serve immediately to enjoy the best texture; the smoothie will stay thick for a few minutes, but the chocolate will begin to melt and soften.
Up next · Part 3 of 3
4 variations · storage & make-ahead · 5 answers · printable card
Tips, FAQ & printable recipe (Part 3)← Back to the ingredients (Part 1)