Dinner · Part 1 of 3: Ingredients
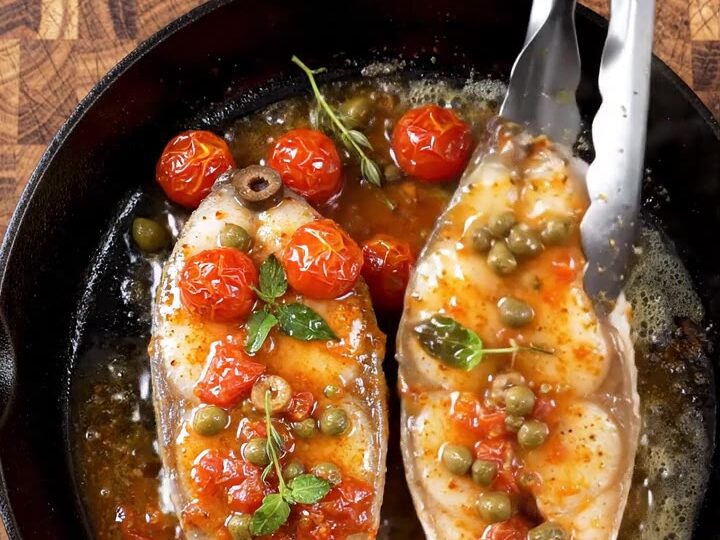
Pan-Seared Swordfish with Tomato-Caper Pan Sauce
- Prep
- Cook
- Total
- Serves
- 2
A swordfish steak is thick enough to stay juicy through a quick sear, and this dish lets it finish in its own butter. Cherry tomatoes and olives soften in the same skillet, while capers and lemon turn the pan juices into a bright, glossy sauce you can spoon over every bite at the table tonight.
This recipe takes two thick swordfish steaks through a simple sequence in one cast iron skillet. The fish is seasoned with salt and black pepper, seared in olive oil until golden on the edges, then basted with melted butter.
Halved cherry tomatoes and mixed black and green olives go into the pan around the steaks, and lemon juice and capers finish the sauce.
Fresh thyme and torn basil go in at the end, and the dish is served straight from the skillet. It is a dinner that feels composed without demanding much time at the stove, and every component depends on the pan juices that the swordfish leaves behind.
Ingredients
- 2 thick swordfish steaks, about 1 inch thick
- kosher salt, to taste
- freshly ground black pepper, to taste
- 2 tbsp extra-virgin olive oil
- 2 tbsp unsalted butter
- 1 cup cherry tomatoes, halved
- 1/4 cup mixed black and green olives, pitted and halved
- 1 lemon, juiced, plus thin slices for serving
- 1 tbsp capers, drained
- 3 sprigs fresh thyme
- 6 leaves fresh basil, torn
- grated hard cheese, such as Parmesan, for serving
Why this recipe works
Searing the swordfish first builds a golden crust that holds the flesh together while the inside cooks gently. Thick steaks need that initial contact with hot iron, because the outside browns before the center overcooks.
Once the heat is lowered, the butter can melt without burning, and the browned bits left on the bottom of the skillet become part of the sauce.
Adding the tomatoes and olives to the pan, instead of cooking them separately, lets their juices mix with the butter and lemon. The tomatoes blister and soften, releasing sweetness that thickens the sauce slightly. Spooning the pan juices over the steaks repeatedly bastes the fish evenly, so it turns opaque and flakes without drying out on the outside.
Notes and substitutions
Swordfish is firm, meaty and mild, and it holds its shape in a hot pan better than most fish. Look for steaks about 1 inch thick, which is the thickness that makes basting practical. Buy steaks that are bright and moist, with no dry edges or strong fishy smell. Pat them dry before seasoning so the sear can start right away.
A 12-inch cast iron skillet is the right size for two steaks, because it gives the fish room to sit in one layer with the tomatoes and olives around it. Cast iron holds heat well and moves easily from the stove to the table.
A fish spatula helps you lift the steaks cleanly. A grater is useful for the hard cheese, which should be finely grated just before serving. Capers are briny, so taste the sauce before adding extra salt.
- swordfish steaks: halibut or thick tuna steaks cut to a similar thickness, cooked the same way until opaque
- cast iron skillet: heavy stainless steel skillet of similar size, preheated just as well
- hard cheese: aged pecorino or Parmesan, grated finely
Equipment
- 12-inch cast iron skillet
- Wooden cutting board
- Sharp knife
- Citrus juicer
- Fish spatula
- Grater
Up next · Part 2 of 3
6 steps · 15 min of cooking · what to look for at each stage
Step-by-step instructions (Part 2)