Dinner · Part 1 of 3: Ingredients
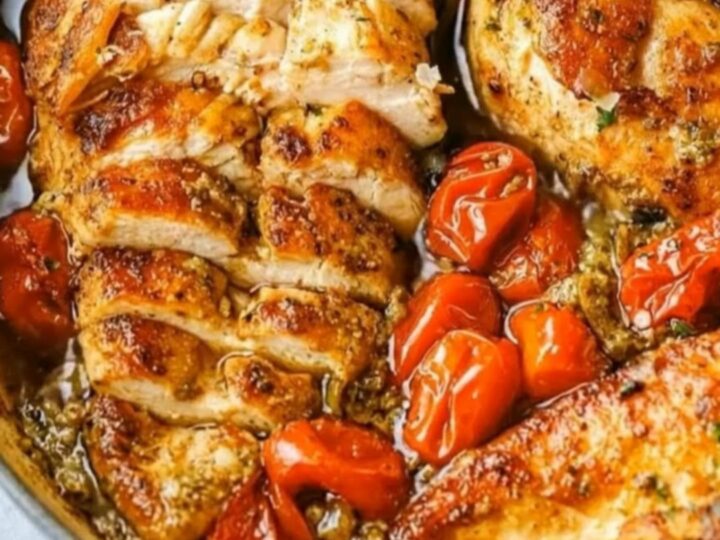
One-Pan Tuscan Garlic Chicken with Blistered Tomatoes
- Prep
- Cook
- Total
- Serves
- 4
Craving a restaurant-quality dinner that comes together in a single pan? This Tuscan garlic chicken delivers incredibly juicy chicken breasts enveloped in a vibrant, herby pan sauce with sweet blistered cherry tomatoes. It is the perfect quick weeknight meal that looks and tastes like it took hours of slow simmering, yet requires minimal prep and cleanup.
This classic Italian-American skillet dish relies on high-heat searing and simple, high-quality ingredients to build rich layers of flavor. By cooking the chicken breasts directly with whole cherry tomatoes and fresh garlic, the natural juices combine with cooking oil to create an effortless pan sauce.
The tomatoes soften and burst, releasing their sweet sugars to balance the savory garlic and rustic herbs. It is a foolproof method that keeps the chicken incredibly tender and moist on the inside while achieving a beautiful golden crust on the outside.
Ingredients
- 4 chicken breasts (about 1.5 pounds)
- 1 tbsp seasoning of choice
- 2 tbsp cooking oil
- 4 cloves garlic, minced
- 2 cups whole cherry tomatoes
- 2 tbsp chopped fresh herbs
Why this recipe works
Searing the chicken breasts over medium-high heat first is absolutely essential because it triggers the Maillard reaction, creating a deeply flavorful caramelized crust that locks in the natural juices.
This initial high-heat cook ensures the exterior develops a beautiful golden-brown color before the interior overcooks. Once flipped, reducing the heat allows the chicken to cook through gently while the remaining pan heat is perfect for softening the garlic and letting it release its sweet aroma without burning.
Adding whole cherry tomatoes directly to the skillet creates a wonderful dual-texture experience as they cook. Some tomatoes burst completely, releasing their acidic juices to deglaze the pan and form the base of the herby sauce, while others remain partially intact for juicy bursts of sweetness in every bite.
Basting the chicken with these simmering golden pan juices throughout the final minutes of cooking ensures the meat absorbs the garlic and herb flavors while staying exceptionally moist.
Notes and substitutions
For the best results, select chicken breasts that are uniform in thickness so they cook evenly. If they are very thick on one end, gently pound them to an even thickness before seasoning.
Fresh garlic is non-negotiable here; pre-minced jarred garlic lacks the sharp, aromatic punch needed to cut through the cooking oil. Use a high-quality cooking oil with a high smoke point for searing, as it contributes significantly to the overall flavor profile of the rustic pan sauce.
Fresh herbs provide a wonderful woody, earthy aroma that beautifully complements the sweet tomatoes. If fresh herbs are unavailable, dried herbs can be substituted at one-third of the quantity, though they should be added earlier in the cooking process to allow them to rehydrate. A heavy-bottomed skillet, preferably cast iron or stainless steel, is highly recommended because it retains and distributes heat evenly, ensuring a superior sear on the chicken breasts.
- cooking oil: butter for a richer, creamier pan sauce
- cherry tomatoes: grape tomatoes
Equipment
- Large heavy-bottomed skillet
- Sharp chef knife
- Cutting board
- Tongs
- Basting spoon
- Instant-read meat thermometer
Up next · Part 2 of 3
6 steps · 20 min of cooking · what to look for at each stage
Step-by-step instructions (Part 2)