Dinner · Part 1 of 3: Ingredients
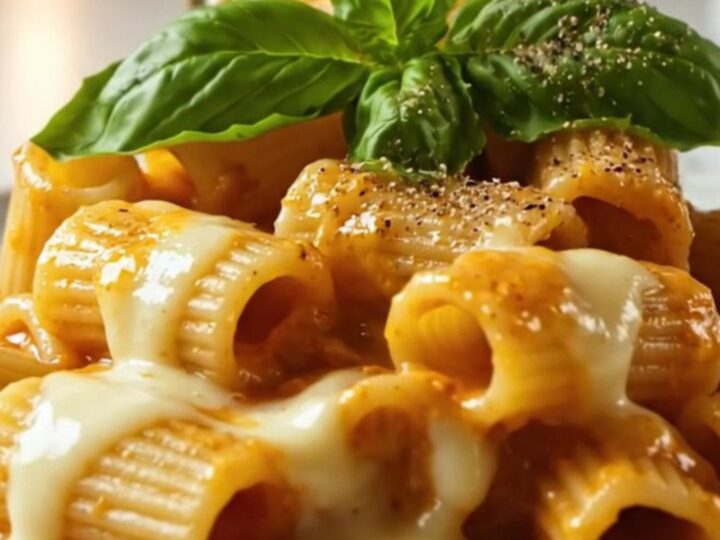
One-Pan Roasted Tomato Pasta with Melted Mozzarella
- Prep
- Cook
- Total
- Serves
- 4
This one-pan pasta starts with whole tomatoes, peppers, onions, and garlic roasted until they collapse into a sweet, concentrated base. Then raw pasta goes straight into the pan, simmering in the juices until it soaks up every bit of flavor. Finished with a generous handful of mozzarella, it turns into a creamy, comforting dinner with minimal cleanup.
Roasting tomatoes and peppers transforms them into something deeply sweet and savory, and cooking the pasta right in that sauce means every bite is infused with flavor. This recipe is a true one-pan wonder: you roast, smash, simmer, and serve—all in the same skillet.
The result is a rich, creamy pasta that tastes like it simmered for hours, but it comes together in under an hour. Perfect for busy weeknights when you want something hearty without a pile of dishes.
Ingredients
- 2 lb ripe tomatoes
- 2 red bell peppers
- 1 large onion
- 6 cloves garlic
- 1/4 cup extra virgin olive oil
- 12 oz pipe rigate or other shell pasta
- 3 cups boiling water
- 2 cups shredded mozzarella
- 1/2 cup fresh basil leaves
- Freshly ground black pepper, for serving
Why this recipe works
Roasting whole vegetables concentrates their natural sugars and brings out a deep, caramelized sweetness that you can't get from a quick sauté. The high heat softens the tomatoes and peppers while lightly charring the edges, adding a subtle smoky note.
Smashing them right in the pan releases all those concentrated juices, creating a sauce base that's packed with flavor before the pasta even goes in.
Simmering raw pasta directly in the sauce allows the starches to release into the liquid, naturally thickening it into a silky, clingy coating. As the pasta absorbs the seasoned liquid, it takes on the full flavor of the roasted vegetables.
The mozzarella folds in at the end, adding richness and a creamy texture that ties everything together. This method is efficient, uses fewer dishes, and yields a sauce that clings to every ridge of the pasta.
Notes and substitutions
Use ripe, in-season tomatoes if possible—they're sweeter and more flavorful. Roma or vine-ripened tomatoes work well. The red peppers add sweetness and a slight smokiness when charred. Leave the garlic cloves whole; they mellow and sweeten as they roast, infusing the sauce without being overpowering. Extra virgin olive oil is worth using here for its fruity, peppery notes.
Any short pasta with ridges, like rigatoni, penne, or shells, will hold the sauce beautifully. Pipe rigate is ideal because the ridges catch the chunky sauce.
Shredded low-moisture mozzarella melts smoothly; fresh mozzarella can be used but may release more liquid. The boiling water should be added gradually—you may not need all of it, depending on the pasta and how much liquid the vegetables release.
- pipe rigate: any short pasta shape like penne, rigatoni, or shells works well; the ridges help hold the sauce.
- fresh mozzarella: use low-moisture mozzarella for a stretchier melt; fresh mozzarella also works but can be more watery.
- red bell peppers: yellow or orange peppers are sweeter, or use a pinch of red pepper flakes for heat.
Equipment
- Large oven-safe skillet or roasting pan
- Potato masher
- Chef's knife
- Cutting board
- Measuring cups and spoons
- Wooden spoon
- Lid for the skillet
- Serving spoon
Up next · Part 2 of 3
5 steps · 35 min of cooking · what to look for at each stage
Step-by-step instructions (Part 2)