Dinner · Part 1 of 3: Ingredients
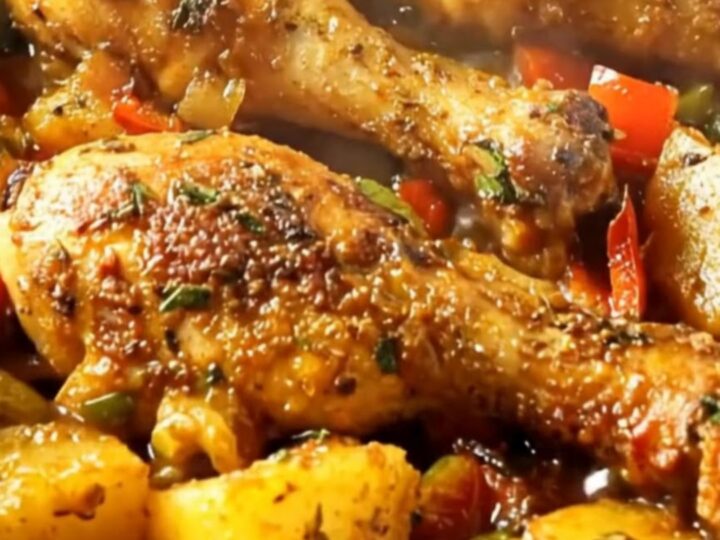
One-Pan Crispy Roasted Chicken Drumsticks and Potatoes
- Prep
- Cook
- Total
- Serves
- 4
Craving a comforting, fuss-free meal that delivers maximum flavor with minimal cleanup? This one-pan roasted chicken drumsticks and potatoes recipe is the ultimate weeknight solution. Tender, juicy chicken with shatteringly crispy skin roasts alongside potatoes and sweet peppers, absorbing all the savory pan juices as they cook to caramelized perfection.
There is something incredibly satisfying about a sheet pan dinner that looks and tastes like it took hours of preparation, yet comes together in just minutes. This recipe pairs budget-friendly chicken drumsticks with hearty potatoes and vibrant peppers.
By roasting everything together on a single pan, the vegetables roast in the rendered chicken fat and savory juices, creating a rich, cohesive flavor profile. It is a foolproof method that guarantees juicy meat and tender, crispy potatoes every single time, making it a reliable staple for busy households.
Ingredients
- 8 bone-in, skin-on chicken drumsticks
- 4 large potatoes, cut into wedges
- 2 bell peppers, sliced
Why this recipe works
The secret to the success of this one-pan method lies in the high-heat roasting process. Cooking at 400°F (204°C) allows the chicken skin to render its fat quickly, which crisps up the exterior while locking in the natural moisture of the dark meat.
As the chicken cooks, its savory juices drip directly onto the potatoes and peppers below. This natural basting process infuses the vegetables with a deep, meaty flavor that cannot be replicated by cooking them separately, resulting in a perfectly seasoned side dish.
Additionally, using dark meat like drumsticks is highly forgiving. Unlike chicken breasts, which dry out easily, drumsticks contain enough connective tissue and fat to remain incredibly succulent even under high heat.
The starch from the potatoes also reacts beautifully with the roasting juices, developing a crispy exterior while remaining fluffy on the inside. This harmonious cooking environment ensures that every component reaches its peak texture and flavor simultaneously.
Notes and substitutions
For the best results, select bone-in, skin-on chicken drumsticks of relatively uniform size to ensure even cooking. Yukon Gold or Russet potatoes are ideal for this recipe; Yukon Golds offer a buttery texture, while Russets provide a classic fluffy interior with extra-crispy edges.
Cut the potatoes into uniform wedges so they cook at the same rate as the chicken. Any color of bell pepper works beautifully, adding a touch of sweetness and vibrant color to contrast the savory elements.
When it comes to equipment, a heavy-duty, rimmed baking sheet is essential. A flimsy pan can warp in the high heat of the oven, leading to uneven cooking and spilling juices. Make sure not to overcrowd the pan; if the chicken and vegetables are piled on top of each other, they will steam instead of roast, preventing the chicken skin and potatoes from getting crispy. If necessary, use a larger roasting pan to give all the ingredients plenty of breathing room.
- potatoes: Yukon Gold potatoes or sweet potatoes work wonderfully as a direct substitute.
- chicken drumsticks: Bone-in, skin-on chicken thighs can be used, though roasting time may need to be adjusted by 5 to 10 minutes.
Equipment
- large rimmed baking sheet
- spoon
- cutting board
- chef's knife
- instant-read meat thermometer
Up next · Part 2 of 3
7 steps · 45 min of cooking · what to look for at each stage
Step-by-step instructions (Part 2)