Dinner · Part 1 of 3: Ingredients
Old Bay Butter Sea Scallops Crockpot Dinner
- Prep
- Cook
- Total
- Serves
- 4
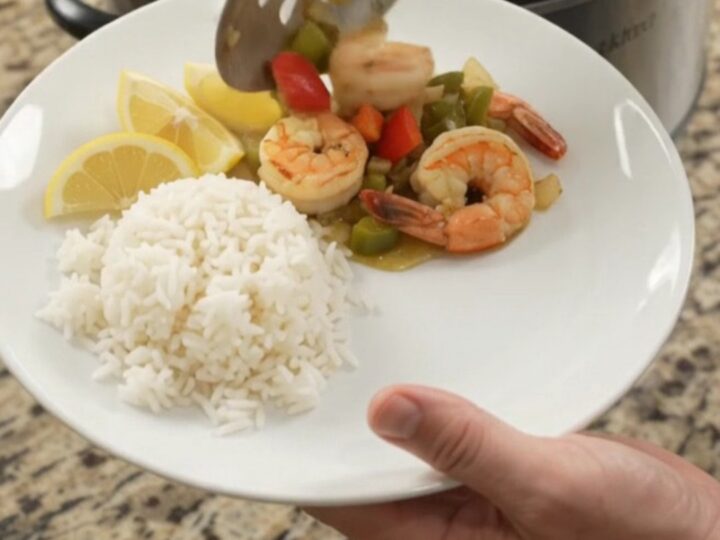
This slow cooker seafood dinner turns a handful of ingredients into a rich, buttery meal with minimal effort. Sea scallops and jumbo shrimp cook gently in a garlic herb butter bath with bell peppers, onions, and celery, all seasoned with Old Bay.
The result is tender, flavorful seafood with a silky sauce that begs to be spooned over rice. Just layer everything in the crockpot, walk away, and come back to a bubbling, fragrant dinner.
This recipe is all about simplicity and big flavor. You start with raw scallops and shrimp, pile on diced bell peppers, sweet onion, and celery, then pour over melted garlic herb butter and a generous dusting of Old Bay seasoning. Set the slow cooker to low and let it work for two hours.
The gentle heat keeps the seafood tender while the vegetables soften and the butter becomes a savory sauce. Serve over steamed rice with lemon wedges for a complete, satisfying meal that feels special but requires almost no hands-on time.
Ingredients
- 1 lb dry-pack sea scallops
- 1 lb raw peeled jumbo shrimp
- 2 bell peppers (red and green), diced
- 1 Vidalia onion, diced
- 2 stalks celery, sliced into ribbons
- 1/2 cup garlic herb butter, melted
- 2 tbsp Old Bay seasoning
Why this recipe works
The slow cooker provides a gentle, moist heat that is ideal for seafood. Scallops and shrimp cook evenly without drying out, and they absorb the flavors of the butter, garlic, and Old Bay as they simmer. Because everything is cooked in one pot, the juices from the seafood and vegetables mingle with the butter, creating a cohesive, deeply flavored sauce that you would not get from quick pan searing.
Layering the ingredients without stirring means the seafood sits on the bottom where it is closest to the heat source, cooking through while the vegetables on top steam and soften.
The butter and seasoning melt down through the layers, infusing every bite. The hands-off method also means no constant attention—just a quick dump, a cover, and a timer. It is a foolproof way to cook seafood for a weeknight dinner or a casual gathering.
Notes and substitutions
Choose dry-pack sea scallops rather than wet-packed ones; they sear and cook better without releasing excess liquid. Jumbo shrimp should be peeled and deveined for ease of eating. Vidalia onions are sweet and mild, but any sweet onion works. For the garlic herb butter, use a good-quality butter and fresh garlic if possible, though a store-bought garlic herb butter is a convenient shortcut.
Old Bay seasoning is the star here—it is a blend of celery salt, paprika, and spices that complements seafood beautifully. If you do not have it, you can make a substitute with paprika, celery salt, black pepper, and cayenne.
The recipe is flexible: you can swap the scallops for extra shrimp or even firm white fish, but adjust the cooking time accordingly. Serve with steamed rice or crusty bread to soak up the buttery sauce.
- sea scallops: bay scallops (reduce cook time to 1 hour)
- Vidalia onion: any sweet onion, such as Walla Walla or Maui
- garlic herb butter: 1/2 cup melted butter mixed with 2 cloves minced garlic and 1 tsp dried herbs
- Old Bay seasoning: 2 tsp paprika, 1 tsp celery salt, 1/2 tsp black pepper, 1/4 tsp cayenne
Equipment
- 6-quart slow cooker
- slotted spoon
- cutting board
- chef's knife
- measuring cups and spoons
Up next · Part 2 of 3
5 steps · 2 h of cooking · what to look for at each stage
Step-by-step instructions (Part 2)