Desserts · Part 1 of 3: Ingredients
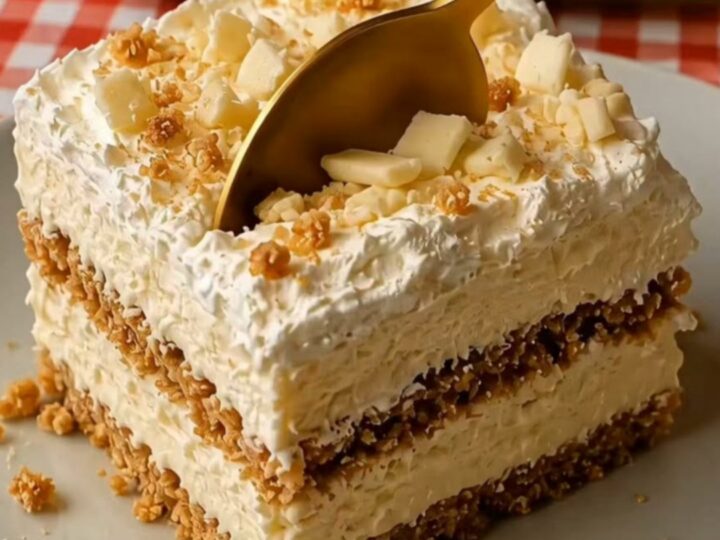
No-Bake White Chocolate Biscuit Cream Cake
- Prep
- Cook
- Total
- Serves
- 8
Discover the art of creating a luxurious dessert without touching the oven. This no-bake white chocolate biscuit cream cake is the ultimate solution for when a sophisticated sweet treat is required quickly.
It combines the velvety richness of premium white chocolate with the satisfying, rustic crunch of classic biscuits, resulting in a balanced dessert that feels like a professional pastry creation. Perfect for busy hosts, this recipe delivers consistent results every single time with minimal effort and maximum visual appeal.
This dessert relies on the simple interaction between aeration and chilling. By whipping heavy cream to the perfect consistency and then folding in high-quality melted white chocolate, a stable, mousse-like base is created.
The addition of crushed biscuit layers provides a necessary structural contrast, absorbing just enough moisture from the cream to become tender while retaining a slight bite. The final result is a harmonious blend of textures that is both comforting and refined, making it a versatile choice for casual afternoon tea or a more formal dinner party conclusion.
Ingredients
Cream Layer
- 2 cups heavy cream, chilled
- 8 oz white chocolate, melted
Layers
- 10 oz biscuits, crushed
Garnish
- 1 oz white chocolate, shaved
Why this recipe works
The method of folding melted white chocolate into whipped cream works because it creates a stable emulsion that sets firmly when chilled. This eliminates the need for gelatin or other thickeners, keeping the texture natural and silky. The fat content in both the cream and the white chocolate ensures a luxurious mouthfeel that melts instantly upon contact with the palate, providing a satisfying experience in every bite.
Layering the components allows the moisture from the cream to permeate the biscuit crumbs uniformly. This process of controlled softening ensures that the cake remains cohesive when sliced while maintaining a distinct contrast between the creamy and crunchy elements. By utilizing a glass dish, the beautiful layers are displayed clearly, enhancing the overall presentation and making the dessert visually appealing before the first piece is even removed from the tray.
Notes and substitutions
Selecting high-quality white chocolate is essential, as it provides the primary flavor for the cream layer. Look for chocolate that contains cocoa butter rather than vegetable fats for the smoothest melt and best flavor.
When crushing the biscuits, aim for a mix of larger pieces and smaller crumbs to create a varied texture throughout the cake. If the biscuits are too finely powdered, the layers may become muddy, so keep the pieces slightly coarse for the best results.
The choice of glass dish is important for both structural support and aesthetic display. An 8-inch square dish is ideal as it provides enough depth to showcase several distinct layers without requiring a massive amount of ingredients.
If a different shape is used, ensure the depth is sufficient to hold at least three layers of cream and biscuits. A rubber spatula is the most effective tool for folding the cream and smoothing the top layer to ensure a polished finish.
- White chocolate: Milk chocolate for a richer cocoa flavor profile.
- Biscuits: Graham crackers or digestive biscuits work equally well for the crunch.
Equipment
- Electric hand mixer
- Mixing bowl
- 8-inch glass dish
- Rubber spatula
- Vegetable peeler