Desserts · Part 3 of 3: Tips & recipe card
No-Bake Chocolate Chip Cookie Peanut Butter Pie Tips, FAQ & printable recipe
- Prep
- Cook
- Total
- Serves
- 8
Tips for success
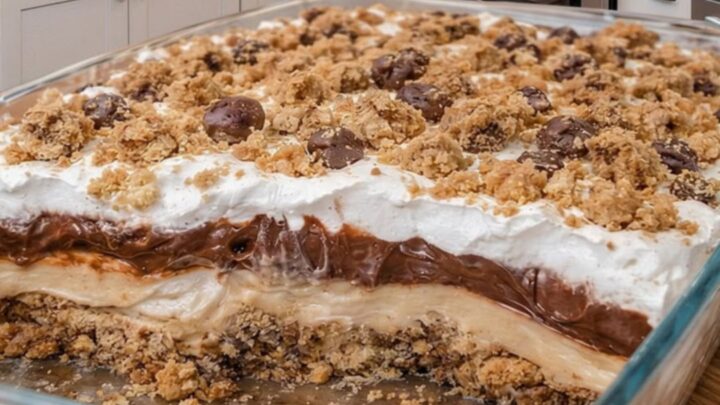
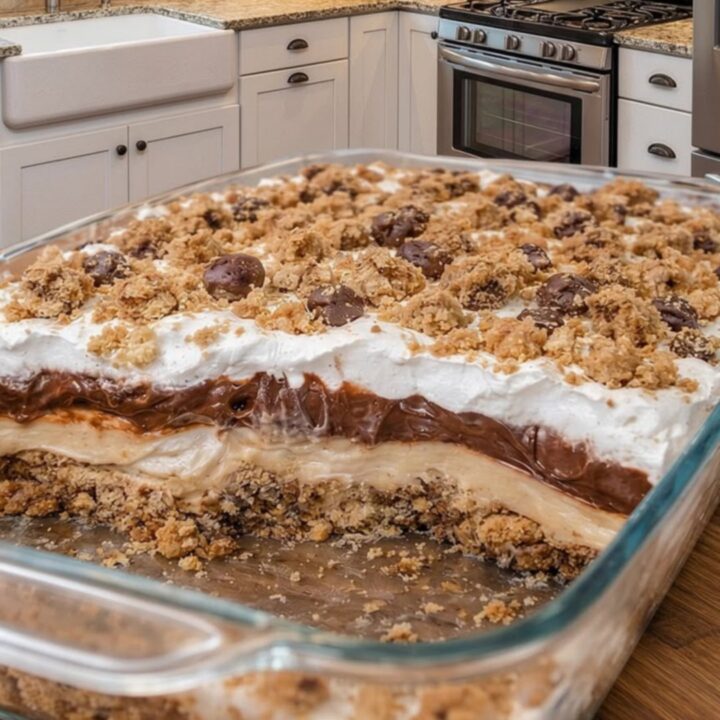
For the cleanest slices, run a sharp knife under hot water and wipe it dry before cutting into the pie. The slight warmth of the blade helps cut through the chocolate ganache layer without cracking it, resulting in beautiful, clean edges that show off the layers.
If the ganache becomes too firm during the assembly process, let it sit at room temperature for a few minutes or give it a very quick burst in the microwave.
It should be pourable and spreadable, not stiff, to ensure it coats the peanut butter filling evenly without pulling it up.
Variations
- Salted Caramel Drizzle: Drizzle a small amount of salted caramel sauce over the final layer of whipped topping before serving to add a sweet and salty contrast that complements the peanut butter.
- Oreo Crust: Replace the chocolate chip cookie crumbs with crushed chocolate sandwich cookies for a deeper, more intense cocoa flavor that pairs exceptionally well with the creamy peanut butter filling.
Storage and make-ahead
- Fridge
- Store in the refrigerator for up to 3 days. Cover tightly to prevent the whipped topping from drying out.
- Freezer
- The pie can be frozen for up to 1 month. Wrap tightly in plastic wrap and foil. Thaw in the refrigerator before serving.
- Reheat
- This dessert is intended to be served cold and should not be reheated.
Keep the pie covered with plastic wrap or in an airtight container to prevent it from absorbing other flavors from the refrigerator.
Because it contains dairy, it must be stored in the refrigerator at all times. Properly stored, the pie will maintain its texture and flavor for up to three days.
This recipe is ideal for making ahead, as it requires a significant chilling time to set properly. Prepare the entire pie up to 24 hours in advance and keep it refrigerated.
Add any decorative cookie crumbs or extra toppings just before serving to ensure they remain crisp and do not soften in the fridge.
Serving ideas
Serve the pie chilled directly from the refrigerator for the best texture and consistency. Plate each slice on a small dessert plate, perhaps accompanied by a dollop of extra whipped cream or a drizzle of chocolate sauce if an even more indulgent presentation is desired.
When serving, consider the temperature of the room.
Since the pie relies on cold temperatures to hold its structure, avoid leaving it out on the counter for more than thirty minutes, especially in warmer environments, to ensure the ganache and filling remain firm and stable.
Frequently asked questions
Can this be made ahead of time?
Why is the crust crumbling when sliced?
Can the pie be frozen?
No-Bake Chocolate Chip Cookie Peanut Butter Pie
Ingredients
- 2 cups chocolate chip cookies, crushed
- 4 tbsp unsalted butter, melted
- 1 cup creamy peanut butter
- 8 oz cream cheese, softened
- 1 cup semi-sweet chocolate chips
- 1/2 cup heavy cream
- 2 cups whipped topping
Instructions
- Combine the crushed chocolate chip cookies and melted butter in a medium mixing bowl. Stir until the mixture resembles wet sand. Press the crumbs firmly into the bottom of a rectangular glass dish to form an even base. Place the dish in the refrigerator to firm up while preparing the filling.
- In a large bowl, beat the softened cream cheese and peanut butter until smooth and creamy. Spread this mixture evenly over the chilled crust. In a separate microwave-safe bowl, combine the chocolate chips and heavy cream. Heat in 30-second intervals, stirring between, until the chocolate is melted and glossy. Pour the ganache over the peanut butter layer and smooth with a spatula.
- Spread the whipped topping over the set ganache layer. Garnish with additional crushed chocolate chip cookies if desired. Refrigerate the pie for at least two hours or until fully set before slicing into portions. This resting time ensures clean layers when serving.
Estimated nutrition per serving
- Calories
- 450
- Protein
- 7.5 g
- Carbohydrates
- 38 g
- Fat
- 31 g
Next recipe
Creamy Baked Coconut Dessert for Pure Comfort
See the recipe → →This recipe is based on a short cooking video and is published under the pen name Clara Weller. It was checked before publication, but errors can slip through. Nutrition, when shown, is an estimate. Read more in our editorial policy and on our food safety page.
More recipes to try
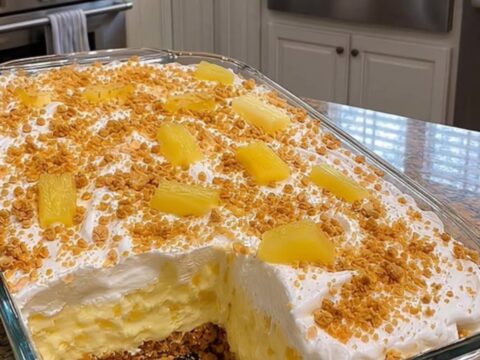
Easy No-Bake Pineapple Cream Dessert with Graham Crust
Total time: 1 h 15 min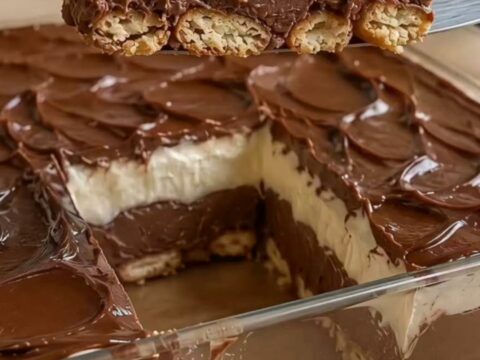
Decadent Chocolate and Vanilla Bonbon Pavé
Total time: 2 h 35 min
Creamy No-Bake Peach Cookie Dessert
Total time: 2 h 20 min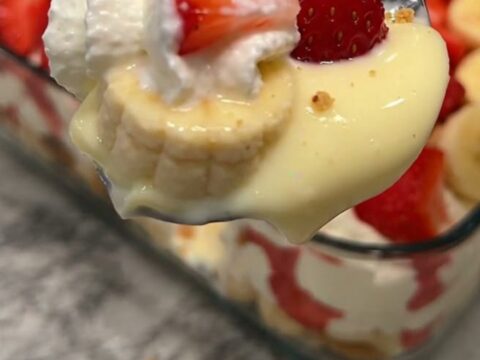
Creamy Strawberry Banana Pudding with Vanilla Wafers
Total time: 50 min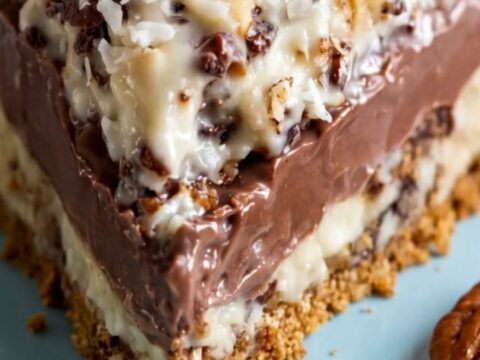
Sugar-Free German Chocolate Pie with Toasted Coconut
Total time: 2 h 15 min