Desserts · Part 3 of 3: Tips & recipe card
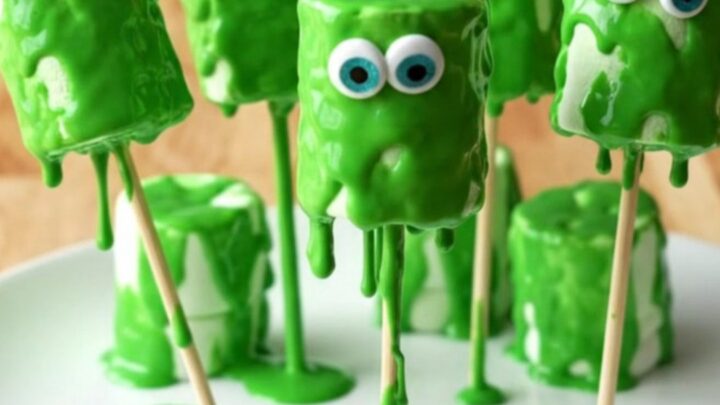
Monster Marshmallow Pops for Fun Treats Tips, FAQ & printable recipe
- Prep
- Cook
- Total
- Serves
- 12
Tips for success
For a more varied look, you can experiment with different sizes of candy eyes or even use small, edible sugar decorations to create different monster expressions.
If you want to add extra texture, consider sprinkling a small amount of green sugar crystals over the wet coating immediately after dipping. This adds a subtle sparkle that catches the light and makes the pops look even more festive and engaging for a party display.
If you are preparing these for a large gathering, consider using a foam block or a dedicated pop stand to hold the sticks upright while the coating sets. This prevents the pops from developing a flat side where they rest on the baking sheet.
While resting on parchment paper is perfectly acceptable, a stand provides a perfectly round finish that looks professional. This is a small adjustment that can significantly elevate the final presentation of your monster treats.
Variations
- Spooky Orange Monsters: Substitute the green candy melts with orange-colored candy melts. Decorate with a single large candy eye and perhaps a small piece of black licorice to create a mouth, giving the monsters a different but equally festive appearance.
- Chocolate Dipped Pops: Use semi-sweet chocolate instead of colored candy melts for a classic flavor profile. These can be decorated with white candy eyes to create a stark, high-contrast look that is sophisticated while still being fun for themed events.
Storage and make-ahead
- Fridge
- The pops do not require refrigeration and are best stored at room temperature.
Store the finished pops in an airtight container at room temperature in a cool, dry place. This helps keep the candy coating crisp and prevents the marshmallows from absorbing excess moisture, which could cause them to become soft or sticky.
If your kitchen is particularly warm, you may need to keep them in a slightly cooler area to prevent the candy coating from softening, which could compromise the appearance of the decorations.
These pops can be made up to two days in advance, provided they are stored correctly in an airtight container. Because they do not contain any perishable ingredients, they remain fresh and stable for several days.
However, for the best texture and appearance, it is recommended to assemble them no more than twenty-four hours before your event. This ensures that the candy coating maintains its glossy finish and the marshmallows stay perfectly soft and fresh for your guests.
Serving ideas
When serving, place the monster pops in a decorative container or a stand that allows the pops to stand upright. This makes them easy for guests to grab and enjoy. You might place them on a tray lined with themed napkins or colorful tissue paper to match your event's color scheme. Providing a variety of heights in your display will make the presentation more dynamic and visually interesting for your visitors to behold.
If you are hosting a party, you can arrange these pops as a centerpiece, perhaps grouped together in a vase or a decorative bucket filled with food-safe filler. This transforms the food into a functional decoration that serves as a conversation starter. Consider the setting and the age of your guests, and place the display in an accessible area where everyone can easily reach a pop without crowding the serving table.
Frequently asked questions
Can these pops be made ahead of time?
What is the best way to melt the candy coating?
How can the pops be kept from falling over while the coating sets?
Monster Marshmallow Pops for Fun Treats
Ingredients
- 12 large marshmallows
- 12 lollipop sticks
- 1 cup green candy melts
- 12 large candy eyes
Instructions
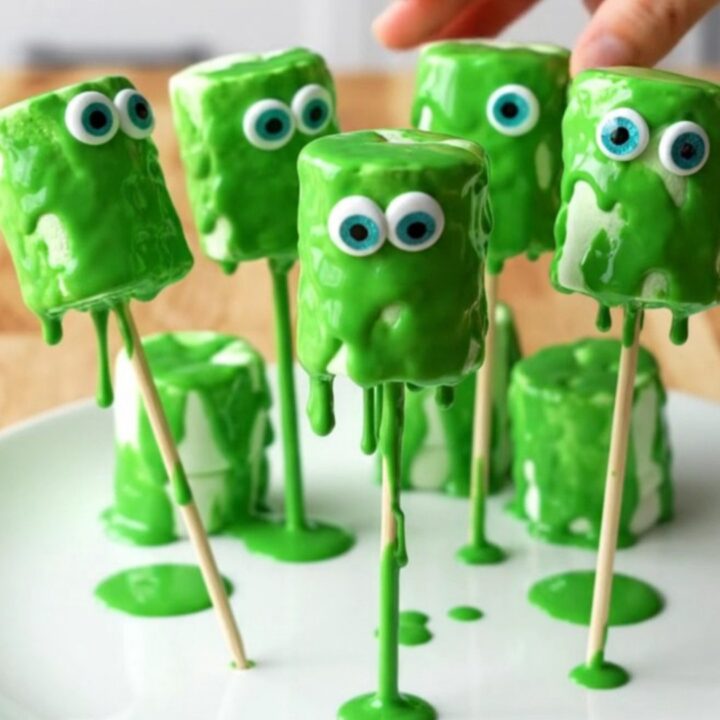
- Arrange the large marshmallows on a clean work surface. Insert one lollipop stick into the center of each marshmallow, twisting gently to ensure it stays secure. Place the prepared pops on a parchment-lined baking sheet to keep them ready for dipping.
- Place the green candy melts into a small microwave-safe bowl. Heat in short intervals, stirring frequently, until the candy is completely smooth and melted. Dip each marshmallow pop into the green coating, ensuring it is fully covered. While the coating is still wet, immediately press one candy eye onto the front of the pop.
- Return the decorated pops to the parchment-lined baking sheet. Allow the candy coating to set completely at room temperature, which typically takes about ten minutes. Once hardened, transfer the finished monster pops to a clean serving plate and display them for guests.
Estimated nutrition per serving
- Calories
- 110
- Protein
- 0.5 g
- Carbohydrates
- 22 g
- Fat
- 2.5 g
- Fiber
- 0 g
- Sugar
- 18 g
- Sodium
- 10 mg
Next recipe

Easy Chocolate Chip Pecan Pie Bars
See the recipe → →This recipe is based on a short cooking video and is published under the pen name Clara Weller. It was checked before publication, but errors can slip through. Nutrition, when shown, is an estimate. Read more in our editorial policy and on our food safety page.
More recipes to try
Creamy Pumpkin Pie Fudge Squares
Total time: 2 h 25 min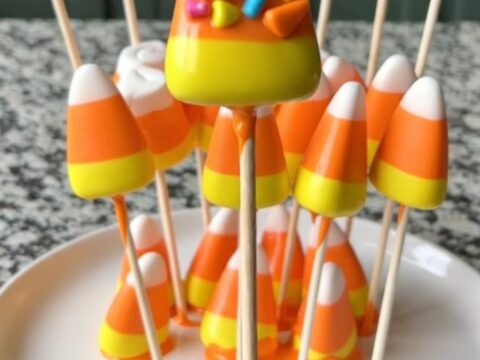
Candy Corn Marshmallow Pops for Easy Fall Treats
Total time: 30 min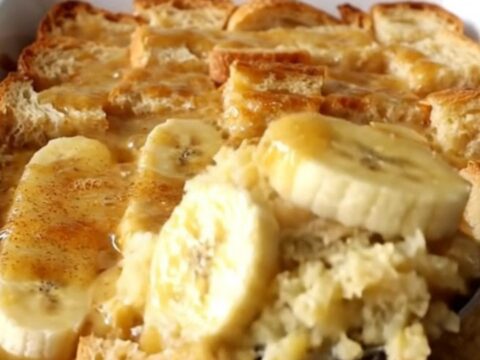
Classic Bananas Foster Bread Pudding
Total time: 1 h 10 min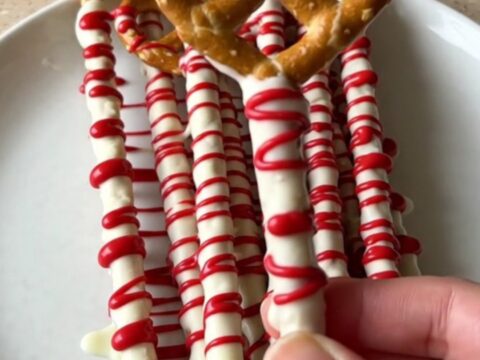
Bloody Vampire Pretzel Rods for Spooky Parties
Total time: 30 min
Chocolate Dipped Apple Wedges with Toffee
Total time: 20 min