Desserts · Part 1 of 3: Ingredients
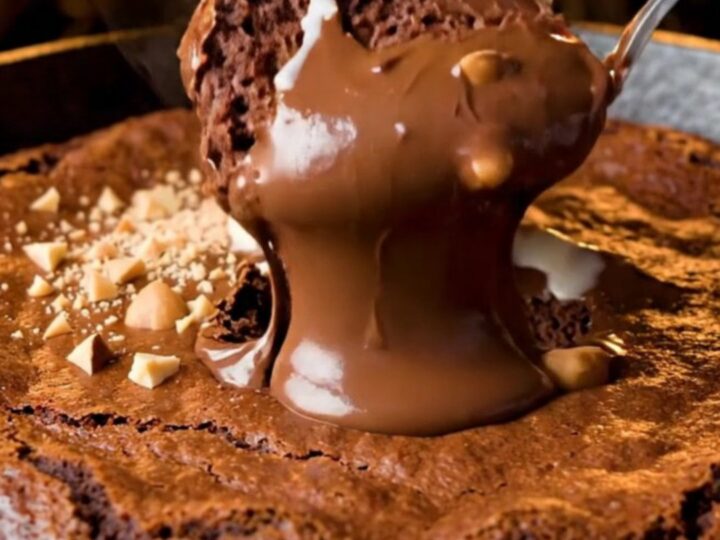
Molten Nutella Skillet Lava Brownie with Crackly Top
- Prep
- Cook
- Total
- Serves
- 6
This skillet brownie is the ultimate dessert for chocolate lovers. A crackly, shiny top hides an ultra-fudgy interior, and the center holds a molten river of Nutella that flows out the moment you dig in.
Baked in a cast iron skillet, the edges turn chewy and crisp while the middle stays soft and gooey. Served warm with cold vanilla ice cream and toasted hazelnuts, every scoop is a contrast of textures and temperatures.
Molten chocolate desserts have a magic that never gets old, and this skillet version takes the idea to a new level. Instead of a single molten center, a frozen disk of Nutella is buried in rich brownie batter, so when the brownie bakes, the center stays liquid while the surrounding batter sets.
The result is a dessert that delivers a dramatic lava flow with every spoonful. The brownie itself is deeply chocolatey, with a thin, crackly crust that gives way to a dense, fudgy crumb. A scoop of vanilla ice cream adds cool creaminess, and toasted hazelnuts bring a welcome crunch. This recipe is straightforward, forgiving, and perfect for sharing straight from the pan.
Ingredients
- 150 g dark chocolate, chopped
- 100 g butter, plus extra for the skillet
- 150 g brown sugar
- 2 large eggs
- 50 g all-purpose flour
- 30 g unsweetened cocoa powder
Lava center
- 1/2 cup Nutella, frozen into a disk
For serving
- 1/4 cup chopped hazelnuts, toasted
- vanilla bean ice cream, for serving
Why this recipe works
The key to the crackly top is beating the eggs and sugar vigorously for a full 2 minutes. This aerates the mixture and creates a foam that sets into a shiny, crisp crust as it bakes. Skipping this step leads to a denser, less crackly top. The high sugar content also helps form that signature shell, so do not reduce the brown sugar.
Freezing the Nutella into a disk is what makes the lava effect work. As the brownie bakes, the frozen spread stays solid longer than the batter, so it melts slowly and creates a distinct molten pocket.
If the Nutella were at room temperature, it would blend into the batter and the center would be merely soft, not lava-like. The cast iron skillet also helps: it heats evenly and gives the edges a chewy, slightly crisp texture that contrasts with the soft center.
Notes and substitutions
Use a good-quality dark chocolate that you enjoy eating, since it is the main flavor. Semisweet or bittersweet both work. The brown sugar adds moisture and a hint of caramel, while the eggs provide structure. All-purpose flour and cocoa powder are the only dry ingredients, so the brownie stays fudgy rather than cakey.
A 10-inch cast iron skillet is ideal, but an 8-inch or 9-inch oven-safe skillet will also work; adjust the baking time slightly. If you do not have a skillet, an 8-inch square baking pan works, but the edges will not be as crisp.
The Nutella disk can be frozen in a small bowl or on a plate lined with parchment. For a nut-free version, skip the hazelnuts on top and use a chocolate spread without nuts.
- Nutella: Any chocolate-hazelnut spread can be used; freeze it in a disk as directed.
- dark chocolate: Semi-sweet or bittersweet chocolate works well; use a good melting variety.
- brown sugar: Light or dark brown sugar both work; dark adds more molasses flavor.
- hazelnuts: Skip the nuts or use toasted pecans or walnuts for crunch.
Equipment
- 10-inch cast iron skillet
- mixing bowls
- whisk
- rubber spatula
- freezer-safe plate
Up next · Part 2 of 3
5 steps · 20 min of cooking · what to look for at each stage
Step-by-step instructions (Part 2)