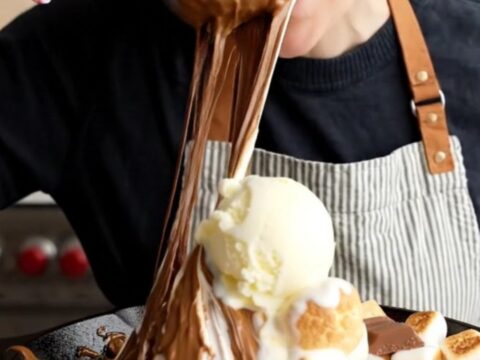
Desserts · Part 3 of 3: Tips & recipe card
Molten Chocolate Hazelnut Skillet Lava Cake Tips, FAQ & printable recipe
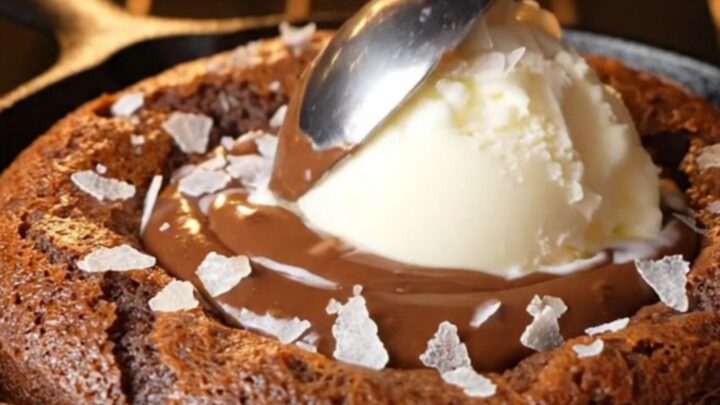
- Prep
- Cook
- Total
- Serves
- 2
Tips for success
For the most dramatic lava effect, serve the cakes immediately after adding the ice cream. The contrast between the hot cake and cold ice cream is what makes this dessert special. Use a spoon to break into the center, allowing the molten chocolate to flow out. If you prefer a less intense chocolate flavor, use semi-sweet chocolate instead of dark.
To make ahead, prepare the batter and assemble the skillets, then cover and refrigerate for up to 24 hours. When ready to bake, add a few minutes to the baking time.
You can also freeze the unbaked assembled skillets for up to a month; thaw overnight in the refrigerator before baking. The cakes are best enjoyed fresh, but leftovers can be reheated in a microwave for a few seconds.
Variations
- Peanut Butter Swirl: Replace the chocolate hazelnut spread with creamy peanut butter for a peanut butter chocolate lava cake. The peanut butter will melt similarly, creating a rich, nutty center. Add a pinch of sea salt to enhance the flavor.
- Salted Caramel Center: Use thick salted caramel sauce instead of hazelnut spread. The caramel will flow out when the cake is broken, creating a sweet and salty lava. Be sure to use a thick caramel to prevent it from leaking into the batter.
- Mint Chocolate: Add 1/2 teaspoon of peppermint extract to the batter and use a chocolate-mint spread or a mint-chocolate chip ice cream on top. The cool mint flavor contrasts beautifully with the warm chocolate.
- Espresso Boost: Dissolve 1 teaspoon of instant espresso powder in 1 tablespoon of hot water and add it to the batter along with the eggs. The coffee enhances the chocolate flavor without making it taste like coffee. Top with a dusting of cocoa powder.
Storage and make-ahead
- Fridge
- Store leftover cakes in an airtight container in the refrigerator for up to 2 days. Reheat gently before serving.
- Freezer
- Freeze unbaked assembled skillets for up to 1 month. Thaw overnight in the refrigerator before baking.
- Reheat
- Reheat leftover baked cakes in a microwave for 20-30 seconds or in a 350°F oven for 5 minutes.
Store any leftover lava cakes in an airtight container in the refrigerator for up to 2 days. To reheat, microwave on medium power for 20-30 seconds or warm in a 350°F (175°C) oven for 5 minutes.
The center will not be as molten after reheating, but the cake will still be delicious. If the cake has been topped with ice cream, remove the ice cream before storing.
The batter can be prepared up to 24 hours in advance. Assemble the skillets, cover with plastic wrap, and refrigerate.
When ready to bake, let them sit at room temperature for 15 minutes, then bake as directed, adding 2-3 minutes to the baking time. The unbaked skillets can also be frozen for up to 1 month; thaw overnight in the refrigerator before baking.
Serving ideas
Serve the lava cakes straight from the oven while the centers are still molten. Place each skillet on a small plate or a folded napkin to protect the surface.
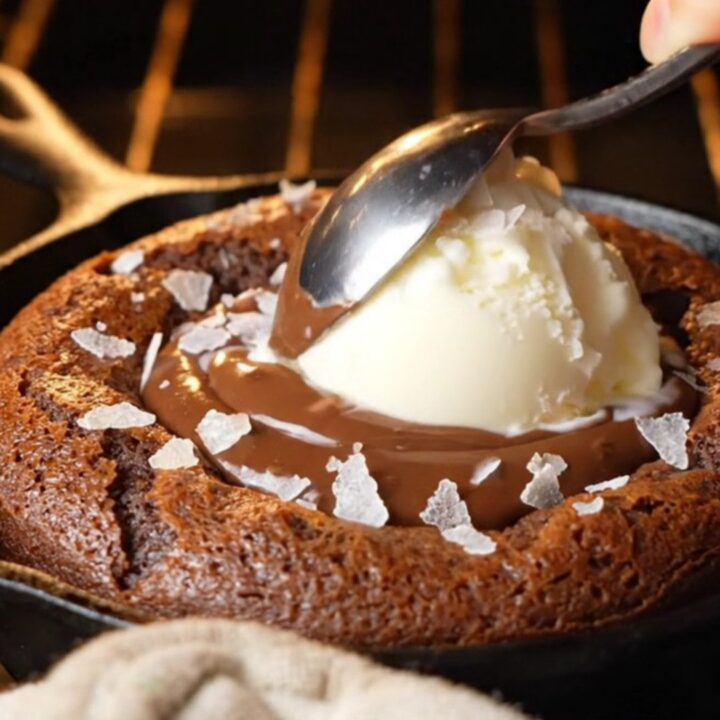
Add a generous scoop of vanilla bean ice cream on top, allowing it to melt into the warm chocolate. Sprinkle with flaky sea salt for a sweet-salty contrast. The cakes are best eaten with a spoon, digging into the center to release the lava.
For a more elegant presentation, you can unmold the cakes onto plates, but the skillet presentation is part of the charm. If you do unmold, run a knife around the edge and invert onto a plate. Serve with extra ice cream and a drizzle of chocolate sauce if desired. These cakes are rich, so a small portion is satisfying.
Frequently asked questions
Why does the center of the lava cake not stay molten?
Can this recipe be made without a cast iron skillet?
Can the batter be prepared in advance?
What is the best way to reheat leftover lava cakes?
Can this recipe be doubled or halved?
Molten Chocolate Hazelnut Skillet Lava Cake
Ingredients
- 150 g dark chocolate, chopped
- 100 g unsalted butter, plus more for the skillets
- 100 g granulated sugar
- 2 large eggs
- 2 large egg yolks
- 40 g all-purpose flour
- 1/2 cup chocolate hazelnut spread
- flaky sea salt, for topping, to taste
- vanilla bean ice cream, for serving
Instructions
- Set a heatproof bowl over a saucepan of barely simmering water, making sure the bottom does not touch the water. Add the chopped dark chocolate and butter. Stir gently until melted and glossy. Remove from heat and let cool slightly.
- Whisk the granulated sugar into the chocolate-butter mixture until fully dissolved. Add the eggs and egg yolks, one at a time, whisking vigorously after each addition. The batter will become thick and glossy.
- Sprinkle the flour over the batter and fold gently with a rubber spatula until just incorporated. Do not overmix; a few streaks are fine. The batter will be thick and slightly fluffy.
- Generously butter the inside of two mini cast iron skillets. Divide half of the chocolate batter evenly between the skillets, spreading it to cover the bottom.
- Spoon a generous dollop of chocolate hazelnut spread into the center of each skillet, about 2 tablespoons per skillet. Keep it mounded in the middle, not touching the edges.
- Spoon the remaining batter over the hazelnut spread, covering it completely. Smooth the tops gently with a spatula, but do not press down.
- Place the skillets on a baking sheet and bake at 400°F (200°C) for exactly 13 minutes. The edges should be firm and puffed, while the center still gives a slight wobble when gently shaken.
- Remove the skillets from the oven and let them cool for 2 minutes. Sprinkle with flaky sea salt, top with a scoop of vanilla ice cream, and serve immediately while the center is molten.
Estimated nutrition per serving
- Calories
- 680
- Protein
- 8 g
- Carbohydrates
- 62 g
- Fat
- 45 g
Next recipe
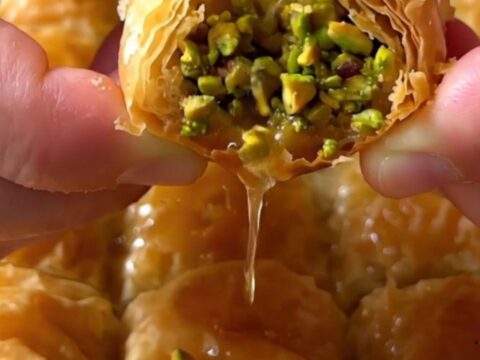
Crispy Pistachio Rolled Baklava Fingers with Lemon Syrup
See the recipe → →This recipe is based on a short cooking video and is published under the pen name Clara Weller. It was checked before publication, but errors can slip through. Nutrition, when shown, is an estimate. Read more in our editorial policy and on our food safety page.
More recipes to try
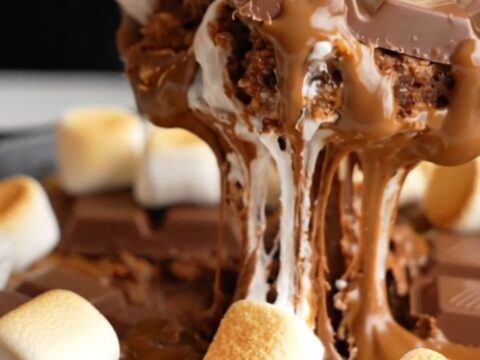
One-Pan Campfire S'mores Skillet Blondie with Toasted Marshmallows
Total time: 35 min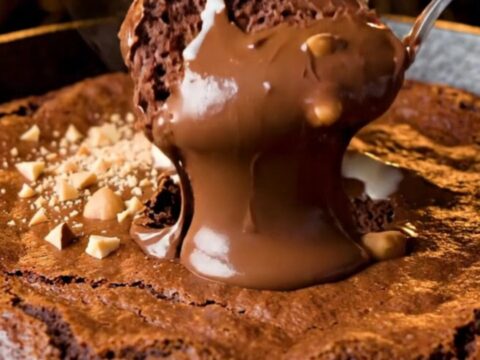
Molten Nutella Skillet Lava Brownie with Crackly Top
Total time: 30 min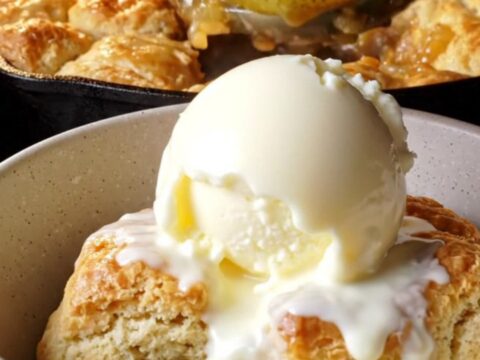
Skillet Cinnamon Pear Cobbler with Flaky Buttermilk Biscuit Crust
Total time: 55 min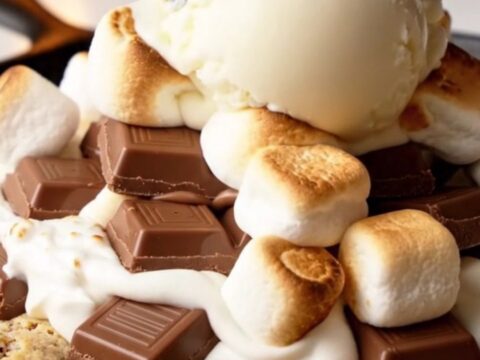
Giant S'mores Skillet Cookie with Toasted Marshmallow Fluff
Total time: 30 min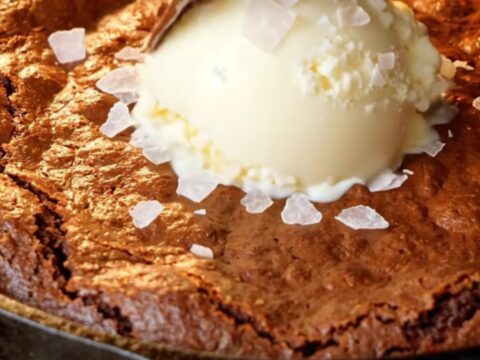
Double Chocolate Skillet Brownie with Molten Fudge Center
Total time: 35 min