Desserts · Part 1 of 3: Ingredients
Creamy Burnt Basque Cheesecake with Molten Center
- Prep
- Cook
- Total
- Serves
- 12
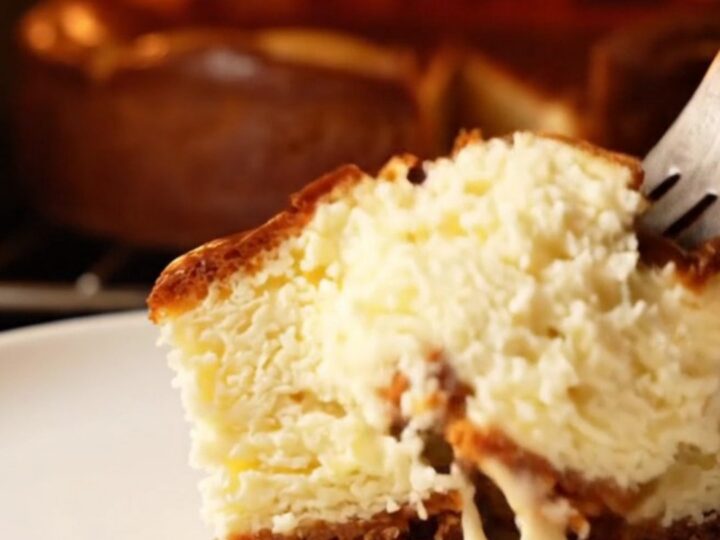
This burnt Basque cheesecake is the dessert that took the internet by storm, and for good reason. With a deeply caramelized, almost charred exterior and a luxuriously creamy, molten center, it delivers a striking contrast of textures and flavors.
The batter comes together in minutes with just four ingredients, and the oven does the rest of the work, transforming simple cream cheese, sugar, eggs, and cream into a showstopping dessert. Whether served warm with a fork or chilled for a denser texture, this cheesecake is pure creamy perfection.
Originating from the Basque region of Spain, this cheesecake is known for its rustic, burnt appearance and its exceptionally creamy interior. Unlike traditional cheesecakes that require a water bath and meticulous temperature control, this version embraces high heat and a short baking time.
The result is a dessert that is caramelized on the outside, with a center that remains soft, moist, and almost custard-like. It is surprisingly simple to make, requiring no crust and no complicated techniques, making it a perfect choice for both novice and experienced bakers.
Ingredients
- 2 lb cream cheese, softened
- 1 1/2 cups caster sugar
- 5 large eggs
- 2 cups heavy cream
Why this recipe works
The magic of this cheesecake lies in the high oven temperature of 425°F (220°C). This intense heat quickly caramelizes the sugars on the surface, creating a deep amber crust that contrasts beautifully with the pale, creamy interior.
The short baking time ensures that the center never fully sets, leaving it soft, moist, and almost molten. This technique is the hallmark of the Basque style, producing a dessert that is both visually striking and texturally complex.
The simplicity of the batter is another key to its success. With just cream cheese, sugar, eggs, and heavy cream, the ingredients are allowed to shine. The cream cheese provides richness and tang, while the sugar adds sweetness and aids in caramelization.
The eggs give structure, and the cream contributes to the luscious, velvety texture. Beating the ingredients until just combined ensures a smooth, glossy batter that bakes into a perfectly creamy cheesecake.
Notes and substitutions
Use full-fat cream cheese for the best flavor and texture. Low-fat or non-dairy alternatives may not yield the same creamy results. Make sure the cream cheese is softened to room temperature before beating, as this prevents lumps and ensures a smooth batter. Caster sugar dissolves more easily than granulated sugar, but regular granulated sugar works fine if that is what you have on hand.
The parchment paper is essential for this recipe. Crumple it before lining the pan to create folds and wrinkles that give the cheesecake its signature rustic edges. The paper should extend well above the rim of the pan to support the cake as it rises during baking. A 9-inch springform pan is ideal, but a regular cake pan lined with parchment will also work if you do not have a springform pan.
- caster sugar: granulated sugar (process in a food processor for finer texture if desired)
- heavy cream: full-fat coconut cream for a dairy-free version (use dairy-free cream cheese as well)
- cream cheese: vegan cream cheese for a dairy-free version
Equipment
- Stand mixer with paddle attachment
- 9-inch springform pan
- Parchment paper
- Large mixing bowl
- Rubber spatula
- Wire rack
Up next · Part 2 of 3
3 steps · 28 min of cooking · what to look for at each stage
Step-by-step instructions (Part 2)