Dinner · Part 3 of 3: Tips & recipe card
Maple Bourbon Bacon Jam Smash Burgers Tips, FAQ & printable recipe
- Prep
- Cook
- Total
- Serves
- 2
Tips for success
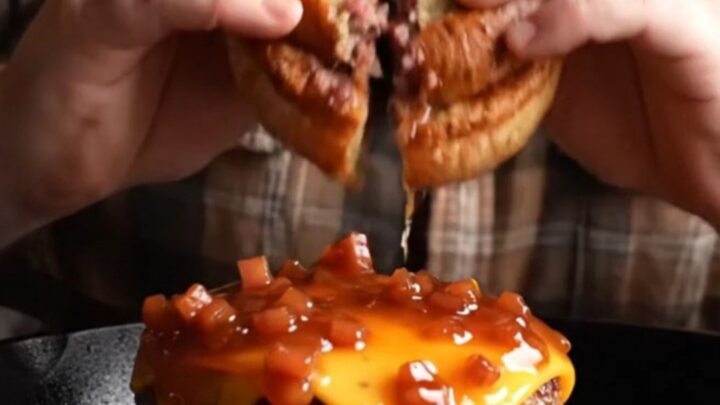
To ensure the bacon jam stays perfectly sticky, avoid over-reducing the syrup. If it becomes too thick or begins to harden, add a tiny splash of water or more bourbon to loosen it back up. The jam can be made a day in advance, which often improves the depth of flavor as the components have more time to meld together into a truly cohesive and delicious topping.
When toasting the pretzel buns, use a small amount of butter to ensure a golden, crispy surface. The salt on the pretzel bun is a great textural addition, but be careful not to toast them for too long, as the sugar in the pretzel dough can burn quickly.
Toast them until they are just golden brown and warm, providing a sturdy base that won't become soggy from the juices of the burger.
Variations
- Spicy Bacon Jam: Add a teaspoon of red pepper flakes or a dash of cayenne pepper to the bacon jam while it simmers to provide a spicy kick that complements the sweetness of the maple syrup.
- Caramelized Onion Jam: Incorporate two thinly sliced yellow onions into the bacon jam during the early stages of cooking to add a deep, savory sweetness and a richer texture to the final topping.
Storage and make-ahead
- Fridge
- Store in an airtight container for up to 3 days.
- Freezer
- The bacon jam can be frozen for up to 1 month.
- Reheat
- Warm the jam in a pan and the burgers in a skillet.
Store leftover bacon jam in an airtight container in the refrigerator for up to three days. The patties are best eaten immediately after cooking, but if you have leftovers, store them separately from the buns and the jam to prevent the bread from becoming soft.
Reheat the patties on a hot skillet until they are warmed through, and gently warm the bacon jam in a small saucepan over low heat before serving.
You can prepare the bacon jam up to 48 hours in advance and keep it in the refrigerator. The patties can also be formed and kept in the refrigerator for up to 24 hours.
When ready to serve, simply bring the jam to room temperature, heat up your griddle, and cook the patties fresh. This makes hosting much easier, as the most time-consuming part of the process is already completed before your guests arrive.
Serving ideas
Serve these burgers immediately while the patties are fresh off the griddle and the jam is warm. The contrast between the hot, savory meat and the sweet, sticky bacon jam is best experienced when the temperatures are balanced. Provide plenty of napkins, as the combination of the jam and the juicy beef makes for a messy, indulgent meal that is meant to be enjoyed with both hands.
Pair these burgers with simple sides like classic shoestring fries or a crisp green salad to balance the richness of the bacon and cheese. Since the burger itself is quite flavorful, you do not need complex toppings like lettuce or tomatoes.
The bacon jam provides all the acidity and sweetness required, but a few thin slices of quick-pickled red onion could add a nice brightness if you want an extra layer of flavor.
Frequently asked questions
Can the bacon jam be made without bourbon?
What is the best way to keep the smash burger patties from sticking?
Is it possible to use a different type of bun?
Maple Bourbon Bacon Jam Smash Burgers
Ingredients
- 6 strips thick-cut bacon, diced
- 1 shallot, minced
- 2 tbsp pure maple syrup
- 1 oz bourbon
- 2 ground beef patties, four-ounce chuck-brisket blend
- 2 slices smoked cheddar
- 2 pretzel buns, butter-toasted
Instructions
- Place the diced thick-cut bacon into a small saucepan over medium heat. Cook until the bacon begins to render its fat, then stir in the minced shallot. Continue cooking until the bacon is crisp and the shallots are translucent. Pour in the pure maple syrup and the bourbon. Simmer the mixture, stirring occasionally, until the liquid reduces and the consistency becomes thick and jammy.
- Heat a flat top griddle or cast iron skillet to 460°F. Place the beef patties onto the hot surface. Using a heavy spatula or burger press, smash each patty firmly to create a wide, thin shape with a lacy, crispy crust. Sear for 90 seconds. Flip the patties and immediately place a thick slice of smoked cheddar on each one. Ensure the internal temperature reaches at least 160°F (71°C) to ensure safety for ground meat.
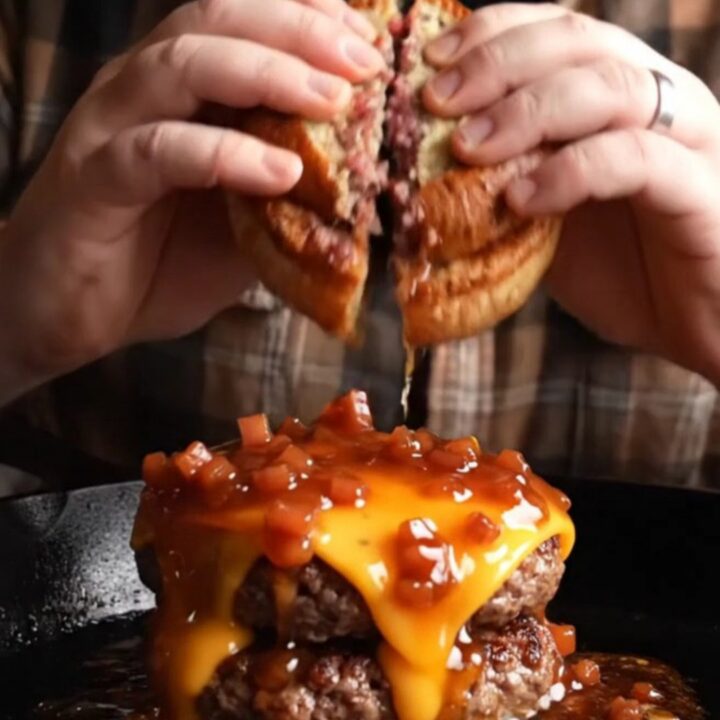
- While the patties finish melting the cheese, lightly butter and toast the pretzel buns on the griddle. Remove the finished patties from the heat and let them rest for at least 3 minutes. Top each cheesy patty with 3 tablespoons of the prepared hot bacon jam. Place onto the toasted buns and serve immediately while the jam is warm and the cheese is oozing.
Estimated nutrition per serving
- Calories
- 650
- Protein
- 32 g
- Carbohydrates
- 35 g
- Fat
- 42 g
- Fiber
- 1.5 g
- Sugar
- 12 g
- Sodium
- 950 mg
Next recipe
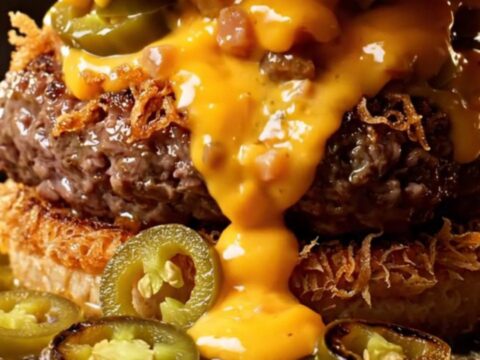
Crispy Jalapeño Popper Smash Burger
See the recipe → →This recipe is based on a short cooking video and is published under the pen name Clara Weller. It was checked before publication, but errors can slip through. Nutrition, when shown, is an estimate. Read more in our editorial policy and on our food safety page.
More recipes to try
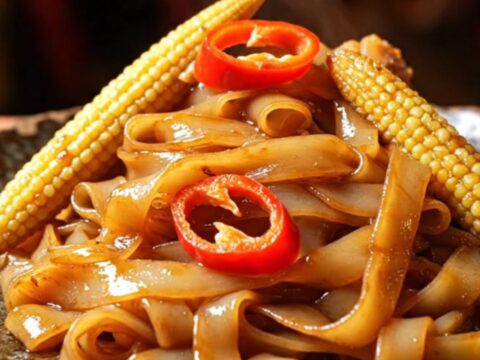
Wok-Charred Drunken Noodles with Chicken and Thai Basil
Total time: 23 min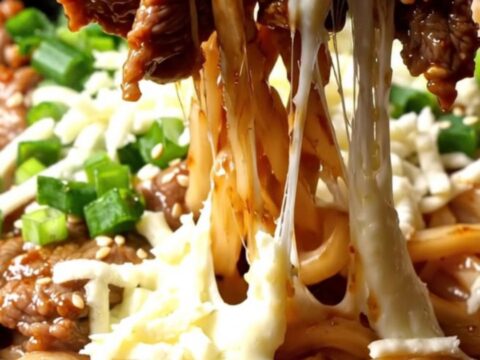
Beef Bulgogi Udon with Melted Mozzarella
Total time: 15 min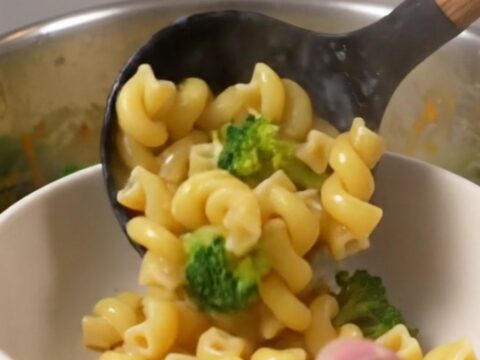
One-Pot Broccoli Cheddar Cavatappi
Total time: 30 min
Creamy Coconut Curry Laksa Ramen with Crispy Tofu Puffs
Total time: 15 min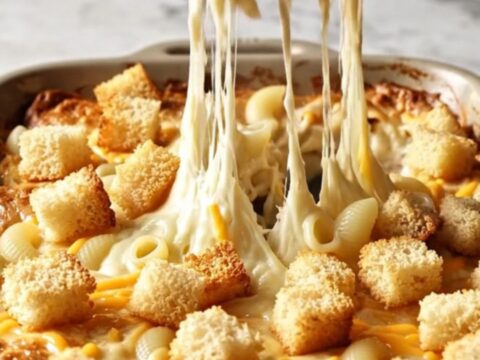
Rich French Onion Mac and Cheese
Total time: 1 h