Dinner · Part 3 of 3: Tips & recipe card
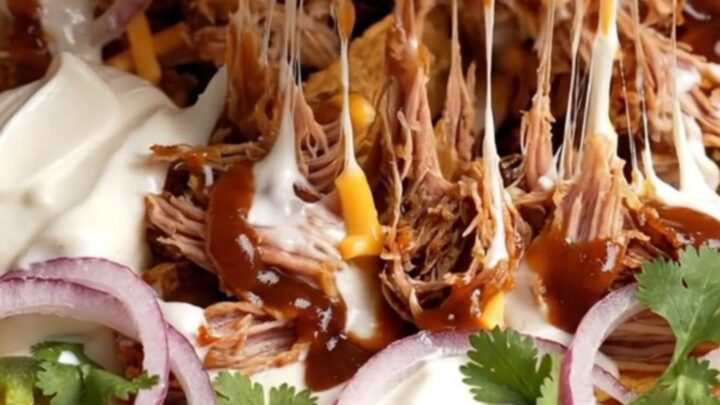
Loaded Skillet Pulled Pork Nachos with Smoked Queso & Jalapeños Tips, FAQ & printable recipe
- Prep
- Cook
- Total
- Serves
- 8
Tips for success
For the best cheese pull, serve the nachos immediately after baking. The cheese will start to set as it cools. If making ahead, assemble the nachos without the sour cream and cilantro, then bake just before serving.
To keep the chips extra crispy, spread them in a single layer on a baking sheet and bake at 350°F for a few minutes before assembling. This dries them out slightly and helps them hold up to the wet toppings.
Variations
- Chicken Version: Replace the pulled pork with shredded rotisserie chicken. Use a smoky barbecue sauce to mimic the flavor. Bake as directed, ensuring the chicken reaches 165°F (74°C).
- Spicy Chorizo: Swap the pulled pork for cooked, crumbled fresh chorizo. Brown the chorizo in a skillet until fully cooked, then layer it with the chips. Adjust the jalapeños to taste.
- Vegetarian Option: Omit the pork and add black beans, corn, and roasted bell peppers. Use a vegetarian queso dip and increase the cheese for extra richness.
- Breakfast Nachos: Top the nachos with scrambled eggs (cooked to 160°F) and crumbled bacon instead of pulled pork. Drizzle with salsa and serve with a dollop of sour cream.
Storage and make-ahead
- Fridge
- Store leftover nachos in an airtight container in the refrigerator for up to 2 days. Reheat in a 350°F oven to restore crispness.
- Freezer
- Freezing is not recommended as the chips and cheese will lose their texture. However, the pulled pork and queso can be frozen separately for up to 3 months.
- Reheat
- Reheat leftover nachos in a 350°F oven for 5-7 minutes until hot and crispy. Avoid microwaving, which makes chips soggy.
Store leftover nachos in an airtight container in the refrigerator for up to 2 days.
The chips will soften, so they are best reheated in a 350°F oven for 5-7 minutes to re-crisp. Avoid microwaving, as it makes the chips chewy.
The pulled pork and queso can be prepared up to 2 days ahead and kept refrigerated. Reheat before assembling.
The nachos themselves are best baked fresh, but you can layer the ingredients in the skillet (without baking) up to 4 hours ahead, cover, and refrigerate. Add a few extra minutes to the baking time if starting cold.
Serving ideas
Serve the nachos directly from the skillet, placing it on a heatproof trivet. Provide small plates or napkins, as the cheese stretch can be messy.
A side of extra barbecue sauce or hot sauce is a nice addition for those who want more heat.
These nachos are a complete meal on their own, but they also pair well with a crisp green salad or a bowl of guacamole.
For a party, set out bowls of extra jalapeños, sour cream, and cilantro so guests can customize their portions.
Frequently asked questions
Can these nachos be made ahead of time?
Why are the chips soggy after baking?
Can this recipe be made gluten-free?
How can you make the nachos spicier?
What is the best way to reheat leftover nachos?
Loaded Skillet Pulled Pork Nachos with Smoked Queso & Jalapeños
Ingredients
- 1 large bag tortilla chips
- 300 g (10.5 oz) smoked queso dip, warmed
- 450 g (1 lb) smoked pulled pork, warmed
- 1 1/2 cups shredded Monterey Jack cheese
- 1 1/2 cups shredded sharp cheddar cheese
- 1/2 cup barbecue sauce
- 2 jalapeños, sliced
- 1/2 cup sour cream
- 1/4 cup finely chopped red onion
- 1/4 cup fresh cilantro leaves
Instructions
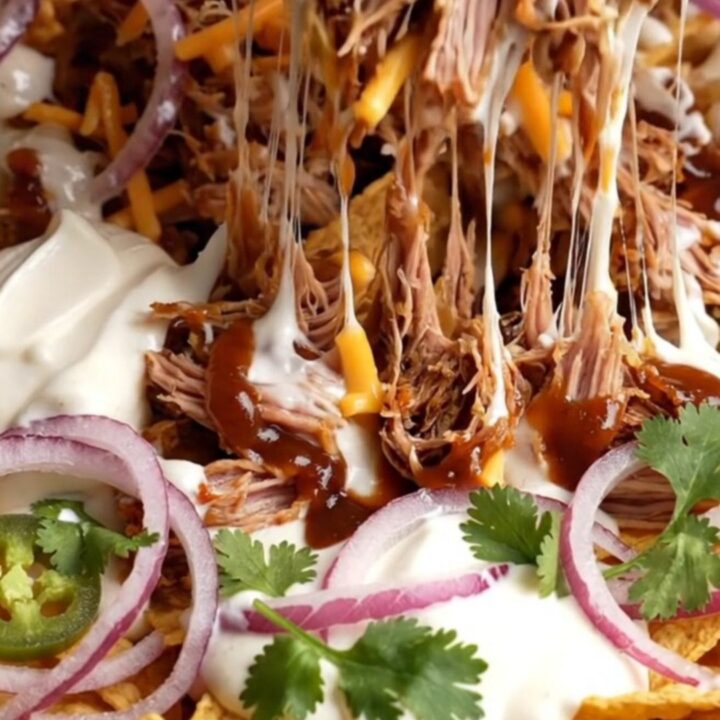
- Preheat the oven to 400°F (200°C). Spread half of the tortilla chips in an even layer in a 12-inch cast iron skillet. Drizzle with half of the warm smoked queso dip, then scatter half of the shredded Monterey Jack cheese and half of the smoked pulled pork over the chips.
- Add the remaining tortilla chips on top, creating a second layer. Drizzle with the remaining queso dip, then scatter the remaining pulled pork over the chips. Drizzle the barbecue sauce evenly over the top, and finish with the remaining Monterey Jack cheese, the sharp cheddar, and the sliced jalapeños.
- Place the skillet in the preheated oven and bake for 10 minutes, until the cheese is completely melted, bubbling, and golden at the edges. The chips should be crisp, not soggy.
- Remove the skillet from the oven. Dollop spoonfuls of sour cream over the hot nachos, then sprinkle with the red onion and fresh cilantro. Serve immediately while the cheese is still molten and stretchy.
Estimated nutrition per serving
- Calories
- 580
- Protein
- 28 g
- Carbohydrates
- 45 g
- Fat
- 32 g
Next recipe
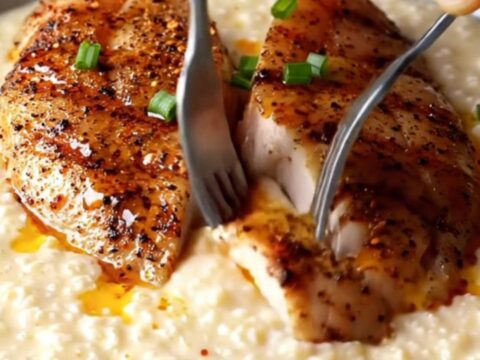
Creamy Cajun Blackened Chicken & White Cheddar Grits in 20 Minutes
See the recipe → →This recipe is based on a short cooking video and is published under the pen name Clara Weller. It was checked before publication, but errors can slip through. Nutrition, when shown, is an estimate. Read more in our editorial policy and on our food safety page.
More recipes to try
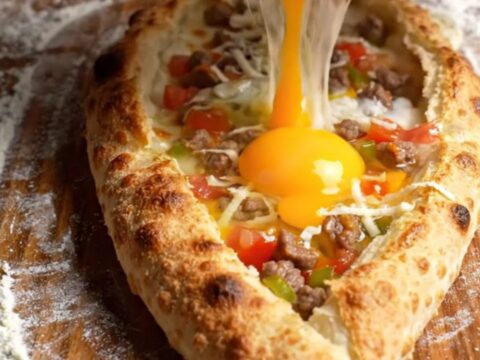
Turkish Pide with Beef, Kaşar & Egg Yolk
Total time: 1 h 35 min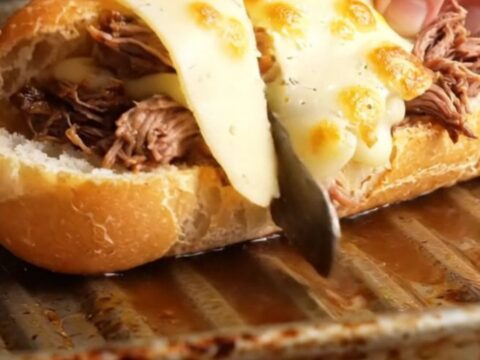
Slow-Cooked Short Rib French Dip Baguettes with Gruyère & Au Jus
Total time: 4 h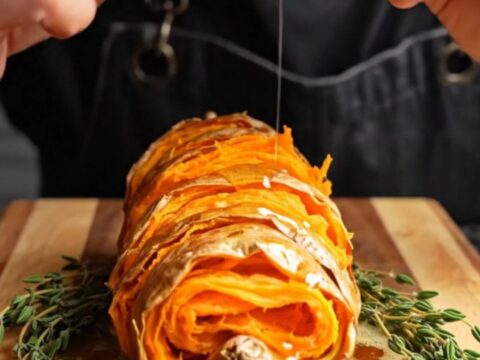
Crispy Accordion Sweet Potatoes with Hot Honey Butter
Total time: 50 min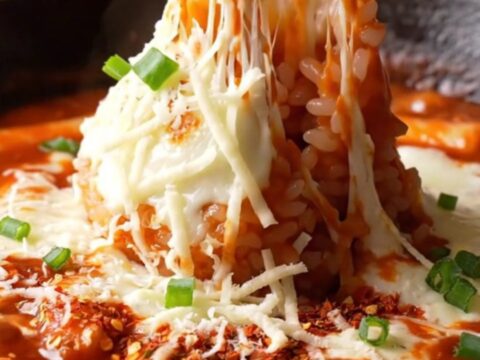
One-Pan Korean Cheesy Fire Tteokbokki: Spicy Rice Cakes with Mozzarella
Total time: 25 min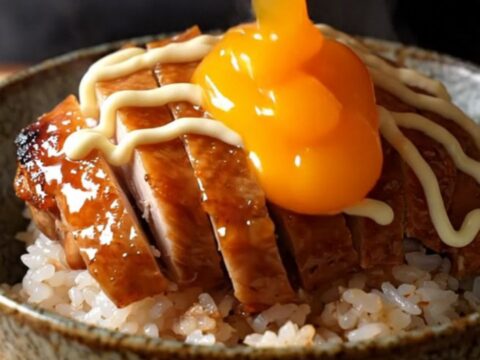
Crispy Japanese Teriyaki Chicken Rice Bowl with Onsen Egg & Kewpie
Total time: 35 min