Dinner · Part 3 of 3: Tips & recipe card
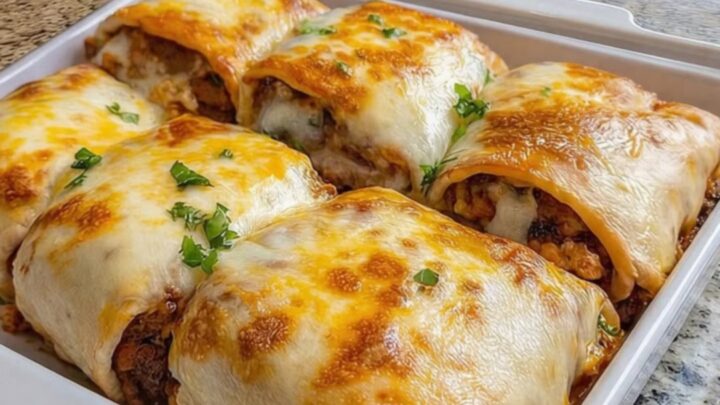
Loaded Cheesy Pocket Tacos for a Quick Savory Meal Tips, FAQ & printable recipe
- Prep
- Cook
- Total
- Serves
- 4
Tips for success
For an extra layer of flavor, consider adding a small amount of diced green chiles or finely chopped onions to the beef mixture while it browns. These additions provide a subtle kick and texture that complements the cheesy interior well.
If a spicier profile is preferred, a dash of hot sauce can be stirred into the beef during the final minute of simmering. Always taste the meat mixture before assembling to adjust the seasoning levels to your personal preference.
If the pockets are not browning as desired, ensure the oven is fully preheated before placing the dish inside. This helps achieve a deep, even color across the entire surface of the shell. If you prefer a crunchier texture, the baking time can be extended by an additional two to three minutes, provided the oven temperature is monitored closely to prevent the edges of the shells from becoming too dark or brittle.
Variations
- Spicy Jalapeno Pockets: Add finely diced fresh or pickled jalapenos to the beef mixture before filling. This adds a bright, spicy kick that cuts through the richness of the melted cheddar cheese perfectly.
- Black Bean and Beef: Stir in a half-cup of rinsed black beans to the beef mixture. This adds a pleasant earthy texture and boosts the overall heartiness of the filling without overpowering the taco spices.
Storage and make-ahead
- Fridge
- Store in an airtight container for up to 3 days. Ensure the pockets are fully cooled before sealing to prevent condensation.
- Freezer
- Wrap individual pockets in foil and place in a freezer-safe bag for up to 1 month. Thaw in the refrigerator before reheating.
- Reheat
- Reheat in a preheated oven at 350°F (175°C) for 10-15 minutes until heated through and the crust has regained its crisp texture.
Store any leftover taco pockets in an airtight container to keep them from drying out. They should be cooled completely to room temperature within two hours of cooking before being placed in the refrigerator.
Proper storage helps maintain the integrity of the shell and the quality of the filling for up to three days. When ready to eat again, they are best reheated in an oven or toaster oven to restore the crispness of the shell.
The beef filling can be prepared up to one day in advance and stored in the refrigerator in a sealed container. This significantly reduces the active preparation time on the day of serving.
Simply assemble the pockets with the chilled or room-temperature filling just before baking. Note that assembled pockets should not sit for too long before baking, as the moisture from the filling can soften the shells, potentially affecting the final texture of the dish.
Serving ideas
Serve these taco pockets warm, ideally alongside a variety of fresh toppings such as sour cream, fresh salsa, or shredded lettuce. These sides add a refreshing, cooling element that balances the richness of the melted cheese and seasoned beef. Because the pockets are easy to hold, they work well as a casual finger food, but they are equally suitable for a plated meal when served with a side of rice or beans.
For a more substantial meal, consider pairing the pockets with a side of guacamole or a crisp garden salad. The contrast between the hot, crunchy taco pockets and cool, fresh vegetables makes for a well-rounded dining experience.
If serving for a larger group, arrange the pockets on a large platter and provide a selection of dipping sauces, allowing guests to customize their bites to suit their individual tastes for a fun and interactive meal.
Frequently asked questions
Can these taco pockets be made ahead of time?
What is the best way to keep the cheese from leaking?
How can the crunchiness of the shells be maintained?
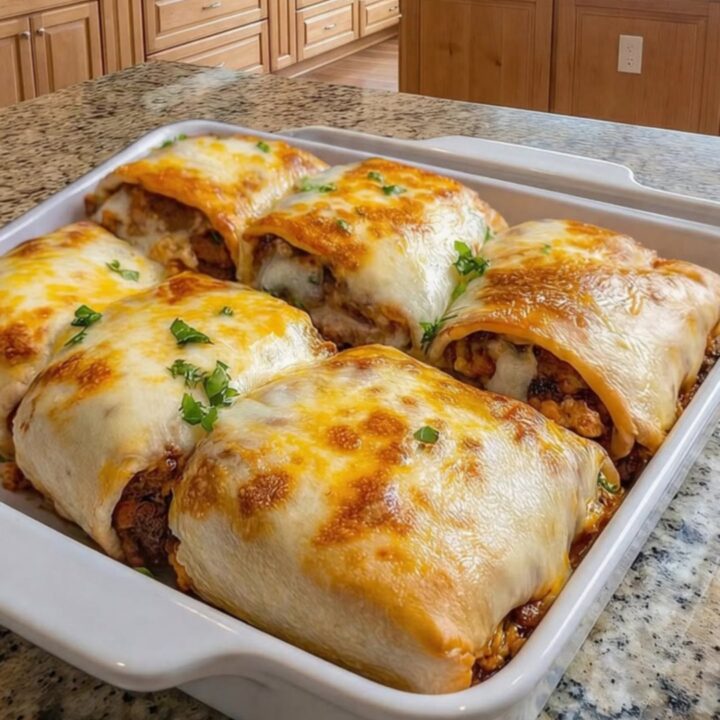
Loaded Cheesy Pocket Tacos for a Quick Savory Meal
Ingredients
- 1 lb ground beef
- 1 packet taco seasoning
- 8 count taco shells
- 2 cups shredded cheddar cheese
Instructions
- Heat a large skillet over medium-high heat. Add the ground beef and cook, breaking it apart with a spatula, until browned and cooked through to an internal temperature of 160°F (71°C). Drain any excess grease, then stir in the taco seasoning and the recommended amount of water. Simmer for 5 minutes until thickened.
- Place a generous spoonful of the seasoned beef mixture in the center of each taco shell, followed by a handful of shredded cheese. Ensure the filling is completely enclosed inside the shell structure.
- Preheat your oven to 375°F (190°C). Arrange the assembled taco pockets in a rectangular baking dish. Bake for 10 to 12 minutes, or until the pockets are golden brown and the cheese inside is thoroughly melted and elastic.
Estimated nutrition per serving
- Calories
- 420
- Protein
- 22.5 g
- Carbohydrates
- 35 g
- Fat
- 20 g
- Fiber
- 2.5 g
- Sugar
- 1.5 g
- Sodium
- 850 mg
Next recipe
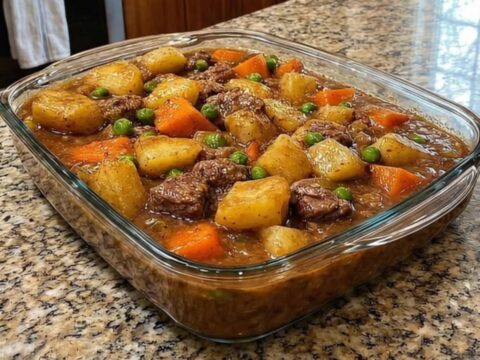
Grandma’s Hearty Beef Stew Casserole
See the recipe → →This recipe is based on a short cooking video and is published under the pen name Clara Weller. It was checked before publication, but errors can slip through. Nutrition, when shown, is an estimate. Read more in our editorial policy and on our food safety page.
More recipes to try

Creamy Pepper Jack Pasta with Chicken and Sausage
Total time: 30 min
Easy Crescent Roll Taco Bake for Busy Weeknights
Total time: 40 min
Crispy Cheesy Ground Beef Tacos with Creamy Sauce
Total time: 30 min
Creamy Garlic Chicken Orzo with Sun-Dried Tomatoes
Total time: 35 min
Creamy Tomato Garlic Butter Beef Linguine
Total time: 35 min