Breakfast · Part 1 of 3: Ingredients
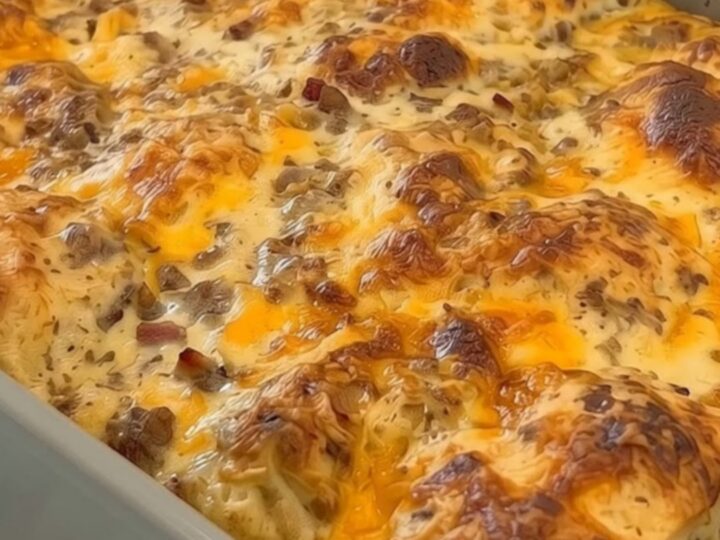
Loaded Biscuits and Sausage Gravy Breakfast Casserole
- Prep
- Cook
- Total
- Serves
- 8
Start the morning with the ultimate breakfast comfort food. This loaded biscuits and sausage gravy breakfast casserole layers tender biscuit pieces, rich and creamy sausage gravy, and a generous topping of melted, bubbling cheese. It is a hearty, crowd-pleasing dish that makes weekend mornings or holiday brunches feel incredibly special and satisfying.
There is nothing quite like the aroma of freshly baked biscuits and savory sausage gravy wafting through the house on a lazy morning. This recipe combines those classic Southern flavors into an easy-to-assemble casserole that feeds a crowd with minimal effort.
Instead of rolling out dough and splitting biscuits individually, this method cuts pre-made biscuits into bite-sized pieces, allowing them to bake directly inside the rich gravy. The result is a beautiful contrast of soft, pillowy dough, savory gravy, and a golden, stretchy cheese crust.
Ingredients
- 8 oz biscuits, store-bought or made ahead
- 2 cups sausage gravy, store-bought or made ahead
- 1 1/2 cups shredded cheese
Why this recipe works
The secret to the perfect texture of this casserole lies in how the ingredients interact during the baking process. Cutting the biscuits into small pieces increases the surface area, allowing them to absorb the savory flavors of the surrounding gravy.
As the casserole bakes, the bottom portions of the biscuits soften within the gravy, while the exposed tops turn golden brown. This dual texture creates an incredibly satisfying mouthfeel that keeps the dish from feeling heavy, ensuring every bite is a perfect balance of soft dough and rich, creamy sauce.
Using pre-made biscuits and prepared sausage gravy makes this recipe incredibly fast and foolproof. The gravy acts as a velvety emulsion that thickens slightly in the oven, binding the biscuit pieces together.
The final layer of shredded cheese acts as a delicious barrier, trapping moisture to keep the biscuits tender while forming a crispy, caramelized crust on top. This simple combination of textures and flavors is what makes the casserole an instant favorite for family breakfasts.
Notes and substitutions
For the best results, select a high-quality sausage gravy with a robust, peppery flavor. If making it from scratch beforehand, ensure it has a thick consistency so it does not make the biscuits soggy.
Standard buttermilk biscuits work beautifully here, providing a nice contrast to the rich gravy. Avoid using biscuits that are too sweet, as they can clash with the savory elements of the dish. Leftover biscuits from a previous meal are also an excellent choice for this recipe.
When it comes to the cheese, shredding a block of cheddar or Monterey Jack at home is highly recommended. Pre-shredded cheeses often contain anti-caking agents that prevent them from melting into that perfectly stretchy, smooth layer shown in the video. A grey ceramic baking dish is ideal for this recipe, as it provides even heat distribution and looks beautiful when served. Ensure the baking dish is thoroughly greased to prevent the cheese from sticking to the sides.
- shredded cheese: shredded cheddar, Monterey Jack, or mozzarella cheese
- sausage gravy: mushroom gravy for a vegetarian alternative
Equipment
- grey ceramic baking dish
- knife
- cutting board
- spatula
Up next · Part 2 of 3
4 steps · 20 min of cooking · what to look for at each stage
Step-by-step instructions (Part 2)