Dinner · Part 1 of 3: Ingredients
Lazy Crockpot Chicken Parmesan Pasta Bake
- Prep
- Cook
- Total
- Serves
- 6
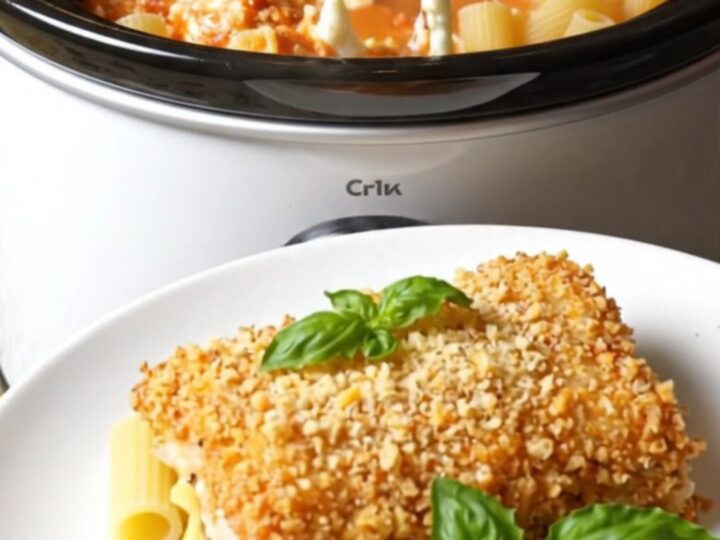
Transform your weeknight dinner routine with this incredibly simple and satisfying crockpot chicken parmesan pasta bake. By skipping the tedious breading and frying of traditional chicken parmesan, this recipe creates a creamy, restaurant-style pasta dish with minimal effort.
It is the perfect solution for busy evenings when comfort food is a priority but time is limited, allowing the slow cooker to handle all the heavy lifting while you attend to other tasks around the house.
This dish relies on the magic of slow cooking to meld flavors and perfectly cook the pasta directly in the sauce. The combination of savory marinara, tender chicken, and rich cream cheese creates a luscious base, while the rigatoni absorbs the seasoned broth.
Finishing the dish with a generous layer of mozzarella and a crunch of garlic-butter panko provides that iconic chicken parmesan experience without the need for a separate skillet or oven time. It is a foolproof method for creating a hearty, crowd-pleasing meal.
Ingredients
Main Ingredients
- 2 lb diced chicken breast
- 32 oz marinara sauce
- 2 cups chicken broth
- 1 tbsp Italian seasoning
- 8 oz cream cheese, cubed
- 16 oz uncooked rigatoni
Topping
- 2 cups shredded mozzarella
- 1/2 cup parmesan cheese
- 1 cup garlic-butter toasted panko
Garnish
- Fresh basil leaves, for serving
Why this recipe works
The slow cooker method is highly effective because it allows the pasta to cook in the flavorful marinara and broth mixture, absorbing all the spices as it softens. The cream cheese acts as an emulsifier, creating a smooth and rich sauce that coats every piece of rigatoni and chicken perfectly. By keeping the lid closed, you maintain a consistent temperature, which prevents the pasta from drying out and ensures the chicken remains tender throughout the long, slow simmer.
Layering the cheese and panko at the final stage is crucial for texture. Because the slow cooker creates a moist environment, adding the crisp element at the very end ensures the panko remains crunchy rather than soggy. This contrast between the creamy, molten mozzarella and the toasted breadcrumbs mimics the texture of a traditional baked pasta dish, providing a complex mouthfeel that elevates this simple dump-and-go meal into something truly special for a family dinner.
Notes and substitutions
For the best results, use a standard slow cooker with at least a 6-quart capacity to allow enough room for the pasta and sauce to bubble without overflowing. When selecting chicken, boneless, skinless breasts work best as they cook evenly and become tender when diced into uniform pieces.
If you prefer a more intense garlic flavor, you can add an extra clove of minced garlic to the mixture, though the pre-seasoned panko usually provides a sufficient aromatic profile for this dish.
The choice of rigatoni is deliberate; its ridged surface and hollow center are ideal for trapping the thick marinara and cream cheese sauce. If you must substitute, choose a sturdy pasta shape like penne or ziti that can withstand the extended cooking time without turning mushy.
Always ensure your mozzarella is freshly shredded rather than pre-packaged, as the latter often contains anti-caking agents that can hinder the desired melt and stretchiness of the final cheesy topping.
- Rigatoni: Penne or ziti pasta of the same weight
- Italian seasoning: Equal parts dried oregano and dried basil
Equipment
- Crockpot
- Wide spatula
- Measuring cups
- Measuring spoons
- Knife
- Cutting board
Up next · Part 2 of 3
3 steps · 2 h 30 min of cooking · what to look for at each stage
Step-by-step instructions (Part 2)