Desserts · Part 1 of 3: Ingredients
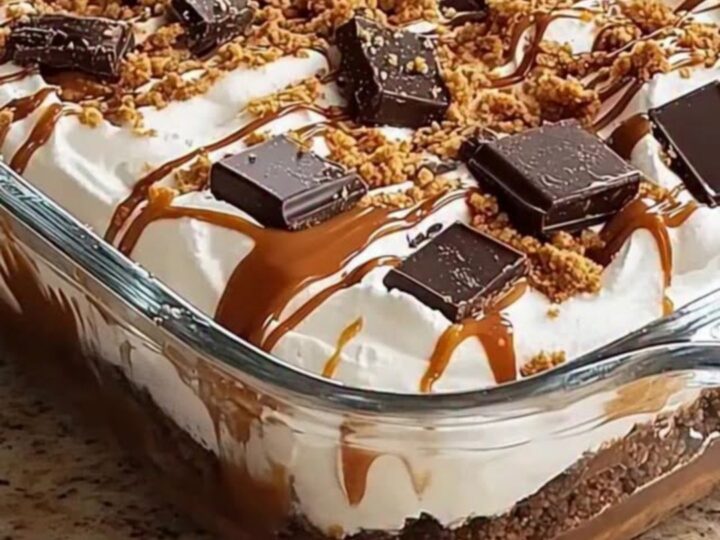
Layered Chocolate Caramel Dessert: An Easy No-Bake Treat
- Prep
- Cook
- Total
- Serves
- 8
Discover the art of creating a professional-grade layered dessert right in the home kitchen. This recipe combines velvety chocolate pudding, ribbons of golden caramel, and airy whipped cream for a masterpiece that looks as good as it tastes. It is the ideal solution for those moments when a quick but impressive treat is required for guests or family gatherings. With minimal effort, achieve a stunning visual effect that promises a delightful sensory experience with every single spoonful.
This layered chocolate caramel dessert relies on the interplay of textures and temperatures to create a sophisticated treat. By stacking distinct layers of pudding, sauce, and cream, the dessert provides a complex flavor profile that appeals to all ages.
Whether prepared for a weekend celebration or a quiet evening at home, this recipe remains a reliable favorite. The assembly process is straightforward, allowing for a beautiful outcome without the need for baking or complex culinary techniques. Simply follow the steps to layer, chill, and serve this delightful creation to ensure success every time.
Ingredients
Base
- 2 cups chocolate pudding, store-bought or made ahead
Layers
- 1/2 cup caramel sauce, store-bought or made ahead
Topping
- 2 cups whipped cream
Garnish
- 4 pieces chocolate squares
- 1/4 cup cookie crumbs
Why this recipe works
The method of layering ingredients in a transparent dish allows the different textures and colors to remain visible, which enhances the overall appeal of the dessert. Starting with a dense chocolate pudding provides a stable base that holds the subsequent layers firmly in place. This structure is essential for achieving a clean scoop when it is time to serve the dessert, ensuring that each portion retains the beautiful stratification seen in professional pastry displays.
Using a chilled glass dish helps to maintain the temperature of the ingredients, which prevents the whipped cream from melting upon contact with the pudding layer. This temperature management is critical for the success of the assembly, as it keeps the layers distinct and prevents the caramel from bleeding into the other components.
By working with prepared ingredients, the assembly becomes a quick process that focuses on precision and aesthetic presentation rather than complex cooking techniques.
Notes and substitutions
Choose high-quality chocolate pudding for the best results, as it serves as the primary flavor carrier for the entire dish. If making the pudding from scratch, ensure it is completely cooled before assembly to prevent the layers from mixing.
The caramel sauce should be at room temperature to allow for easy drizzling, but not so thin that it runs into the chocolate base. Using a good quality whipped cream, either freshly whipped or a stable store-bought variety, is essential for the top layer.
The equipment used, specifically the offset spatula, is vital for creating smooth, level layers without disturbing the ones underneath. A glass dish is recommended not only for the visual impact but also because it is easy to clean and maintains a cold temperature well.
When selecting garnishes, opt for chocolate squares that have a good snap and cookie crumbs that offer a slight crunch. These elements provide the necessary textural contrast to the otherwise creamy components of the dessert.
- Chocolate pudding: Dark chocolate mousse or vanilla pudding for a different profile
- Cookie crumbs: Crushed graham crackers or chocolate wafer cookies
Equipment
- 9-inch glass square dish
- Offset spatula
- Serving plate
- Serving fork
Up next · Part 2 of 3
3 steps · 10 min of cooking · what to look for at each stage
Step-by-step instructions (Part 2)