Appetizers · Part 3 of 3: Tips & recipe card
Korean Cream Cheese Garlic Bread Buns: Crispy, Gooey, Irresistible Tips, FAQ & printable recipe

- Prep
- Cook
- Total
- Serves
- 4
Tips for success
For the crispiest exterior, make sure the glaze is evenly applied and not too thick. If the glaze pools at the bottom of the baking sheet, it can make the buns soggy. Use a wire rack set inside the baking sheet to allow air circulation and even browning.
Letting the buns rest for a few minutes after baking helps the glaze set and the filling firm up slightly, making them easier to handle. If you prefer a more pronounced garlic flavor, increase the garlic to 10 cloves.
These buns are best enjoyed fresh out of the oven, but they can be reheated in a toaster oven or air fryer to restore crispiness. Avoid microwaving, as it will make the buns chewy and soggy.
If you have leftover glaze, you can brush it on the buns before reheating for extra flavor. For a fun twist, add a sprinkle of flaky sea salt on top after baking to enhance the sweet-savory contrast.
Variations
- Spicy Gochujang Glaze: Add 1-2 tablespoons of gochujang (Korean chili paste) to the garlic butter glaze for a spicy kick. Reduce the condensed milk slightly to balance the heat. The result is a sweet, savory, and spicy bun that will tantalize your taste buds.
- Herb and Cheese Filling: Mix 1/2 cup of shredded mozzarella or cheddar into the cream cheese filling along with 1 tablespoon of chopped fresh chives or green onions. This adds a savory, cheesy depth that complements the garlic glaze beautifully.
- Matcha Sweet Cream Filling: Whisk 1 teaspoon of matcha powder into the powdered sugar before beating with the cream cheese. This gives the filling a delicate green tea flavor and a lovely pale green color, offering an elegant twist on the classic.
- Mini Slider Version: Use small slider buns instead of full-size burger buns. Adjust the filling and glaze quantities accordingly, and reduce the baking time to 8-10 minutes. These bite-sized versions are perfect for parties and gatherings.
Storage and make-ahead
- Fridge
- Store leftover buns in an airtight container in the refrigerator for up to 3 days. Reheat in a 350°F oven for 5-7 minutes until crisp and heated through.
- Freezer
- Freeze unbaked stuffed buns for up to 2 months. Thaw overnight in the refrigerator, then glaze and bake as directed, adding 2-3 minutes to the baking time.
- Reheat
- Reheat baked buns in a toaster oven or air fryer at 350°F for 5-7 minutes to restore crispness. Avoid microwaving.
Store any leftover buns in an airtight container in the refrigerator for up to 3 days. To reheat, place them in a 350°F (180°C) oven for 5–7 minutes, or until warmed through and crisp. The filling will firm up when chilled, but will become creamy again upon reheating. Avoid leaving them at room temperature for more than 2 hours, as they contain dairy and egg.
You can prepare the cream cheese filling and garlic glaze up to 1 day in advance. Store them separately in the refrigerator. When ready to bake, assemble the buns as directed and bake.
The filling may stiffen when chilled, so let it sit at room temperature for 15 minutes before piping. The glaze can be whisked to recombine. Baked buns can also be frozen before or after baking; see freezing instructions.
Serving ideas
Serve these buns warm as an appetizer, snack, or even a fun side dish. They pair wonderfully with a crisp green salad to balance the richness. For a Korean-inspired meal, serve alongside grilled meats or kimchi. The buns are best enjoyed pulled apart with your hands, letting the creamy filling ooze out. Provide small plates and napkins, as they can be messy but utterly delicious.
For a brunch or party spread, arrange the buns on a platter with a sprinkle of fresh parsley and extra flaky salt. They also make a delightful accompaniment to soups or stews, soaking up broth beautifully.
If you have leftovers, they can be sliced and toasted for a savory bread pudding or used as a base for a decadent sandwich. The possibilities are endless, but the classic pull-apart experience is always a crowd-pleaser.
Frequently asked questions
Can the buns be made ahead and baked later?
Why does the glaze sometimes curdle or separate?
Can the recipe be made gluten-free?
What is the best way to reheat leftover buns?
Can the cream cheese filling be frozen?
Korean Cream Cheese Garlic Bread Buns: Crispy, Gooey, Irresistible

Ingredients
- 4 soft brioche burger buns
- 200 g cream cheese, softened
- 30 g powdered sugar
- 30 ml heavy cream
- 100 g butter, melted
- 8 cloves garlic, minced (1 whole head)
- 40 ml sweetened condensed milk
- 1 egg
- 2 tbsp dried parsley
Instructions
- In a medium bowl, beat the softened cream cheese with the powdered sugar and heavy cream using an electric mixer or whisk until silky smooth and no lumps remain. Transfer the mixture to a piping bag or a zip-top bag with a corner snipped off. Set aside.
- Using a sharp knife, slice each brioche bun into six wedges, cutting about three-quarters of the way down but not through the bottom, so the wedges remain attached at the base. Fan the wedges slightly apart to create pockets.
- Generously pipe the cream cheese filling between each wedge of the buns, filling every crevice. Use enough filling so each bite has a creamy center, but avoid overfilling to prevent excessive spillage during baking.
- In a small saucepan or microwave-safe bowl, combine the melted butter, minced garlic, sweetened condensed milk, egg, and dried parsley. Whisk until the egg is fully incorporated and the mixture is smooth and well combined.
- Dip each stuffed bun completely into the garlic butter glaze, turning to coat all sides. Allow any excess to drip off briefly, then place the buns on a baking sheet lined with parchment paper. Ensure the glaze reaches the crevices between the wedges.
- Preheat the oven to 350°F (180°C). Bake the glazed buns for 12 minutes, until the tops are golden brown and the edges are crispy. The filling should be hot and bubbly, and the glaze set to a shiny, crisp coating.
- Remove the buns from the oven and let them rest for 2–3 minutes on the baking sheet. This allows the filling to set slightly and prevents burns. Serve warm, pulling the wedges apart to show the creamy, garlicky center.
Estimated nutrition per serving
- Calories
- 620
- Protein
- 12 g
- Carbohydrates
- 45 g
- Fat
- 44 g
Next recipe

Warm Cheesy Skillet French Onion Dip with Crispy Crostini
See the recipe → →This recipe is based on a short cooking video and is published under the pen name Clara Weller. It was checked before publication, but errors can slip through. Nutrition, when shown, is an estimate. Read more in our editorial policy and on our food safety page.
More recipes to try

Crispy Rice Paper Egg Rolls with Sweet Plum Dip
Total time: 32 min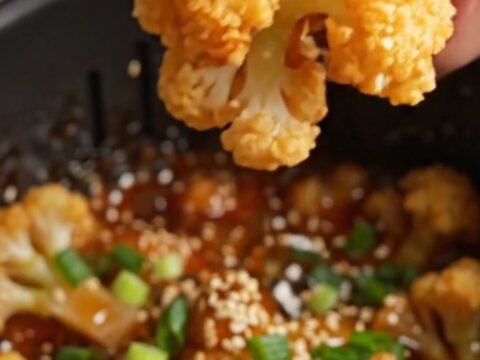
Crispy Air-Fried Sticky Sesame Cauliflower Wings
Total time: 25 min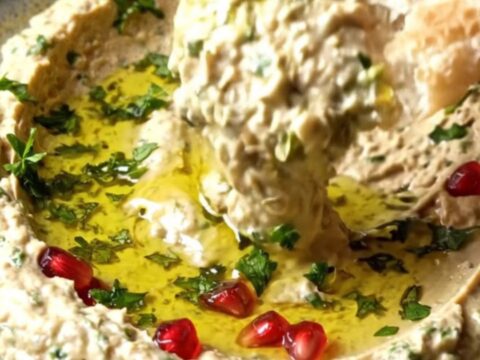
Smoky Turkish Babaganoush with Pomegranate and Tahini
Total time: 35 min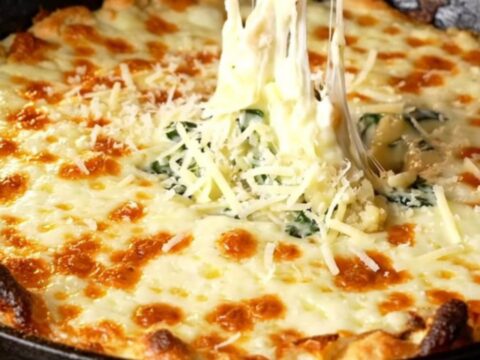
Cheesy Skillet Spinach Artichoke Dip with Garlic Baguette
Total time: 35 min
Crispy Turkish Cigar Pastries with Spiced Beef
Total time: 35 min